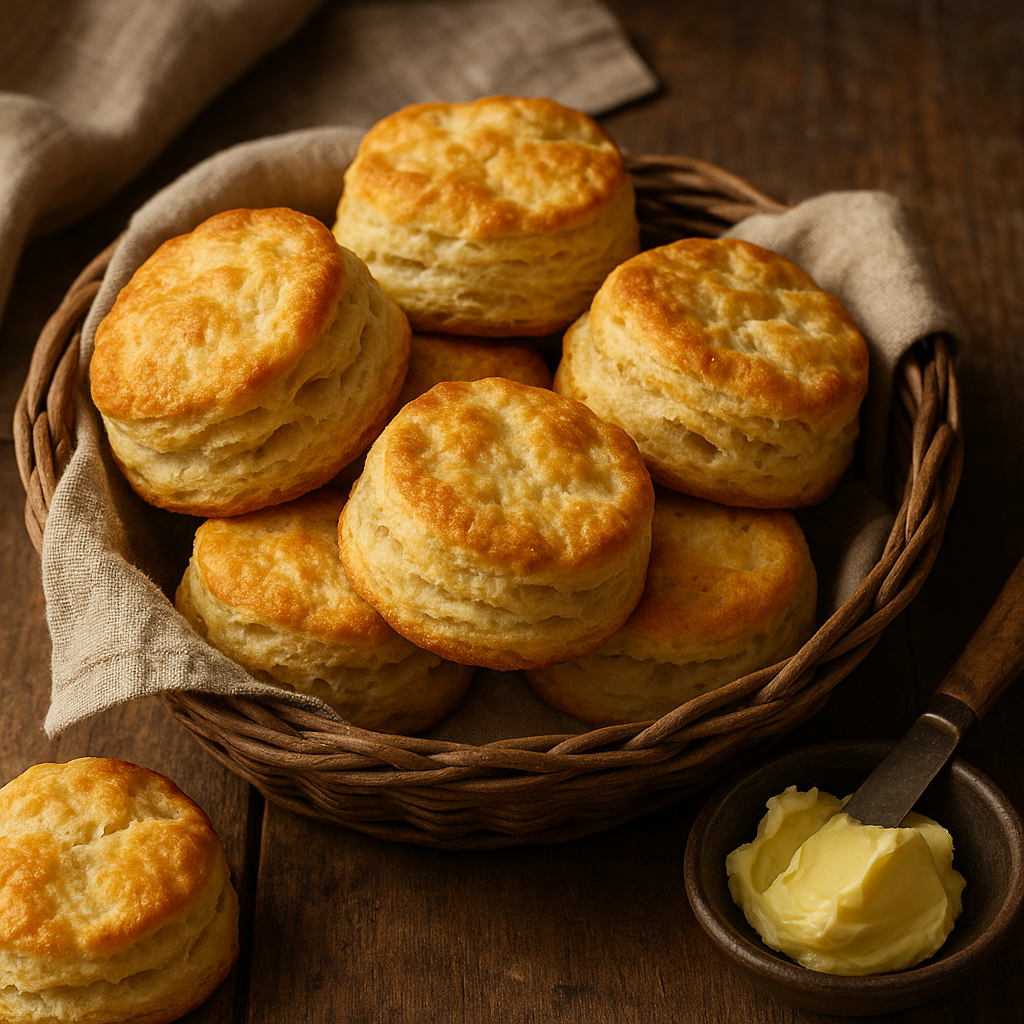
There was nothing quite like the smell of freshly baked biscuits coming out of grandma’s oven. With golden tops, soft layers, and a buttery, melt-in-your-mouth texture, they were a staple at every breakfast and Sunday dinner.
This article will walk you through how to make old-fashioned buttermilk biscuits from scratch — simple ingredients, no shortcuts, and full of that homemade love you remember.
Why You’ll Love These Homemade Biscuits
- Made with real butter and buttermilk
- Flaky, fluffy, and tender inside
- Perfect for breakfast, lunch, or dinner
- No fancy equipment required — just a bowl and your hands
- Delicious plain or with jam, honey, or gravy
Ingredients for Grandma’s Biscuits
Makes 10–12 biscuits depending on size.
- 2 cups all-purpose flour
- 1 tablespoon baking powder
- ½ teaspoon baking soda
- 1 teaspoon salt
- 6 tablespoons cold unsalted butter, cubed
- ¾ cup cold buttermilk (plus more for brushing)
No buttermilk? Add 1 tablespoon lemon juice or vinegar to regular milk and let sit 5 minutes.
Step-by-Step Instructions
1. Preheat the Oven
Preheat to 220°C (425°F).
Line a baking sheet with parchment paper or lightly grease it.
2. Mix the Dry Ingredients
In a large bowl, whisk together flour, baking powder, baking soda, and salt.
3. Cut in the Butter
Add cold, cubed butter to the flour mixture.
Use a pastry cutter or your fingers to cut the butter into the flour until it resembles coarse crumbs.
You want some small lumps — that’s what creates flakiness.
4. Add Buttermilk
Pour in the buttermilk and gently stir until a shaggy dough forms.
Do not overmix — overworked dough leads to tough biscuits.
5. Fold the Dough
Turn dough onto a floured surface. Pat it into a rectangle, then fold it into thirds like a letter.
Repeat this fold 2–3 times. It builds layers for flakiness.
Pat the dough to ¾-inch thickness.
6. Cut the Biscuits
Use a floured round cutter (or a glass) to cut biscuits.
Press straight down — don’t twist, or the edges won’t rise evenly.
Place biscuits close together on the baking sheet for soft sides, or spaced apart for crispy edges.
7. Bake
Brush tops with buttermilk for a golden crust.
Bake for 12–15 minutes, or until tops are golden brown.
Let cool slightly and serve warm.
Serving Suggestions
- With butter and honey or jam
- Split and filled with fried chicken or eggs
- Covered in country-style sausage gravy
- With strawberries and whipped cream for shortcake
- Used as a base for mini sandwiches
Grandma’s tip: Serve biscuits right out of the oven — that’s when they shine.
How to Store and Reheat
Store:
- Cool completely and store in an airtight container at room temp for up to 2 days
Reheat:
- Wrap in foil and warm in a 160°C (325°F) oven for 8–10 minutes
- Or microwave individual biscuits for 10–15 seconds
Freeze:
- Freeze unbaked biscuits on a tray, then transfer to a bag
- Bake from frozen — add 2–3 minutes to baking time
Flavor Variations to Try
- Cheddar and Chive Biscuits: Add shredded cheese and fresh herbs
- Garlic Butter Biscuits: Brush with garlic-herb butter after baking
- Sweet Biscuits: Add a tablespoon of sugar and top with cinnamon
- Spicy Biscuits: Mix in diced jalapeños or cayenne pepper
- Whole Wheat Version: Use half whole wheat, half all-purpose flour
Common Mistakes and Fixes
- Tough biscuits? Overmixed dough — stir gently and briefly
- Flat biscuits? Make sure your baking powder is fresh
- Spread too much? Dough too warm — chill it before baking
- Dry biscuits? Not enough fat or liquid — measure carefully
Grandma’s Biscuit Secrets
- Use very cold butter and buttermilk
- Don’t skip the folds — that’s how you get flaky layers
- Handle the dough as little as possible
- Bake hot and fast — high heat gives a good rise
- Always use a sharp cutter and press straight down
Final Thoughts: A Classic Worth Mastering
Homemade biscuits may be simple, but they carry so much heart and history. With each warm, buttery bite, you’re not just enjoying a recipe — you’re preserving a piece of tradition, the way grandma did it.
So roll up your sleeves, flour your counter, and bake a batch of biscuits that feel like home.


