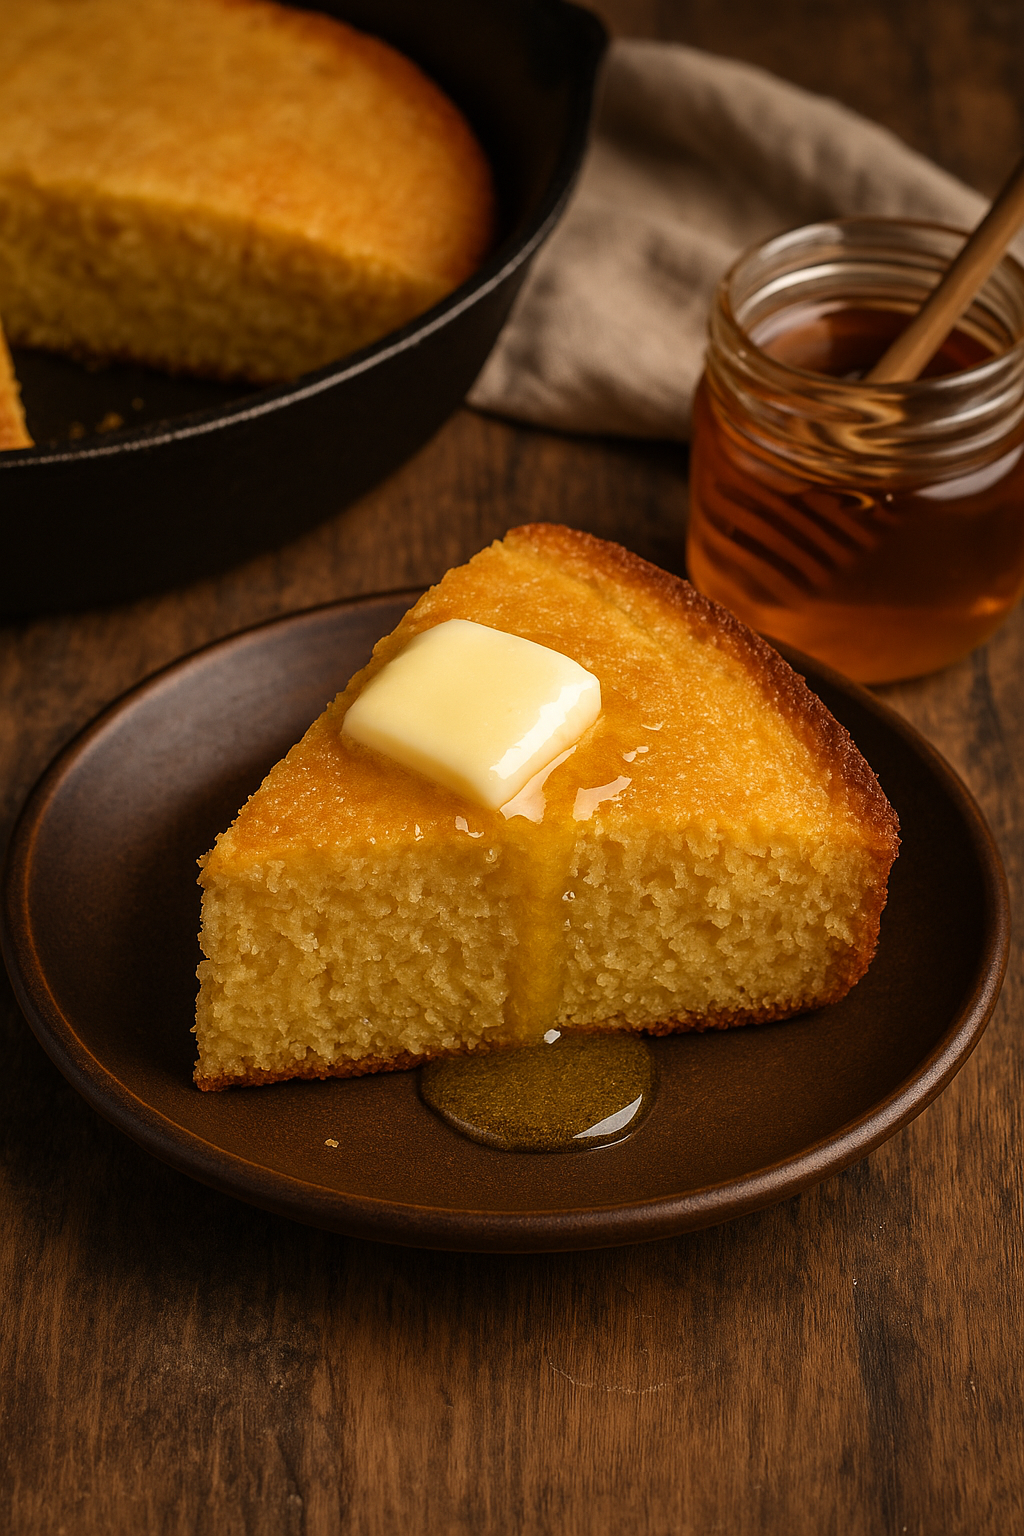
Grandma’s Old-Fashioned Cornbread: Golden, Moist, and Perfectly Sweet

Served warm from a cast-iron skillet with a pat of butter melting on top, grandma’s cornbread was the definition of simple Southern comfort. Slightly sweet, tender in the center, and golden on the edges, it was a staple at family meals — especially with soups, stews, and chili.

In this article, you’ll learn how to make homemade cornbread the old-fashioned way, with easy steps and ingredients you already have at home.


Why You’ll Love This Cornbread

  • Made from scratch in under 30 minutes
  • Moist and tender inside, with crispy golden edges
  • Lightly sweet — perfect with both savory and sweet meals
  • Versatile: bake it in a skillet, muffin tin, or baking dish
  • Delicious served warm with honey, butter, or jam

Ingredients for Classic Cornbread

This recipe serves 8 people.

  • 1 cup cornmeal (yellow or white)
  • 1 cup all-purpose flour
  • ¼ cup granulated sugar (adjust to taste)
  • 1 tablespoon baking powder
  • ½ teaspoon salt
  • 1 cup buttermilk (or milk + lemon juice substitute)
  • 2 large eggs
  • ½ cup unsalted butter, melted (plus extra for greasing pan)

Optional Add-ins: corn kernels, shredded cheese, diced jalapeños, or chopped herbs


Step-by-Step Instructions

1. Preheat Your Oven

Preheat to 200°C (400°F).

Grease a cast iron skillet, square baking dish, or muffin pan with butter.

If using a skillet, place it in the oven to preheat — this helps create a crispy crust.


2. Mix the Dry Ingredients

In a large bowl, whisk together the cornmeal, flour, sugar, baking powder, and salt.


3. Mix the Wet Ingredients

In another bowl, combine the buttermilk, eggs, and melted butter. Stir until fully blended.


4. Combine and Pour

Pour the wet ingredients into the dry ingredients and mix until just combined.

Don’t overmix — a few lumps are fine!

Carefully pour the batter into the hot greased skillet or pan.


5. Bake

Bake for 20–25 minutes, or until the top is golden and a toothpick inserted in the center comes out clean.

Let cool for 5–10 minutes before slicing and serving.


Serving Suggestions

  • With chili, soup, or stew
  • Slathered in butter and drizzled with honey
  • Alongside fried chicken or barbecue
  • Crumbled into collard greens or beans
  • As a base for stuffing or cornbread dressing

How to Store and Reheat

Store:

  • Cover and store at room temp for up to 2 days
  • Refrigerate for up to 5 days

Reheat:

  • Microwave individual slices or reheat in oven at 175°C (350°F)

Freeze:

  • Wrap slices individually in foil or plastic and freeze for up to 2 months

Variations You Can Try

  • Southern-Style: Leave out sugar for a savory cornbread
  • Sweet Cornbread: Double the sugar or add honey
  • Cheesy Jalapeño: Mix in shredded cheddar and chopped peppers
  • Cornbread Muffins: Bake in muffin tins for about 15 minutes
  • Gluten-Free: Use gluten-free all-purpose flour blend

Grandma’s Tips for Perfect Cornbread

  • Preheat the skillet — this gives the cornbread a golden, crispy edge
  • Use real buttermilk for authentic flavor and fluffiness
  • Melt the butter and let it cool slightly before mixing
  • Don’t overbake — it should be moist in the center, not dry
  • Serve it warm — that’s when the flavor shines

Final Thoughts: A Southern Tradition in Every Slice

Whether served with stew, smothered in honey, or enjoyed straight from the skillet, grandma’s cornbread is the kind of simple, soul-satisfying food that brings people together.

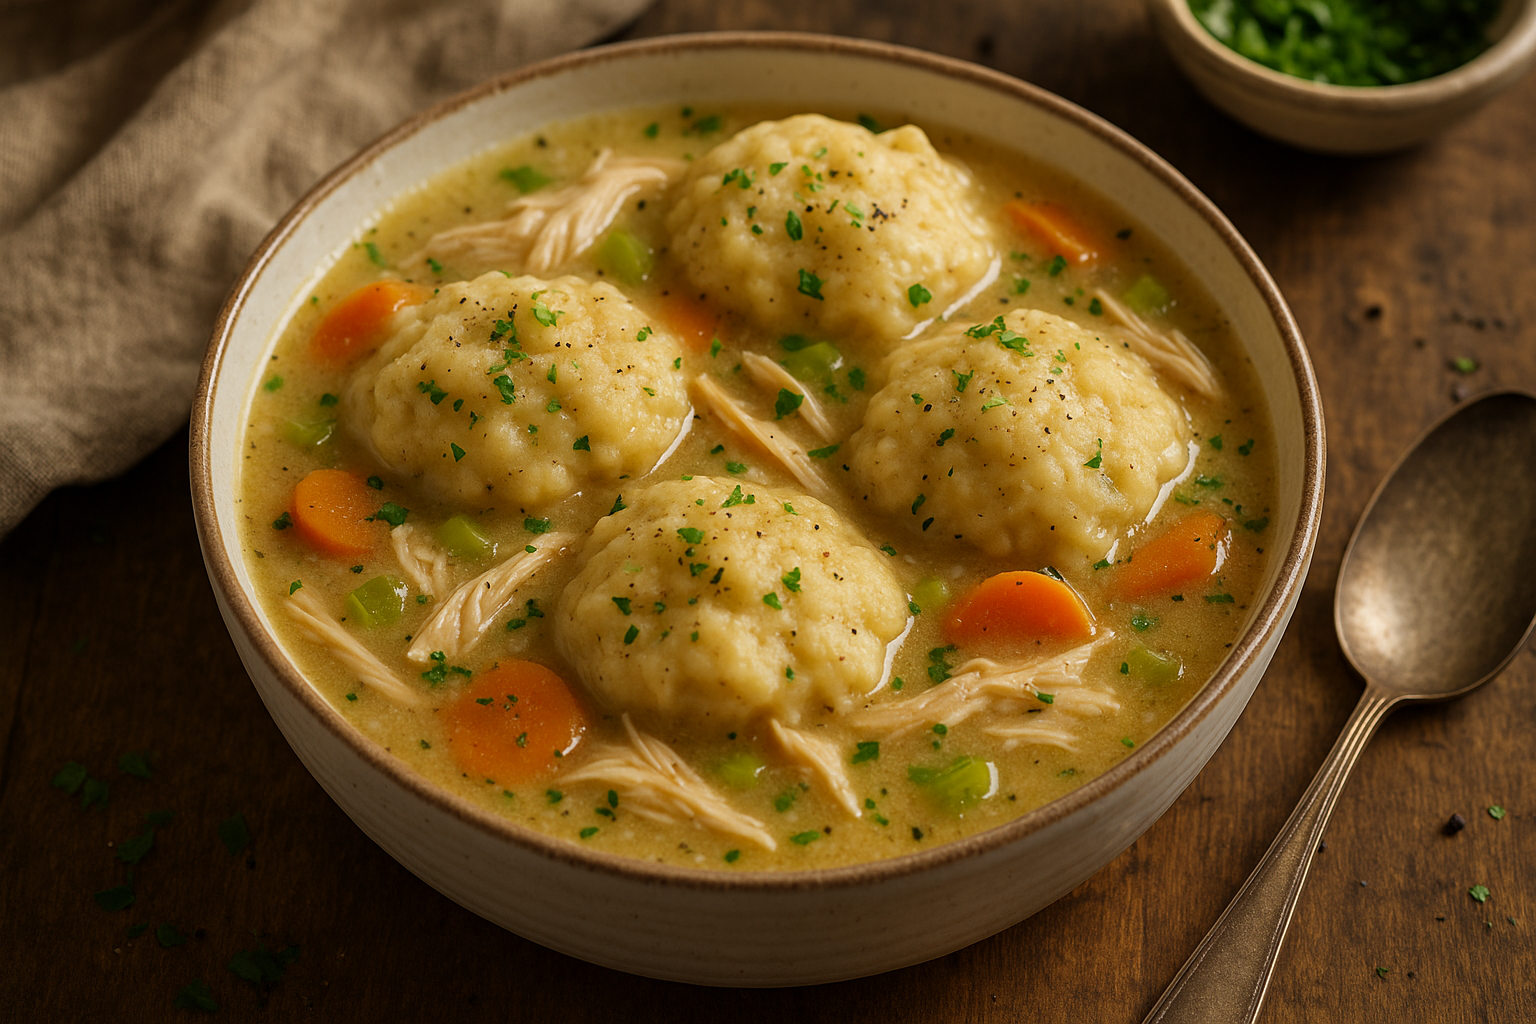
Grandma’s Chicken and Dumplings: A Creamy Bowl of Pure Comfort

There’s no dish that says “comfort” quite like a steaming bowl of chicken and dumplings. With tender chicken, soft vegetables, a creamy broth, and fluffy dumplings floating on top, this was one of grandma’s most-loved recipes — especially on cold days or when someone needed a little extra love.

In this guide, we’ll teach you how to make homemade chicken and dumplings from scratch, just like grandma did: rich, hearty, and packed with soul.


Why This Dish Is So Special

  • A one-pot meal perfect for family dinners
  • Features tender shredded chicken and fluffy dumplings
  • The broth is creamy, flavorful, and soul-soothing
  • Made with basic ingredients and lots of love
  • A true comfort food classic for all seasons

Ingredients for Grandma’s Chicken and Dumplings

This recipe serves 6–8 people.

For the Stew:

  • 2 tablespoons butter or oil
  • 1 onion, chopped
  • 2 garlic cloves, minced
  • 3 carrots, sliced
  • 2 celery stalks, chopped
  • 4 cups chicken broth
  • 2 cups cooked shredded chicken (rotisserie or homemade)
  • 1 cup milk or half-and-half
  • 2 tablespoons all-purpose flour
  • 1 teaspoon dried thyme or poultry seasoning
  • Salt and black pepper to taste
  • Optional: 1 bay leaf or chopped parsley

For the Dumplings:

  • 1 cup all-purpose flour
  • 2 teaspoons baking powder
  • ½ teaspoon salt
  • 2 tablespoons butter, melted
  • ½ cup whole milk (plus more if needed)

Step-by-Step Instructions

1. Cook the Base

In a large pot or Dutch oven, melt the butter over medium heat.

Add the onion, garlic, carrots, and celery. Cook for about 5–6 minutes, until soft.

Sprinkle in the flour and stir for 1–2 minutes to coat the vegetables.

Slowly whisk in the chicken broth and bring to a gentle simmer.


2. Add Chicken and Seasonings

Stir in the shredded chicken, milk, thyme, salt, pepper, and bay leaf (if using).

Let the stew simmer uncovered for 10–15 minutes until it thickens slightly.


3. Make the Dumplings

In a bowl, whisk together the flour, baking powder, and salt.

Add the melted butter and milk, stirring just until combined — don’t overmix.

The dough should be thick but spoonable.


4. Add the Dumplings

Drop spoonfuls of dumpling dough (about a tablespoon each) on top of the simmering stew.

Cover with a lid and let cook on low heat for 15 minutes — do not lift the lid during this time.

The dumplings will puff up and steam until fluffy.


5. Serve Hot

Remove the bay leaf, if used. Taste and adjust seasoning.

Serve warm in deep bowls, topped with fresh parsley or a pat of butter if desired.


Tips for Success

  • Use rotisserie chicken for ease, or boil your own with aromatics
  • Don’t uncover the pot while dumplings cook — steam is key!
  • Add peas or corn for extra texture and color
  • If stew gets too thick, add a splash of milk or broth to loosen
  • For richer flavor, stir in a bit of cream at the end

Variations You’ll Love

  • Creamy Herb Dumplings: Add chopped chives or parsley to the dumpling mix
  • Cheesy Dumplings: Mix in shredded cheddar or parmesan
  • Spicy Twist: Add crushed red pepper or hot sauce to the stew base
  • Veggie Boost: Stir in spinach or kale at the end
  • Gluten-Free Option: Use a gluten-free flour blend for both stew and dumplings

Storage and Reheating

Store:

  • Refrigerate leftovers in an airtight container for up to 4 days

Reheat:

  • Gently on the stovetop with a splash of broth or milk
  • Microwave in short bursts, covered with a damp paper towel

Freeze:

  • Best to freeze the stew base without dumplings, then add fresh dumplings when reheating

Final Thoughts: A Bowl Full of Love

Grandma’s chicken and dumplings weren’t just warm and hearty — they were healing, the kind of food that made you feel cared for with every bite. From the fluffy dumplings to the creamy, savory stew, this dish brings comfort straight to the heart.

Now it’s your turn to bring that kind of care and comfort to your kitchen — one spoonful at a time.