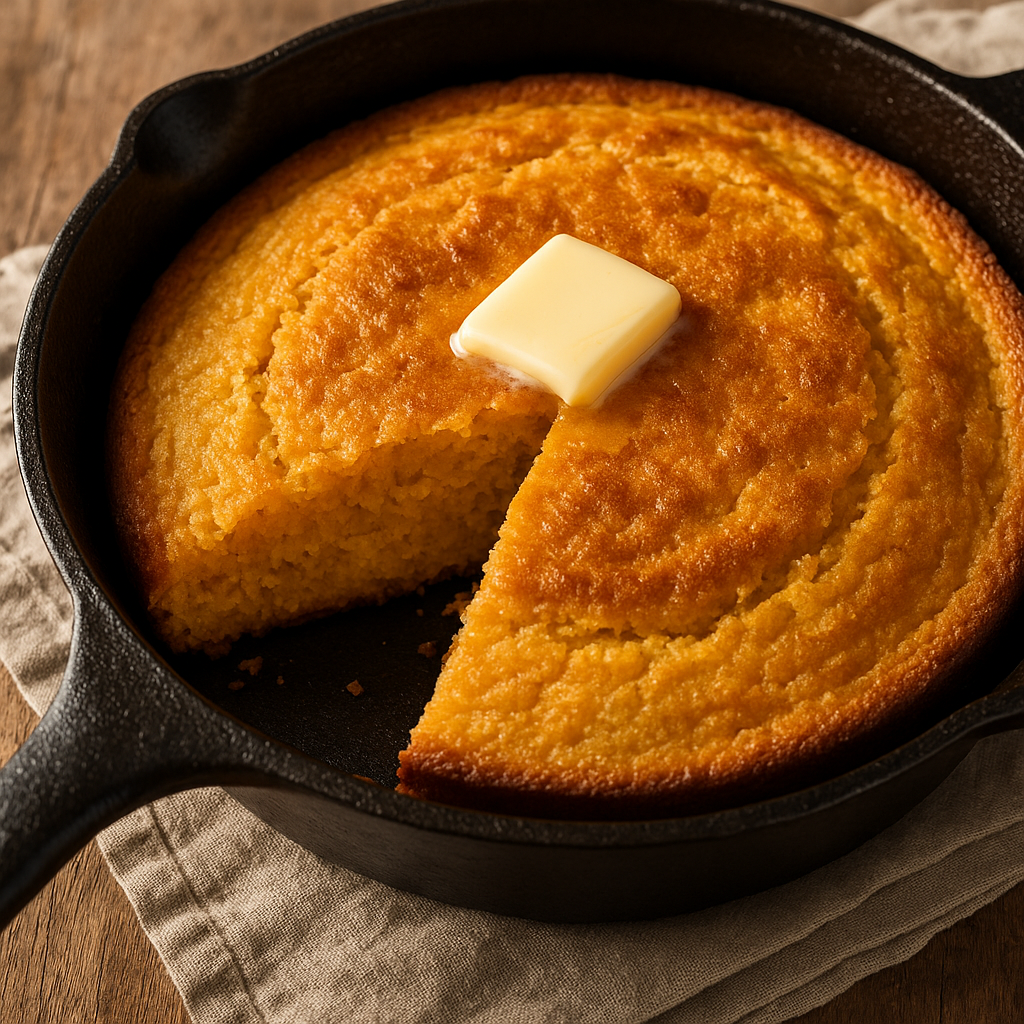
Grandma’s Cornbread: Moist, Golden, and Made from Scratch

Whether served alongside a bowl of chili, a Southern-style dinner, or simply enjoyed with honey and butter, cornbread has always held a special place in grandma’s kitchen. Baked in a cast iron skillet, with a tender crumb and golden crust, it was the kind of simple recipe that felt like home.

In this article, you’ll learn how to make classic cornbread from scratch — moist, flavorful, and incredibly easy to prepare.

Why You’ll Love Grandma’s Cornbread

  • Moist and fluffy interior with a crispy edge
  • Balanced sweetness — not too sugary
  • Easy one-bowl recipe
  • Bakes perfectly in a skillet or baking dish
  • Ready in under 30 minutes

Ingredients for Homemade Cornbread

Serves 8.

  • 1 cup yellow cornmeal
  • 1 cup all-purpose flour
  • 1 tablespoon baking powder
  • ½ teaspoon baking soda
  • ½ teaspoon salt
  • 2 tablespoons sugar (optional or to taste)
  • 2 large eggs
  • 1 cup buttermilk
  • ½ cup milk
  • ⅓ cup melted butter or oil
  • Optional: 1 cup corn kernels, shredded cheese, or jalapeños

Step-by-Step Instructions

1. Preheat the Oven

Preheat to 200°C (400°F).

Place a cast iron skillet or baking dish in the oven to heat while you prepare the batter.

2. Mix the Dry Ingredients

In a large bowl, whisk together cornmeal, flour, baking powder, baking soda, salt, and sugar.

3. Mix the Wet Ingredients

In a separate bowl or measuring cup, whisk together eggs, buttermilk, milk, and melted butter or oil.

4. Combine the Batter

Pour the wet mixture into the dry ingredients.

Stir gently until just combined — don’t overmix.

Fold in any add-ins (corn, cheese, etc.) if using.

5. Pour and Bake

Remove the hot skillet from the oven and grease it with butter or oil.

Pour in the batter and smooth the top.

Bake for 20–25 minutes, or until golden brown and a toothpick comes out clean.

Let cool for 5–10 minutes before slicing.

Serving Suggestions

  • With butter and honey or jam
  • Crumbled into soups, stews, or chili
  • Alongside fried chicken, ribs, or collard greens
  • Used for stuffing/dressing during holidays
  • Topped with a spoonful of maple syrup

Grandma’s tip: Always bake in a preheated cast iron skillet for the crispiest crust.

Storage and Reheating

Store:

  • Cover and store at room temperature for up to 2 days
  • Refrigerate for up to 5 days

Reheat:

  • Wrap slices in foil and warm in the oven at 160°C (325°F)
  • Or microwave individual slices for 15–30 seconds

Freeze:

  • Freeze slices or whole bread, tightly wrapped, for up to 2 months
  • Thaw at room temp and reheat before serving

Variations to Try

  • Sweet Cornbread: Add more sugar or a tablespoon of honey to the batter
  • Savory Cornbread: Add shredded cheddar, bacon, or green onions
  • Spicy Cornbread: Mix in diced jalapeños or chili powder
  • Corn Muffins: Bake in muffin tins for 15–18 minutes
  • Gluten-Free: Use a gluten-free flour blend in place of all-purpose

Common Mistakes to Avoid

  • Dry texture? Don’t overbake — remove as soon as the toothpick is clean
  • Bitter taste? Check that baking soda/powder is fresh and properly measured
  • Dense cornbread? Mix batter gently and don’t pack the flour
  • Crumbly? Let it rest before cutting and don’t skip the egg or fat

Grandma’s Cornbread Secrets

  • Use buttermilk — it adds tang and helps with texture
  • Bake in a cast iron skillet for even browning and crispy edges
  • Let the batter rest for 5–10 minutes before baking
  • Use coarse cornmeal for a rustic texture, or fine for smoother results
  • Slice with a serrated knife once slightly cooled for clean edges

Final Thoughts: A Golden Tradition

Grandma’s cornbread was never fancy — but it was always perfect. With each bite, it carried the warmth of the oven, the simplicity of real ingredients, and the comfort of home.

Now, you can carry that same tradition forward, sharing it with your own family and creating new memories, one golden slice at a time.

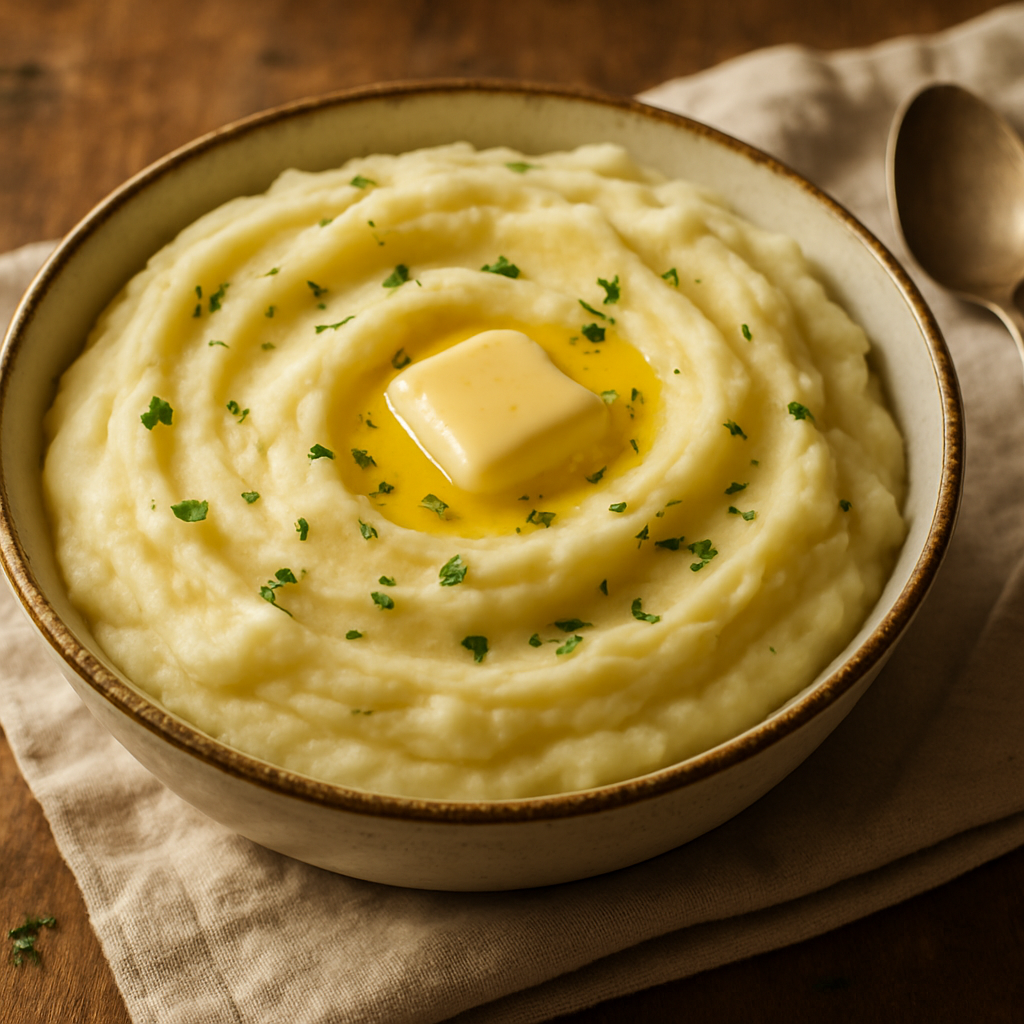
Grandma’s Creamy Mashed Potatoes: Fluffy, Buttery, and Full of Flavor

In grandma’s kitchen, mashed potatoes were never an afterthought. They were a star on the table — smooth, rich, and seasoned to perfection. Whether served with gravy, alongside roast beef, or with a pat of melting butter, her mashed potatoes were the ultimate comfort food side dish.

In this guide, we’ll show you how to make classic creamy mashed potatoes from scratch — the way grandma always did them: simple, hearty, and irresistibly good.

Why These Mashed Potatoes Are So Loved

  • Perfectly fluffy and smooth
  • Rich in butter and creaminess
  • Seasoned just right — not bland, not salty
  • Made with real potatoes, not flakes
  • A versatile base for countless meals

Let’s begin with the basics.

Ingredients for Grandma’s Mashed Potatoes

This recipe serves 4 to 6 people.

  • 2 pounds (900g) Yukon Gold or Russet potatoes, peeled and cut into chunks
  • 4 tablespoons unsalted butter (plus more for topping)
  • ½ to ¾ cup whole milk or cream (warmed)
  • Salt to taste (about 1 ½ teaspoons)
  • Freshly ground black pepper, to taste
  • Optional: garlic, sour cream, cream cheese, or herbs for added flavor

Yukon Gold gives a buttery texture, while Russet makes it fluffy. A mix works beautifully too.

Step-by-Step Instructions

1. Boil the Potatoes

Place the peeled, chopped potatoes in a large pot. Cover with cold, salted water.

Bring to a boil and simmer for 15–20 minutes, or until fork-tender.

Grandma’s Tip: Always start with cold water so the potatoes cook evenly.

2. Drain and Dry

Drain the potatoes and return them to the pot.

Place the pot back on low heat for 1–2 minutes, stirring occasionally — this helps evaporate excess water and makes the mash creamier.

3. Mash the Potatoes

Use a potato masher, ricer, or hand mixer (depending on your desired texture). Mash until smooth.

4. Add Butter and Milk

Stir in butter until fully melted.

Gradually add warm milk (or cream), a little at a time, until you reach your desired consistency — fluffy, smooth, and creamy.

5. Season to Taste

Add salt and pepper to taste. Stir well and taste again.

If desired, stir in extras like garlic, sour cream, or herbs.

6. Serve Warm

Transfer to a serving dish. Top with a pat of butter, chopped parsley, or gravy if desired.

Serve immediately while hot and fresh.

Add-In Variations

Customize your mashed potatoes to suit the meal or occasion:

  • Garlic Mashed Potatoes: Add roasted or sautéed garlic cloves
  • Cheddar & Chive Mash: Stir in sharp cheddar and fresh chives
  • Sour Cream & Onion: Mix in sour cream and caramelized onions
  • Cream Cheese Mash: Add 2–3 tablespoons of cream cheese for extra richness
  • Herb Mash: Fold in fresh thyme, rosemary, or dill

How to Make Ahead and Store

Make-Ahead:

  • Prepare mashed potatoes, then place in a buttered baking dish
  • Cover and refrigerate up to 2 days
  • Reheat in the oven at 175°C (350°F), covered with foil, until warm

Store Leftovers:

  • Refrigerate in an airtight container for up to 4 days

Reheat:

  • Stovetop: Reheat gently with a splash of milk and butter
  • Microwave: Reheat in short bursts, stirring often
  • Oven: Cover with foil and heat until warm through

Grandma’s Tips for the Best Mashed Potatoes

  • Don’t overmix — especially with a mixer, or you’ll get gluey texture
  • Warm the milk and butter before adding
  • Salt the water — this seasons the potatoes from within
  • Choose the right potato — starchy is best for fluffiness
  • Mash while hot — they absorb ingredients better warm

Serving Ideas

These mashed potatoes go beautifully with:

  • Roast chicken or turkey
  • Pot roast or meatloaf
  • Gravy, mushroom sauce, or butter drizzles
  • Grilled veggies or sautéed greens

Or enjoy them with just a spoon — grandma certainly did!

Final Thoughts: A Side Dish with Soul

Grandma’s mashed potatoes weren’t just filler on the plate — they were part of the memory. Passed around the table in a warm bowl, scooped generously with love, and always, always made from scratch.

Now you can keep the tradition alive with this rich, fluffy, and foolproof recipe that’s been loved for generations.

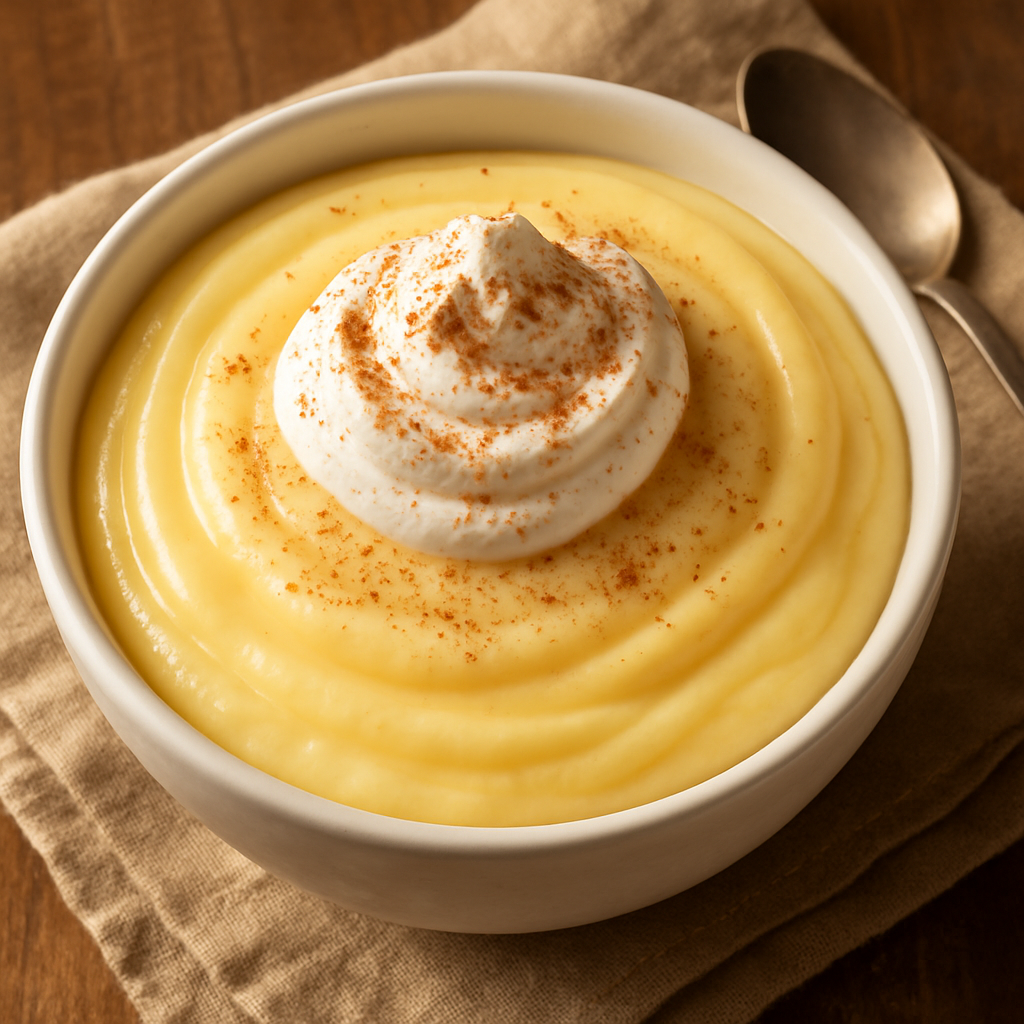
Grandma’s Homemade Vanilla Pudding: A Silky, Creamy Dessert Straight from the Heart

Before instant pudding mix was a kitchen staple, grandma was already whipping up batches of smooth, homemade vanilla pudding using just a handful of real ingredients. With its silky texture and rich, comforting flavor, it was one of those desserts that felt like a warm hug in a bowl.

In this guide, you’ll learn how to make vanilla pudding from scratch, using the same simple techniques and ingredients grandma used — no packets, no preservatives, just creamy goodness.

Why Homemade Pudding Is Worth It

Store-bought puddings might be fast, but nothing compares to the flavor and texture of the real thing. Here’s why:

  • Uses real milk, eggs, and vanilla
  • Richer, creamier texture than instant mixes
  • Perfect base for other flavors (chocolate, banana, coconut)
  • Great for layering into trifles or topping with fruit
  • Brings back that nostalgic, old-fashioned dessert vibe

Let’s start with the ingredients.

Ingredients for Homemade Vanilla Pudding

This recipe makes about 4–6 servings.

  • 2 ½ cups whole milk
  • ½ cup granulated sugar
  • ¼ cup cornstarch
  • ¼ teaspoon salt
  • 3 large egg yolks
  • 2 tablespoons unsalted butter
  • 1 ½ teaspoons pure vanilla extract

Optional: Add a splash of cream for a richer finish or a pinch of nutmeg for warmth.

Step-by-Step Instructions

1. Mix the Dry Ingredients

In a medium saucepan (off the heat), whisk together the sugar, cornstarch, and salt.

This prevents clumping when you add the milk.

2. Add the Milk and Yolks

Gradually whisk in the milk, then the egg yolks. Make sure everything is fully combined and smooth.

Grandma’s Tip: Strain the egg yolks if you want extra silky pudding.

3. Heat Gently and Stir Constantly

Place the saucepan over medium heat. Cook the mixture, stirring constantly, until it thickens and starts to bubble — about 8–10 minutes.

Once bubbles appear, cook for 1 more minute while continuing to stir. The pudding should coat the back of a spoon.

4. Remove from Heat and Add Butter & Vanilla

Turn off the heat. Stir in the butter and vanilla extract until smooth and fully melted.

Butter gives the pudding that classic creamy sheen and richness.

5. Strain (Optional) and Cool

For extra smoothness, pour the pudding through a fine-mesh sieve into a bowl.

Cover with plastic wrap pressed directly onto the surface to prevent a skin from forming.

Chill for at least 2 hours before serving — or enjoy it warm if you’re like grandma.

How to Serve Vanilla Pudding

Homemade vanilla pudding is incredibly versatile. Try it:

  • As is, with a sprinkle of cinnamon or nutmeg
  • Topped with berries or banana slices
  • Layered with crushed cookies or cake in a trifle
  • With whipped cream and chocolate shavings
  • As a filling for pies, donuts, or tarts

Grandma sometimes served it in vintage teacups with a biscuit on the side.

Make-Ahead and Storage Tips

  • Store pudding in an airtight container in the fridge for up to 4 days
  • Press plastic wrap directly on the surface to prevent skin
  • Stir before serving to smooth it out
  • Do not freeze — texture will suffer after thawing

Flavor Variations

Once you master the vanilla base, the possibilities are endless:

  • Chocolate Pudding: Add ½ cup cocoa powder or 100g melted dark chocolate
  • Banana Pudding: Layer with fresh banana slices and vanilla wafers
  • Coconut Pudding: Replace 1 cup of milk with coconut milk and add shredded coconut
  • Coffee Pudding: Stir in 1 tsp instant espresso powder with the milk
  • Lemon Pudding: Replace vanilla with lemon zest and a few tablespoons of lemon juice

Tips for Perfect Pudding Every Time

  • Use whole milk for best creaminess
  • Don’t stop stirring once it starts to heat up — this avoids lumps
  • Add eggs gradually to avoid scrambling
  • Cool slowly to avoid watery pudding
  • Strain after cooking for a gourmet finish

Final Thoughts: A Bowl Full of Comfort

Grandma’s vanilla pudding wasn’t just dessert. It was a sweet reward after a long day, a soothing treat for upset stomachs, and a creamy reminder that the best things in life are often the simplest.

With just a few ingredients and a little patience, you can recreate that same sense of home, warmth, and nostalgia in every spoonful.