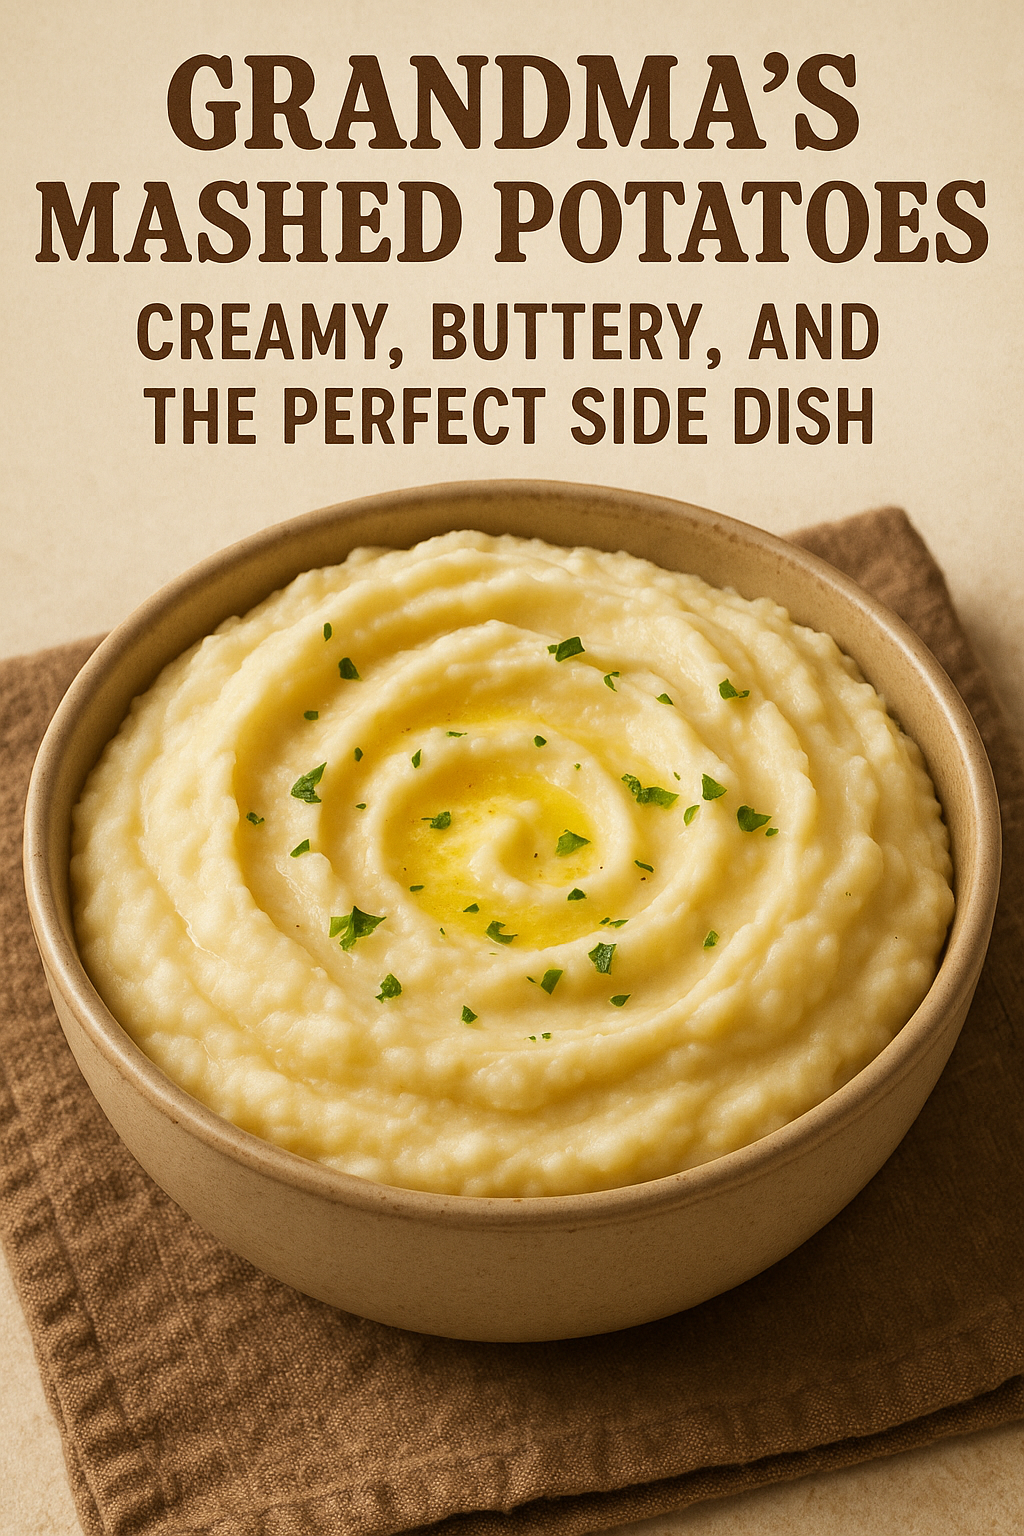
When it came to comfort food, grandma’s mashed potatoes were unbeatable. Creamy, fluffy, rich, and smooth — they were the heart of every holiday table and the ultimate companion to roasts, stews, and gravy.
In this article, you’ll learn how to make perfect mashed potatoes from scratch, just like grandma used to, using simple ingredients and a few key tips to get them light and luscious every time.
Why These Mashed Potatoes Are the Best
- Incredibly creamy and buttery
- Made with real potatoes, milk, and butter
- Perfect for everyday meals or special occasions
- Easy to customize with herbs, garlic, or cheese
- Can be made ahead and reheated without drying out
Ingredients for Homemade Mashed Potatoes
Serves 6–8 people.
- 3 lbs (about 1.4 kg) Yukon Gold or Russet potatoes, peeled and cut into chunks
- ½ cup (1 stick) unsalted butter
- 1 cup whole milk (or heavy cream for extra richness)
- Salt, to taste
- Freshly ground black pepper, to taste
- Optional: 2 cloves garlic, smashed (for garlic mashed potatoes)
Step-by-Step Instructions
1. Peel and Chop the Potatoes
Peel the potatoes and cut them into even chunks — about 2-inch pieces.
Place them in a large pot and cover with cold water. Add 1 tablespoon of salt to the water.
Grandma’s tip: Always start with cold water to ensure even cooking.
2. Boil the Potatoes
Bring the pot to a boil over medium-high heat.
Cook until the potatoes are fork-tender, about 15–20 minutes.
Drain the potatoes well and return them to the pot.
3. Heat the Milk and Butter
In a small saucepan (or microwave-safe bowl), warm the milk and butter until melted and hot. Do not boil.
This helps absorb better into the potatoes.
4. Mash the Potatoes
Use a potato masher, ricer, or hand mixer to mash the hot potatoes.
Slowly pour in the warm milk-butter mixture while mashing until smooth and fluffy.
Season with salt and pepper to taste.
Serving Suggestions
- Topped with gravy or melted butter
- Paired with roast chicken, turkey, beef, or pork
- With meatloaf and green beans
- Served under beef stew or chicken pot pie filling
- As a base for shepherd’s pie
Optional Add-Ins and Flavor Variations
- Garlic Mashed Potatoes: Boil smashed garlic cloves with the potatoes
- Cheddar Mashed Potatoes: Add shredded sharp cheddar after mashing
- Herbed Potatoes: Stir in chopped chives, parsley, or thyme
- Cream Cheese Potatoes: Add 2–4 tbsp cream cheese for extra tang
- Loaded Mashed Potatoes: Add bacon, sour cream, green onion, and cheese
How to Store and Reheat
Store:
- Refrigerate in an airtight container for up to 4 days
Reheat:
- Stovetop: Add a splash of milk and stir over low heat
- Microwave: Reheat in intervals, stirring and adding milk as needed
- Oven: Cover with foil and bake at 160°C (325°F) for 20 minutes
Freeze:
- Freeze in a freezer-safe bag or container for up to 1 month
- Thaw in the fridge overnight and reheat with milk and butter
Tips for the Best Texture
- Use starchy potatoes (Russet or Yukon Gold) for fluffier mash
- Don’t overwork the potatoes — mashing too much makes them gluey
- Always add warm liquids, not cold
- Taste and adjust seasoning at the end
- Use a ricer for extra-smooth mashed potatoes
Common Mistakes to Avoid
- Lumpy mash? Potatoes weren’t fully cooked or mashed evenly
- Gummy texture? Potatoes were overmixed or under-drained
- Bland flavor? Not enough salt or butter
- Watery mash? Overcooked or too much milk added at once
Grandma’s Final Touch
Before serving, grandma always added a pat of butter on top, a sprinkle of fresh chives, or a little paprika for color. It wasn’t just food — it was her way of saying “I love you.”
Final Thoughts: The Creamy Side of Home
Mashed potatoes may seem simple, but when made with care — like grandma did — they become something extraordinary. Creamy, rich, and always comforting, this recipe brings old-fashioned flavor and love to every plate.
Try it today, and pass the tradition on.


