Grandma’s Rice Pudding Creamy, Sweet, and Full of Nostalgia

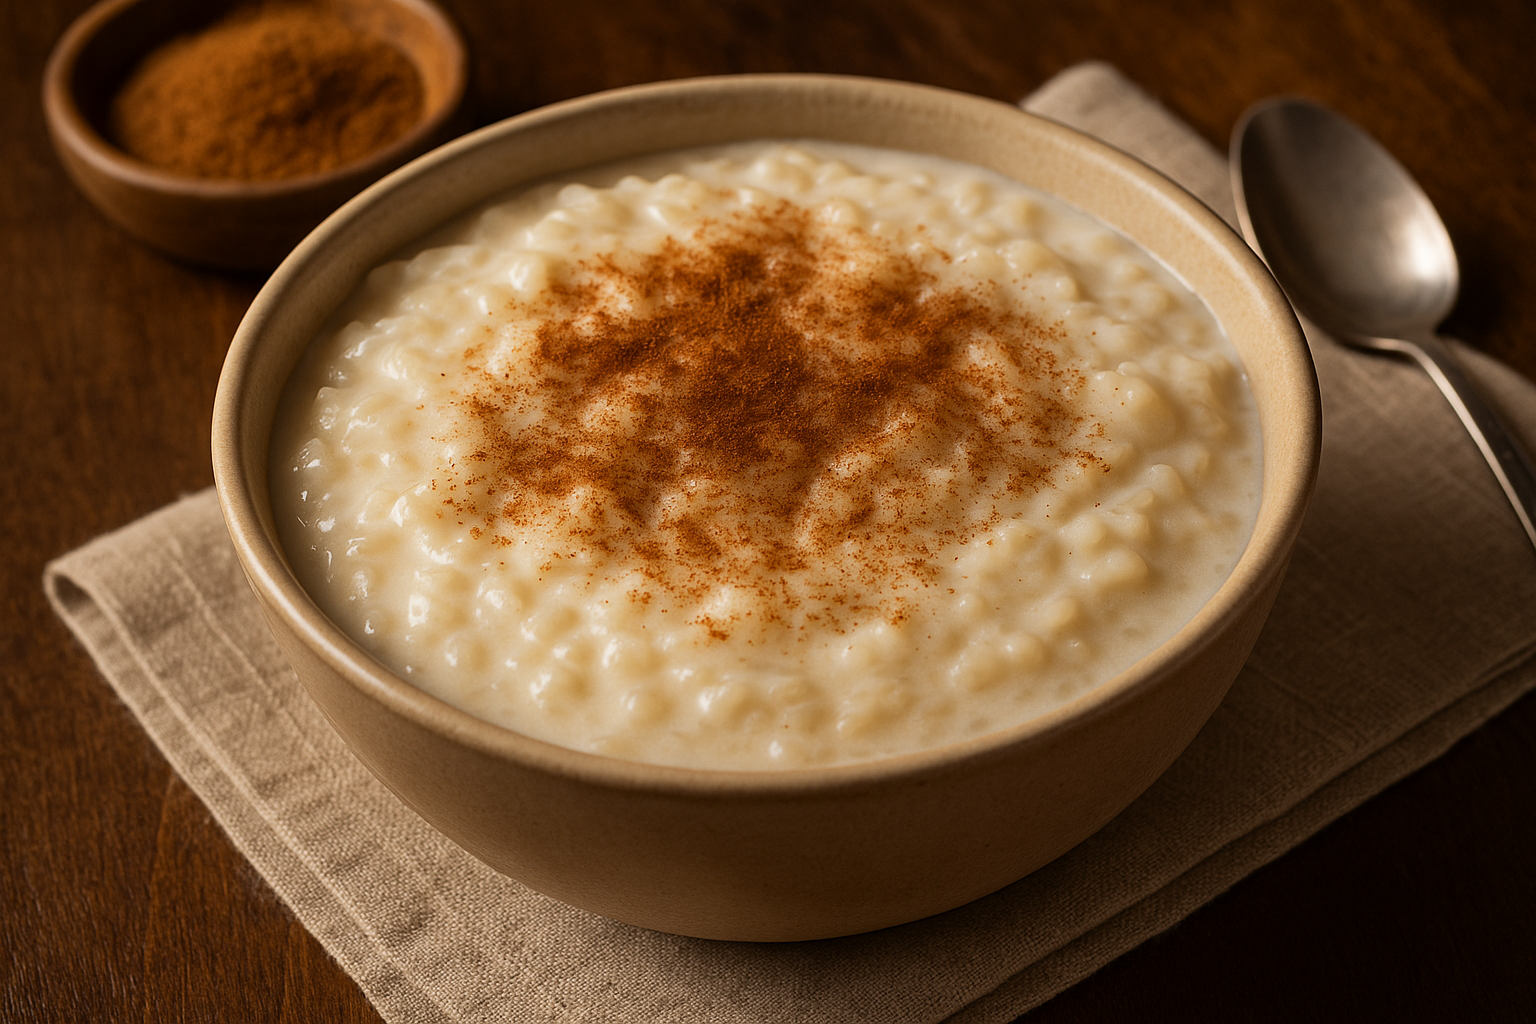
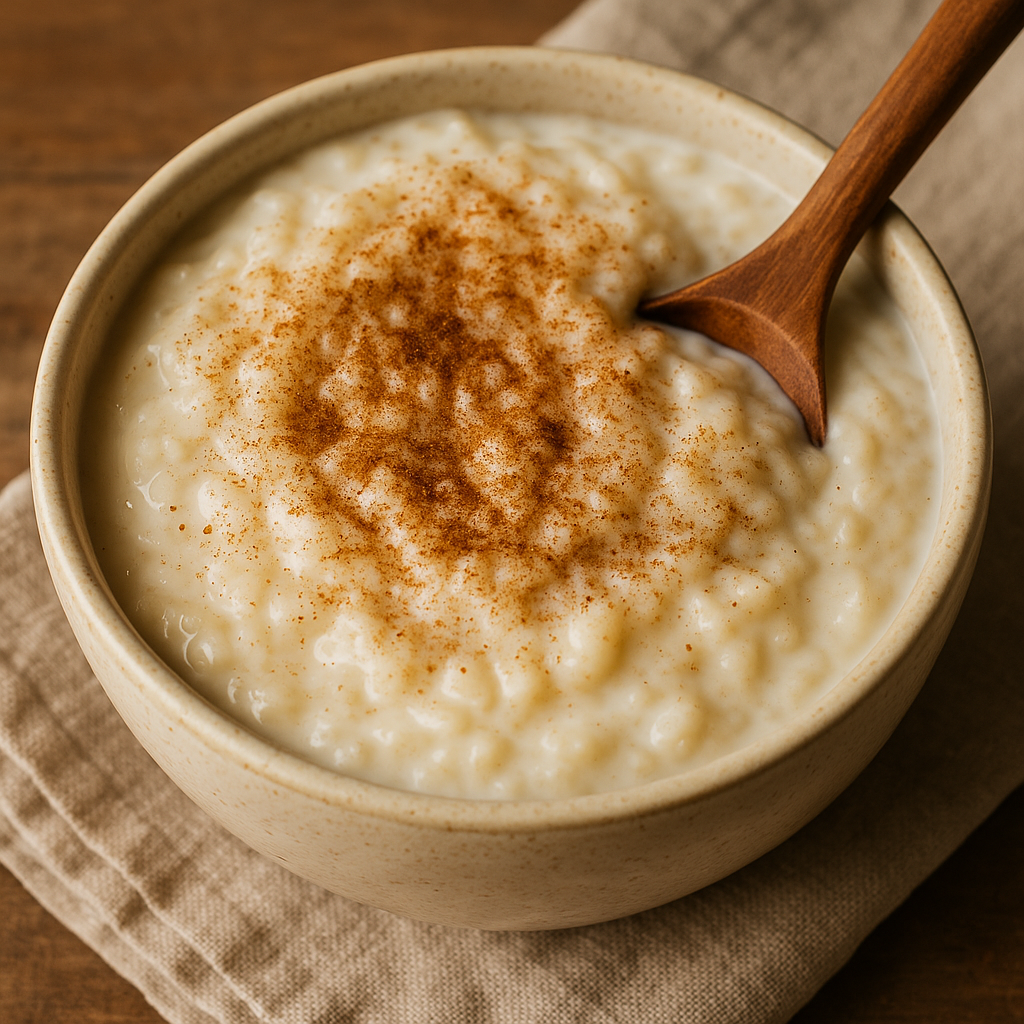
Rice pudding was one of grandma’s most comforting desserts — a warm, creamy bowl of lightly sweetened rice with hints of cinnamon, vanilla, and love. Whether served warm or chilled, it was simple, satisfying, and always made with care.

In this article, you’ll learn how to make classic stovetop rice pudding from scratch, just like grandma used to — no shortcuts, just real ingredients and timeless flavor.

Why You’ll Love This Rice Pudding

  • Creamy and smooth texture
  • Lightly sweet with hints of cinnamon and vanilla
  • Easy to make with basic pantry staples
  • Can be served warm or cold
  • Perfect for breakfast, dessert, or late-night comfort

Ingredients for Grandma’s Rice Pudding

Makes 4–6 servings.

  • 1 cup uncooked white rice (short or medium grain preferred)
  • 2 cups water
  • 4 cups whole milk
  • ½ cup granulated sugar
  • ¼ teaspoon salt
  • 1 teaspoon vanilla extract
  • ½ teaspoon ground cinnamon (optional)
  • ¼ teaspoon ground nutmeg (optional)
  • 1 tablespoon butter (optional, for richness)
  • Optional: raisins, golden raisins, or chopped nuts for garnish

Step-by-Step Instructions

1. Cook the Rice

In a medium saucepan, bring 2 cups of water to a boil.

Add the rice and a pinch of salt. Reduce heat to low, cover, and simmer until rice is tender and water is absorbed (about 15–18 minutes).

2. Add the Milk and Sugar

Add the milk, sugar, cinnamon, and nutmeg (if using) to the cooked rice.

Increase heat to medium and stir until the sugar dissolves.

3. Simmer the Pudding

Cook uncovered, stirring often, until the mixture thickens and becomes creamy — about 25–30 minutes.

Stir frequently to prevent scorching on the bottom.

Grandma’s tip: Be patient — the longer it simmers, the creamier it becomes.

4. Finish and Flavor

Remove from heat and stir in vanilla extract and butter (if using).

Let sit for 5–10 minutes to thicken slightly more.

5. Serve

Spoon into bowls and enjoy warm, or chill in the refrigerator for a few hours if you prefer it cold.

Top with extra cinnamon, raisins, or a splash of cream.

Serving Suggestions

  • With a sprinkle of cinnamon or nutmeg
  • Drizzled with honey or maple syrup
  • Topped with toasted nuts or coconut
  • With fruit compote or jam
  • Served in a mug with warm milk at bedtime

Storage and Reheating

Store:

  • Refrigerate in an airtight container for up to 4 days

Reheat:

  • Microwave or gently warm on the stovetop
  • Add a splash of milk to loosen if it’s too thick

Freeze:

  • Not recommended — texture becomes grainy after thawing

Variations to Try

  • Raisin Rice Pudding: Stir in ½ cup raisins during the last 10 minutes
  • Coconut Rice Pudding: Replace 1 cup of milk with coconut milk
  • Lemon Rice Pudding: Add lemon zest for brightness
  • Chocolate Rice Pudding: Stir in cocoa powder or melted chocolate
  • Spiced Rice Pudding: Add cardamom, cloves, or star anise for an exotic touch

Common Mistakes to Avoid

  • Too thin? Keep simmering — it thickens as it cools
  • Too thick? Stir in extra warm milk
  • Burning at the bottom? Stir frequently and use medium-low heat
  • Grainy texture? Use whole milk and avoid boiling too rapidly

Grandma’s Tips for Creamy Perfection

  • Use whole milk for richness
  • Stir regularly, especially as it thickens
  • Let it sit for a few minutes off the heat before serving
  • A pat of butter at the end adds silkiness and depth
  • Taste and adjust sweetness as needed — grandma always did

Final Thoughts: A Sweet, Simple Hug in a Bowl

Rice pudding is one of those classic recipes that never go out of style. It’s soothing, nostalgic, and made with the kind of gentle care that only grandma could give.

Whether you serve it warm on a rainy evening or chilled as a summer treat, it’s sure to bring comfort and smiles every time.

Grandma’s Homemade Vanilla Pudding: A Silky, Creamy Dessert Straight from the Heart

Before instant pudding mix was a kitchen staple, grandma was already whipping up batches of smooth, homemade vanilla pudding using just a handful of real ingredients. With its silky texture and rich, comforting flavor, it was one of those desserts that felt like a warm hug in a bowl.

In this guide, you’ll learn how to make vanilla pudding from scratch, using the same simple techniques and ingredients grandma used — no packets, no preservatives, just creamy goodness.

Why Homemade Pudding Is Worth It

Store-bought puddings might be fast, but nothing compares to the flavor and texture of the real thing. Here’s why:

  • Uses real milk, eggs, and vanilla
  • Richer, creamier texture than instant mixes
  • Perfect base for other flavors (chocolate, banana, coconut)
  • Great for layering into trifles or topping with fruit
  • Brings back that nostalgic, old-fashioned dessert vibe

Let’s start with the ingredients.

Ingredients for Homemade Vanilla Pudding

This recipe makes about 4–6 servings.

  • 2 ½ cups whole milk
  • ½ cup granulated sugar
  • ¼ cup cornstarch
  • ¼ teaspoon salt
  • 3 large egg yolks
  • 2 tablespoons unsalted butter
  • 1 ½ teaspoons pure vanilla extract

Optional: Add a splash of cream for a richer finish or a pinch of nutmeg for warmth.

Step-by-Step Instructions

1. Mix the Dry Ingredients

In a medium saucepan (off the heat), whisk together the sugar, cornstarch, and salt.

This prevents clumping when you add the milk.

2. Add the Milk and Yolks

Gradually whisk in the milk, then the egg yolks. Make sure everything is fully combined and smooth.

Grandma’s Tip: Strain the egg yolks if you want extra silky pudding.

3. Heat Gently and Stir Constantly

Place the saucepan over medium heat. Cook the mixture, stirring constantly, until it thickens and starts to bubble — about 8–10 minutes.

Once bubbles appear, cook for 1 more minute while continuing to stir. The pudding should coat the back of a spoon.

4. Remove from Heat and Add Butter & Vanilla

Turn off the heat. Stir in the butter and vanilla extract until smooth and fully melted.

Butter gives the pudding that classic creamy sheen and richness.

5. Strain (Optional) and Cool

For extra smoothness, pour the pudding through a fine-mesh sieve into a bowl.

Cover with plastic wrap pressed directly onto the surface to prevent a skin from forming.

Chill for at least 2 hours before serving — or enjoy it warm if you’re like grandma.

How to Serve Vanilla Pudding

Homemade vanilla pudding is incredibly versatile. Try it:

  • As is, with a sprinkle of cinnamon or nutmeg
  • Topped with berries or banana slices
  • Layered with crushed cookies or cake in a trifle
  • With whipped cream and chocolate shavings
  • As a filling for pies, donuts, or tarts

Grandma sometimes served it in vintage teacups with a biscuit on the side.

Make-Ahead and Storage Tips

  • Store pudding in an airtight container in the fridge for up to 4 days
  • Press plastic wrap directly on the surface to prevent skin
  • Stir before serving to smooth it out
  • Do not freeze — texture will suffer after thawing

Flavor Variations

Once you master the vanilla base, the possibilities are endless:

  • Chocolate Pudding: Add ½ cup cocoa powder or 100g melted dark chocolate
  • Banana Pudding: Layer with fresh banana slices and vanilla wafers
  • Coconut Pudding: Replace 1 cup of milk with coconut milk and add shredded coconut
  • Coffee Pudding: Stir in 1 tsp instant espresso powder with the milk
  • Lemon Pudding: Replace vanilla with lemon zest and a few tablespoons of lemon juice

Tips for Perfect Pudding Every Time

  • Use whole milk for best creaminess
  • Don’t stop stirring once it starts to heat up — this avoids lumps
  • Add eggs gradually to avoid scrambling
  • Cool slowly to avoid watery pudding
  • Strain after cooking for a gourmet finish

Final Thoughts: A Bowl Full of Comfort

Grandma’s vanilla pudding wasn’t just dessert. It was a sweet reward after a long day, a soothing treat for upset stomachs, and a creamy reminder that the best things in life are often the simplest.

With just a few ingredients and a little patience, you can recreate that same sense of home, warmth, and nostalgia in every spoonful.

Grandma’s Secret to the Perfect Rice Pudding: Creamy, Sweet, and Timeless

If you ever walked into grandma’s kitchen and caught the scent of vanilla, cinnamon, and warm milk, chances are she was making her famous rice pudding. Silky, sweet, and subtly spiced, this humble dessert has been passed down through generations — not just as a treat, but as a taste of comfort and tradition.

In this guide, you’ll learn how to make perfect, creamy rice pudding from scratch — the same way grandma did it: slow-cooked, simple, and made with love.

Why Rice Pudding Is a Classic Comfort Dessert

Rice pudding is one of those dishes that transcends trends. Here’s why it’s been loved for so long:

  • Uses basic pantry ingredients
  • Naturally gluten-free
  • Can be served warm or chilled
  • Customizable with fruits, spices, and toppings
  • Satisfies your sweet tooth without being too heavy

Most importantly, it brings back memories of slow, cozy evenings and warm kitchen tables.

Ingredients for Classic Rice Pudding

This recipe makes 4–6 servings.

Basic Ingredients:

  • 1 cup uncooked white rice (short- or medium-grain preferred)
  • 4 cups whole milk (or half milk, half cream for richer texture)
  • ½ cup granulated sugar
  • 1 cinnamon stick (or ½ tsp ground cinnamon)
  • 1 teaspoon vanilla extract
  • Pinch of salt
  • 1 egg (optional, for a thicker custard-style pudding)
  • 2 tablespoons butter (optional, for richness)

Optional Add-ins:

  • Raisins or chopped dried fruits
  • Lemon or orange zest
  • Ground nutmeg
  • Coconut milk for a tropical version
  • Sweetened condensed milk instead of sugar

Step-by-Step Instructions

1. Rinse the Rice

Rinse the rice under cold water until the water runs clear. This removes excess starch and prevents stickiness.

2. Cook the Rice (If Using Raw)

In a medium saucepan, bring 2 cups of water to a boil. Add the rice and a pinch of salt. Reduce the heat, cover, and simmer until the rice is just cooked, about 10–15 minutes. Drain if necessary.

Shortcut: You can use leftover cooked rice — just skip to the next step and reduce the total cooking time.

3. Simmer with Milk and Cinnamon

Add the milk, sugar, and cinnamon stick to the cooked rice. Stir gently and bring to a low simmer over medium heat.

Cook uncovered, stirring frequently, for 30–40 minutes, or until the mixture thickens and becomes creamy.

Stirring often prevents the milk from scalding and helps break down the rice for that silky texture.

4. Add the Egg (Optional)

For a custard-style pudding:

  • In a small bowl, beat one egg.
  • Slowly add a few tablespoons of hot rice pudding to the egg, whisking to temper it.
  • Then slowly stir the egg mixture back into the pot.
  • Continue to cook for 3–5 more minutes, stirring constantly.

5. Finish with Vanilla and Butter

Remove the pudding from heat. Discard the cinnamon stick.

Stir in the vanilla extract and butter (if using) for extra creaminess.

Let it rest for 5–10 minutes before serving. It will continue to thicken as it cools.

How to Serve Rice Pudding

You can enjoy this dish in many ways, just like grandma did:

  • Warm, straight from the pot — the ultimate comfort
  • Chilled, with a sprinkle of cinnamon on top
  • With fresh berries or banana slices
  • Topped with toasted nuts or coconut flakes
  • Drizzled with honey or caramel sauce

Grandma often sprinkled cinnamon sugar on top and served it in teacups for a charming touch.

Storage Tips

  • Refrigerate in an airtight container for up to 4 days.
  • Add a splash of milk before reheating to restore creaminess.
  • Best served warm or cold — not frozen, as texture may change.

Common Mistakes and How to Avoid Them

  • Boiling the milk too hard: Simmer gently to avoid curdling
  • Not stirring enough: Frequent stirring gives you that creamy texture
  • Using long-grain rice: It won’t break down as nicely
  • Adding sugar too late: Add early so it dissolves and thickens the mixture
  • Overcooking: Stop cooking when the pudding is still slightly loose — it will thicken as it cools

Make It Your Own: Creative Variations

Looking to experiment? Try these twists:

  • Chocolate rice pudding: Add cocoa powder and dark chocolate chunks
  • Coconut-lime version: Use coconut milk and add lime zest
  • Spiced chai version: Add cardamom, clove, and ginger
  • Maple and pecan: Stir in maple syrup and top with toasted nuts
  • Tropical twist: Use pineapple, mango, or passionfruit puree as topping

Final Thoughts: A Spoonful of Nostalgia

There’s a reason rice pudding has stood the test of time. It’s simple, soulful, and endlessly adaptable — a dessert that can be dressed up or kept plain, and always delivers warmth.

Grandma knew that the best recipes didn’t come from cookbooks. They came from memory, repetition, and a touch of love in every stir. Now, with this guide, you can bring that same warmth to your own table — one creamy spoonful at a time.