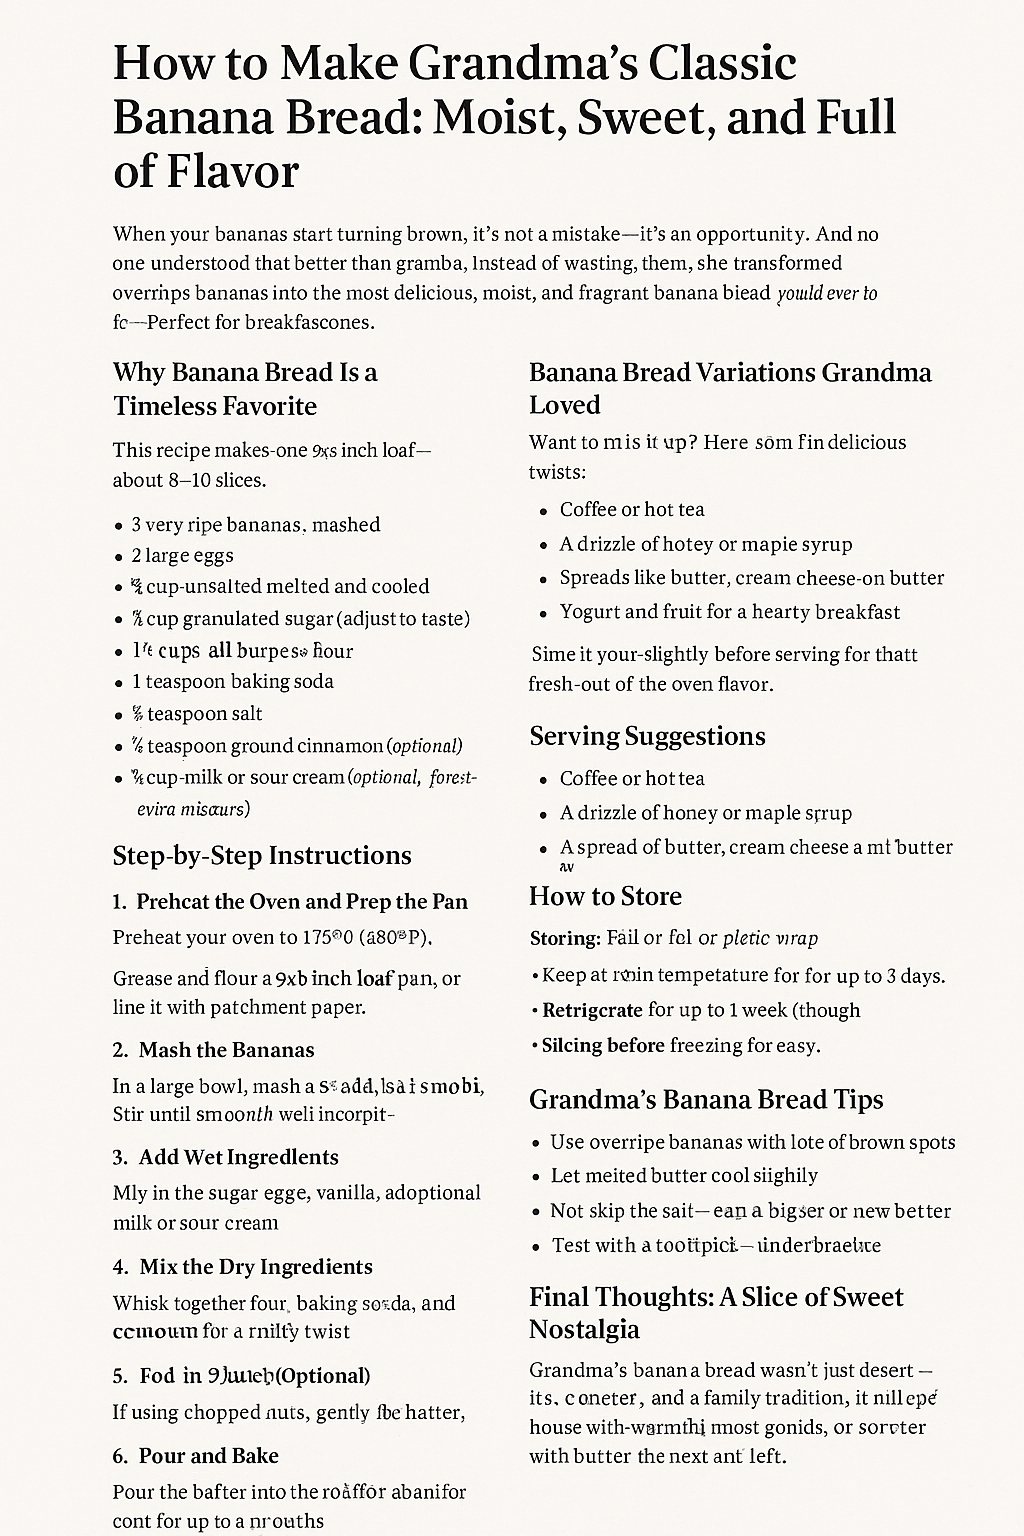
Grandma’s Old-Fashioned Cornbread: Golden, Moist, and Perfectly Sweet

Served warm from a cast-iron skillet with a pat of butter melting on top, grandma’s cornbread was the definition of simple Southern comfort. Slightly sweet, tender in the center, and golden on the edges, it was a staple at family meals — especially with soups, stews, and chili.

In this article, you’ll learn how to make homemade cornbread the old-fashioned way, with easy steps and ingredients you already have at home.


Why You’ll Love This Cornbread

  • Made from scratch in under 30 minutes
  • Moist and tender inside, with crispy golden edges
  • Lightly sweet — perfect with both savory and sweet meals
  • Versatile: bake it in a skillet, muffin tin, or baking dish
  • Delicious served warm with honey, butter, or jam

Ingredients for Classic Cornbread

This recipe serves 8 people.

  • 1 cup cornmeal (yellow or white)
  • 1 cup all-purpose flour
  • ¼ cup granulated sugar (adjust to taste)
  • 1 tablespoon baking powder
  • ½ teaspoon salt
  • 1 cup buttermilk (or milk + lemon juice substitute)
  • 2 large eggs
  • ½ cup unsalted butter, melted (plus extra for greasing pan)

Optional Add-ins: corn kernels, shredded cheese, diced jalapeños, or chopped herbs


Step-by-Step Instructions

1. Preheat Your Oven

Preheat to 200°C (400°F).

Grease a cast iron skillet, square baking dish, or muffin pan with butter.

If using a skillet, place it in the oven to preheat — this helps create a crispy crust.


2. Mix the Dry Ingredients

In a large bowl, whisk together the cornmeal, flour, sugar, baking powder, and salt.


3. Mix the Wet Ingredients

In another bowl, combine the buttermilk, eggs, and melted butter. Stir until fully blended.


4. Combine and Pour

Pour the wet ingredients into the dry ingredients and mix until just combined.

Don’t overmix — a few lumps are fine!

Carefully pour the batter into the hot greased skillet or pan.


5. Bake

Bake for 20–25 minutes, or until the top is golden and a toothpick inserted in the center comes out clean.

Let cool for 5–10 minutes before slicing and serving.


Serving Suggestions

  • With chili, soup, or stew
  • Slathered in butter and drizzled with honey
  • Alongside fried chicken or barbecue
  • Crumbled into collard greens or beans
  • As a base for stuffing or cornbread dressing

How to Store and Reheat

Store:

  • Cover and store at room temp for up to 2 days
  • Refrigerate for up to 5 days

Reheat:

  • Microwave individual slices or reheat in oven at 175°C (350°F)

Freeze:

  • Wrap slices individually in foil or plastic and freeze for up to 2 months

Variations You Can Try

  • Southern-Style: Leave out sugar for a savory cornbread
  • Sweet Cornbread: Double the sugar or add honey
  • Cheesy Jalapeño: Mix in shredded cheddar and chopped peppers
  • Cornbread Muffins: Bake in muffin tins for about 15 minutes
  • Gluten-Free: Use gluten-free all-purpose flour blend

Grandma’s Tips for Perfect Cornbread

  • Preheat the skillet — this gives the cornbread a golden, crispy edge
  • Use real buttermilk for authentic flavor and fluffiness
  • Melt the butter and let it cool slightly before mixing
  • Don’t overbake — it should be moist in the center, not dry
  • Serve it warm — that’s when the flavor shines

Final Thoughts: A Southern Tradition in Every Slice

Whether served with stew, smothered in honey, or enjoyed straight from the skillet, grandma’s cornbread is the kind of simple, soul-satisfying food that brings people together.

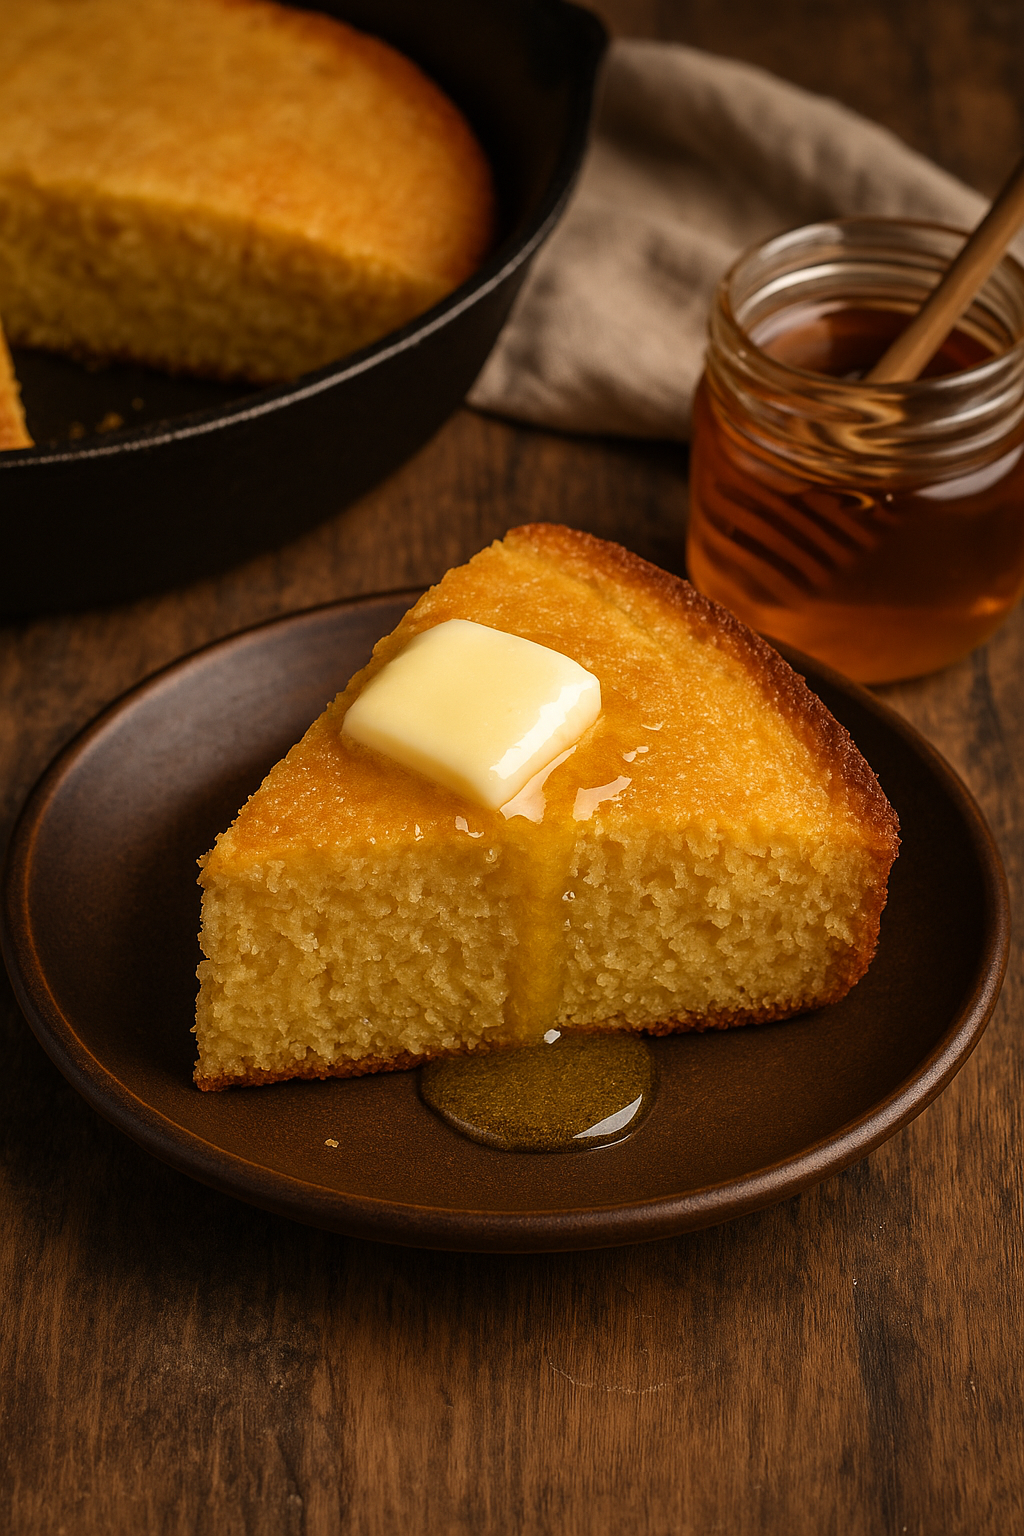
How to Make Grandma’s Classic Banana Bread: Moist, Sweet, and Full of Flavor

When your bananas start turning brown, it’s not a mistake — it’s an opportunity. And no one understood that better than grandma. Instead of wasting them, she transformed overripe bananas into the most delicious, moist, and fragrant banana bread you could imagine.

In this guide, you’ll learn how to make banana bread the old-fashioned way, just like grandma used to — simple ingredients, no fancy gadgets, and a loaf so rich and comforting it barely lasted a day on the counter.

Why Banana Bread Is a Timeless Favorite

Banana bread is one of the ultimate comfort bakes. Here’s why:

  • Uses up ripe bananas instead of throwing them out
  • Comes together with basic pantry ingredients
  • Moist, tender, and full of sweet banana flavor
  • Delicious warm, cold, toasted — with or without toppings
  • Perfect for breakfast, snacks, or even dessert

Let’s dig into grandma’s secrets for the best banana bread you’ll ever taste.

Ingredients for Grandma’s Banana Bread

This recipe makes one 9×5 inch loaf — about 8–10 slices.

  • 3 very ripe bananas, mashed
  • 2 large eggs
  • ½ cup unsalted butter, melted and cooled
  • ¾ cup granulated sugar (adjust to taste)
  • 1 ½ cups all-purpose flour
  • 1 teaspoon baking soda
  • ½ teaspoon salt
  • 1 teaspoon vanilla extract
  • ½ teaspoon ground cinnamon (optional)
  • ½ cup chopped walnuts or pecans (optional)
  • ¼ cup milk or sour cream (optional, for extra moisture)

Step-by-Step Instructions

1. Preheat the Oven and Prep the Pan

Preheat your oven to 175°C (350°F).

Grease and flour a 9×5-inch loaf pan, or line it with parchment paper for easy removal.

2. Mash the Bananas

In a large bowl, mash the bananas until mostly smooth (a few chunks are okay — they add texture).

Add the melted butter and stir to combine.

3. Add Wet Ingredients

Mix in the sugar, eggs, vanilla, and milk or sour cream if using. Stir until smooth and well incorporated.

4. Mix the Dry Ingredients

In a separate bowl, whisk together flour, baking soda, salt, and cinnamon.

Gradually add the dry ingredients to the banana mixture, stirring gently just until no flour remains.

Grandma’s Tip: Don’t overmix — overworking the batter can lead to dense bread.

5. Fold in Nuts (Optional)

If using chopped nuts, gently fold them into the batter at the end.

6. Pour and Bake

Pour the batter into your prepared loaf pan and smooth the top with a spatula.

Bake for 50–60 minutes, or until a toothpick inserted into the center comes out clean.

7. Cool and Slice

Let the banana bread cool in the pan for 10–15 minutes, then transfer to a wire rack to cool completely.

Slice and serve warm, room temperature, or toasted with butter.

Banana Bread Variations Grandma Loved

Want to mix it up? Here are some fun and delicious twists:

  • Chocolate Chip Banana Bread: Add ½ cup chocolate chips
  • Peanut Butter Swirl: Swirl 2 tbsp peanut butter into the top before baking
  • Coconut Banana Bread: Add ¼ cup shredded coconut to the batter
  • Maple-Walnut: Replace sugar with maple syrup and fold in walnuts
  • Tropical: Add pineapple chunks and coconut for a fruity twist

Serving Suggestions

Banana bread is perfect on its own, but it also pairs wonderfully with:

  • Coffee or hot tea
  • A drizzle of honey or maple syrup
  • A spread of butter, cream cheese, or nut butter
  • Yogurt and fruit for a hearty breakfast

Warm it slightly before serving for that fresh-out-of-the-oven flavor.

How to Store and Reheat

Storing:

  • Wrap in foil or plastic wrap and keep at room temperature for up to 3 days.
  • Refrigerate for up to 1 week (though it may dry slightly).

Freezing:

  • Wrap tightly in plastic, then foil, and freeze for up to 3 months.
  • Slice before freezing for easy grab-and-go pieces.

Reheating:

  • Toast slices in a toaster or warm briefly in the microwave.
  • For oven reheating, wrap in foil and bake at 150°C (300°F) for 10–15 minutes.

Grandma’s Banana Bread Tips

  • Use overripe bananas with lots of brown spots — they’re sweeter and softer
  • Let melted butter cool slightly so it doesn’t cook the eggs
  • Don’t skip the salt — it enhances the banana flavor
  • Add a banana on top (sliced in half) for a beautiful presentation
  • Test with a toothpick — underbaking is better than overbaking

Final Thoughts: A Slice of Sweet Nostalgia

Grandma’s banana bread wasn’t just dessert — it was a memory, a comfort, and a family tradition. It filled the house with warmth, made everyone gather in the kitchen, and somehow tasted even better the next day (if there was any left).

Whether you’re baking it for your kids, your neighbors, or just for yourself, this classic recipe brings the sweetness of the past into the present.

Now let’s bring this beloved treat to life with a warm, ultra-realistic image of a golden, moist banana bread loaf — freshly sliced and ready to enjoy.

Grandma’s Classic Banana Bread: Moist, Sweet, and Made with Ripe Bananas

There’s something timeless and healing about a big pot of hot, homemade vegetable soup. No matter the season or occasion, grandma’s classic vegetable soup was always there to comfort — whether you were sick, sad, cold, or just hungry. Full of color, flavor, and simple ingredients, it was her way of saying, “Everything will be alright.”

In this article, you’ll learn how to recreate that old-fashioned vegetable soup that simmered gently on grandma’s stove — loaded with fresh vegetables, tender potatoes, and just the right seasoning.

Why This Soup Is So Special

Unlike fancy modern recipes or pre-packaged mixes, grandma’s vegetable soup was:

  • Flexible — she used whatever was in the fridge or garden
  • Nourishing — packed with real ingredients, vitamins, and fiber
  • Fragrant and slow-cooked — building layers of flavor over time
  • Easy to make in big batches for family dinners or freezing later

Best of all, it made the whole house smell like home.

Ingredients You’ll Need

This recipe serves 6–8 hearty portions.

Base Vegetables:

  • 2 tablespoons olive oil or butter
  • 1 medium onion, chopped
  • 2 garlic cloves, minced
  • 2 celery stalks, diced
  • 3 large carrots, peeled and sliced
  • 2 medium potatoes, cubed
  • 1 zucchini, diced
  • 1 cup green beans, chopped
  • 1 cup corn kernels (fresh or frozen)
  • 1 cup green peas (fresh or frozen)
  • 1 can diced tomatoes (400g / 14oz)

Broth and Seasonings:

  • 6 cups vegetable broth or water
  • 1 bay leaf
  • 1 teaspoon dried thyme
  • Salt and pepper to taste
  • Optional: 1 teaspoon smoked paprika or a pinch of chili flakes for warmth

Add-ins and Variations:

  • 1 cup shredded cabbage or kale
  • 1 can of beans (kidney, white, or chickpeas), drained
  • Small pasta (like elbow or ditalini), cooked separately
  • Fresh parsley or basil for garnish
  • Parmesan rind during cooking for extra flavor (optional)

Step-by-Step Instructions

1. Sauté the Base

Heat the oil or butter in a large pot over medium heat. Add the onions and cook until translucent. Stir in the garlic, celery, and carrots. Sauté for about 5–7 minutes until slightly softened.

2. Add the Broth and Hearty Veggies

Add the potatoes, tomatoes (with juice), bay leaf, thyme, and broth. Bring everything to a gentle boil.

Reduce heat and simmer for 20–25 minutes, or until the potatoes and carrots are nearly tender.

Grandma’s Tip: Keep the lid partially on for a richer broth.

3. Add the Remaining Vegetables

Add the green beans, zucchini, corn, and peas. Simmer for another 10–15 minutes, until all the vegetables are soft but not mushy.

If adding beans, leafy greens, or cooked pasta, stir them in now and cook for just a few minutes more.

4. Taste and Adjust

Season with salt and pepper to taste. Add any optional flavor boosts like paprika or chili flakes. Remove bay leaf before serving.

5. Let It Rest

Remove the soup from heat and let it sit for 5–10 minutes before serving. This allows the flavors to meld and deepen — grandma always insisted on this step.

What Makes This Recipe So Flexible?

One of the best things about grandma’s vegetable soup is how adaptable it is:

  • Out of peas? Add broccoli florets.
  • No potatoes? Try sweet potatoes, turnips, or pasta.
  • No broth? Use water and season generously.
  • No fresh veggies? Frozen works too.

This was a “use what you have” recipe — and it always worked.

How to Serve

Grandma’s vegetable soup was often the main course — simple, hearty, and served with:

  • Crusty bread or toast with butter
  • Homemade cornbread or cheese biscuits
  • White rice or noodles on the side
  • A sprinkle of grated Parmesan or cheddar on top

It’s also great as a starter for larger meals or packed in a thermos for school and work lunches.

How to Store and Reheat

Storage:

  • Let the soup cool completely.
  • Store in an airtight container in the fridge for up to 5 days.
  • Or freeze for up to 3 months — perfect for busy weeks!

Reheating:

  • Reheat gently on the stovetop over medium-low heat.
  • Add a splash of water or broth if it thickens too much in the fridge.
  • Stir often and taste before serving.

Grandma’s Tips for the Best Soup Every Time

  • Layer the flavors by adding vegetables in stages.
  • Don’t skip the garlic and onion — they are the aromatic base.
  • Use fresh herbs at the end for brightness.
  • Taste as you go — add salt gradually and adjust at the end.
  • Let it simmer slowly — never rush a good pot of soup.

The Power of a Pot of Soup

This isn’t just soup. It’s:

  • What you ate after playing outside in the cold
  • What grandma made when someone was sick
  • What filled the house with warmth on Sunday evenings
  • What taught you that simple food can be the most satisfying

A pot of vegetable soup is a pot of care, tradition, and nourishment.

Final Thoughts: A Bowl Full of Memories

Recreating grandma’s vegetable soup isn’t about perfection — it’s about comfort. It’s about taking what you have, adding love, and letting it simmer into something beautiful.

This recipe brings warmth to your kitchen and your heart, one bowl at a time.