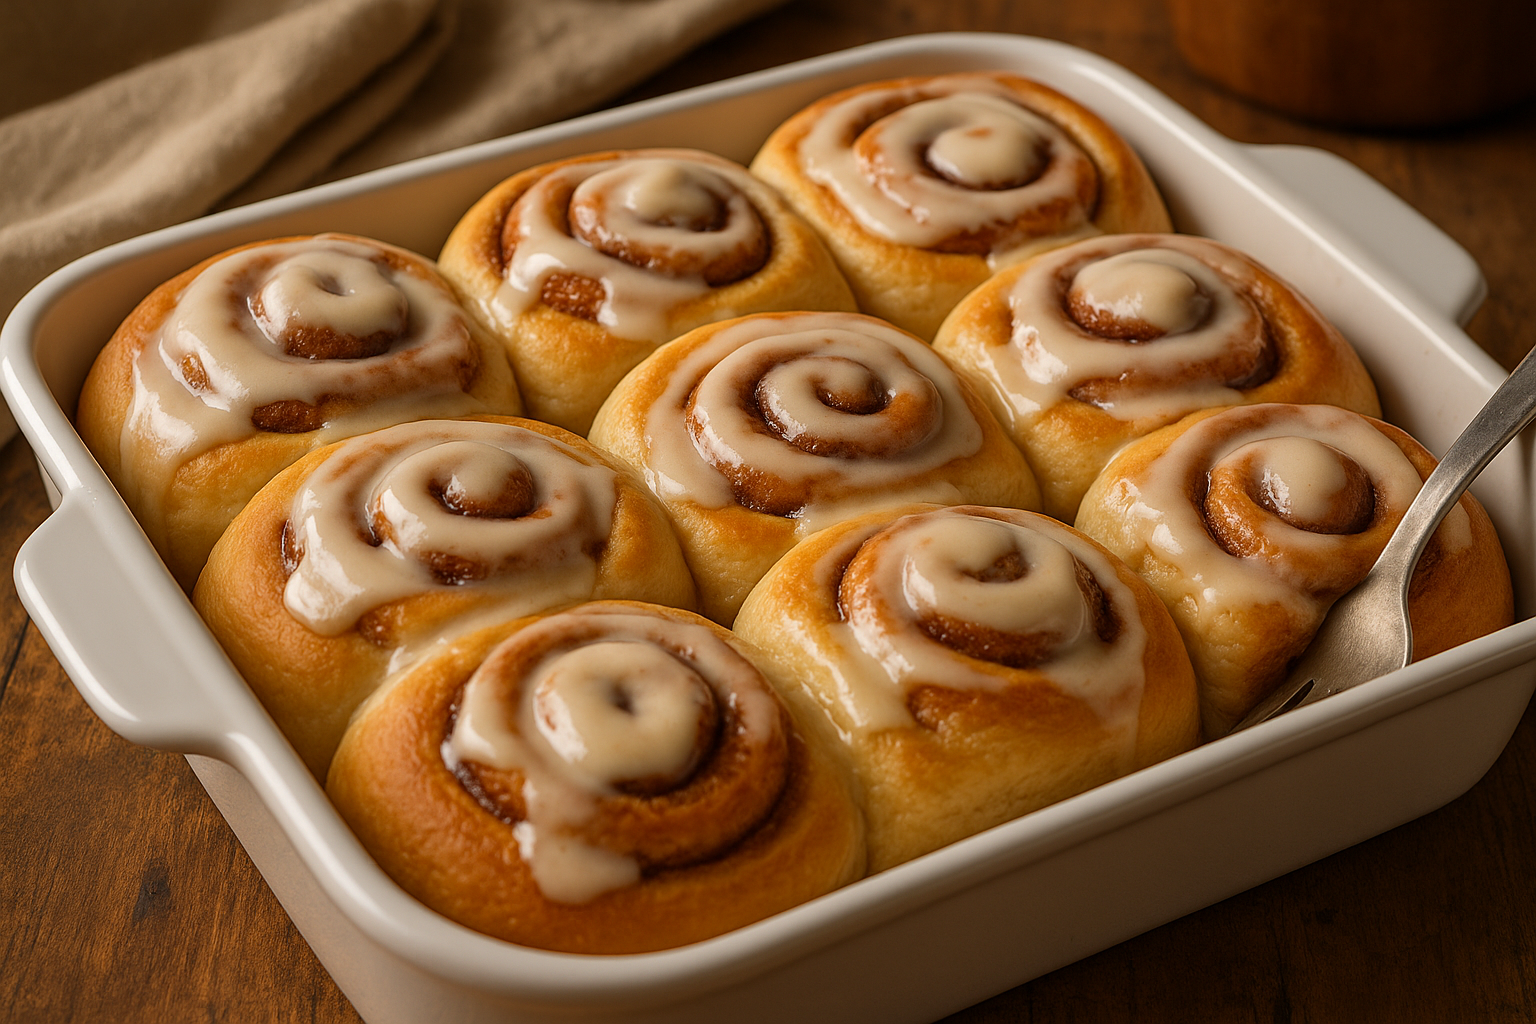
Grandma’s Cinnamon Rolls: Soft, Gooey, and Baked with Love

Few smells are as comforting as the warm, sweet scent of cinnamon rolls baking in the oven. Fluffy, buttery, and dripping with icing, grandma’s cinnamon rolls were the kind of treat that made everyone stop what they were doing and come to the kitchen.

In this article, you’ll learn how to make soft, homemade cinnamon rolls from scratch — the kind that rise high, melt in your mouth, and make any morning feel special.


Why These Cinnamon Rolls Are So Special

  • Buttery, soft dough that rises perfectly
  • Sweet cinnamon-sugar filling that caramelizes as it bakes
  • Creamy vanilla or cream cheese icing
  • Can be made ahead and baked fresh in the morning
  • A beloved treat for breakfast, brunch, or holidays

Ingredients for Grandma’s Cinnamon Rolls

Makes 12 large rolls.

For the Dough:

  • 4 cups all-purpose flour (plus more as needed)
  • 2 ¼ teaspoons (1 packet) instant yeast
  • 1 cup warm milk (about 110°F / 43°C)
  • ⅓ cup granulated sugar
  • ⅓ cup unsalted butter, melted
  • 1 teaspoon salt
  • 2 large eggs

For the Filling:

  • ¾ cup brown sugar, packed
  • 2 tablespoons ground cinnamon
  • ⅓ cup unsalted butter, softened

For the Icing:

  • 1 cup powdered sugar
  • 1–2 tablespoons milk
  • ½ teaspoon vanilla extract
  • Optional: 2 tablespoons cream cheese, softened

Step-by-Step Instructions

1. Make the Dough

In a large bowl, combine warm milk, sugar, and yeast. Let sit for 5 minutes until frothy.

Add melted butter, eggs, and salt. Gradually stir in the flour until a soft dough forms.

Knead by hand or with a mixer for 6–8 minutes, until the dough is smooth and elastic.


2. Let It Rise

Place the dough in a greased bowl, cover, and let rise in a warm place for 1–1.5 hours, or until doubled in size.


3. Prepare the Filling

Mix the brown sugar and cinnamon in a small bowl.


4. Roll and Fill

Punch down the dough and roll it into a large rectangle (about 16×12 inches).

Spread softened butter over the surface, then sprinkle with the cinnamon-sugar mixture.


5. Shape the Rolls

Starting from the long side, roll the dough into a tight log.

Cut into 12 equal pieces and place them in a greased 9×13-inch baking dish.


6. Second Rise

Cover and let the rolls rise for 30–45 minutes, until puffy and touching.

Meanwhile, preheat the oven to 175°C (350°F).


7. Bake

Bake for 20–25 minutes, or until golden brown and cooked through.

Let cool for 10 minutes before icing.


8. Make the Icing

Mix powdered sugar, vanilla, and milk (and cream cheese, if using) until smooth.

Drizzle over warm rolls.


Storage and Reheating

  • Store at room temp for 2 days, or refrigerate for up to 5 days
  • Reheat in the microwave or oven until warm
  • Freeze un-iced rolls for up to 2 months — thaw and ice after baking

Make-Ahead Option

  • Prepare rolls, cover tightly, and refrigerate overnight before the second rise
  • Let come to room temp and rise in the morning, then bake as directed

Variations to Try

  • Raisin Cinnamon Rolls: Add ½ cup raisins to the filling
  • Pecan Sticky Buns: Add chopped pecans and caramel glaze
  • Pumpkin Spice Rolls: Add pumpkin purée to the dough and pumpkin spice to the filling
  • Chocolate Rolls: Add mini chocolate chips to the filling
  • Lemon Icing: Use lemon juice instead of milk in the icing

Grandma’s Tips for the Best Cinnamon Rolls

  • Use warm milk, not hot, so you don’t kill the yeast
  • Let the dough rise in a draft-free, warm area
  • Roll the dough tightly to avoid gaps in the spirals
  • Don’t overbake — rolls should be soft, not dry
  • Add the icing while warm so it melts just enough

Final Thoughts: A Swirl of Sweet Memories

Grandma’s cinnamon rolls were more than just a breakfast treat — they were a celebration of togetherness, patience, and sweetness. Whether for holidays, birthdays, or slow Sunday mornings, this recipe brings the same magic to your own home.

Warm, gooey, and unforgettable — that’s how cinnamon rolls should be.

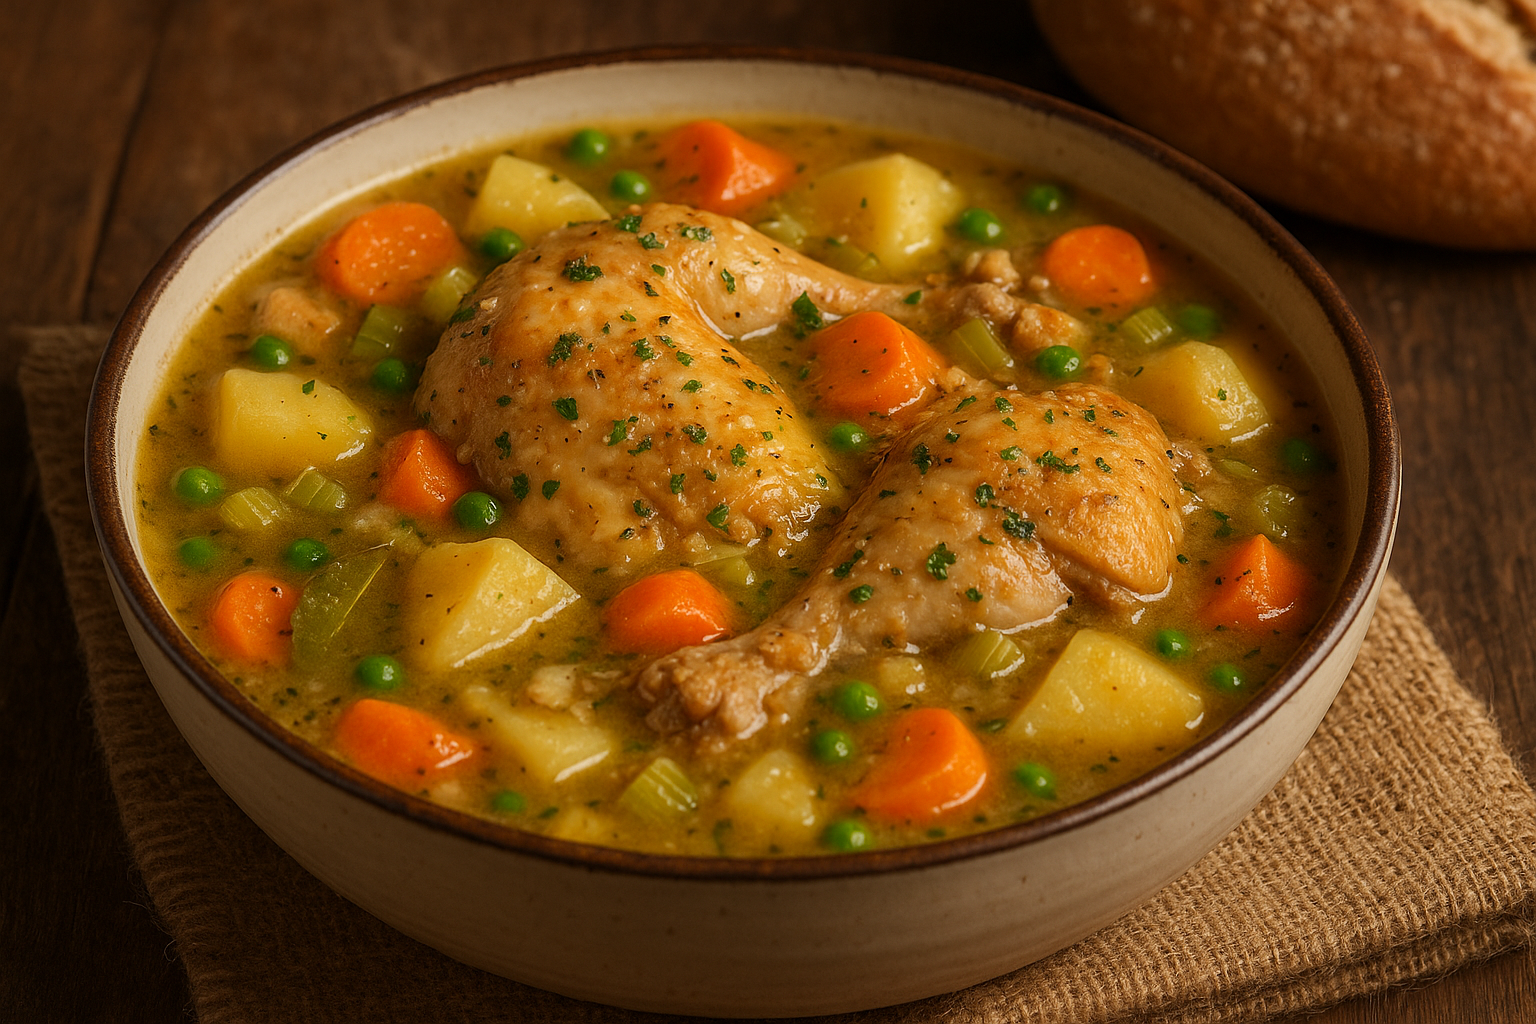
Grandma’s Country-Style Chicken Stew: The Secret to a Hearty Family Dinner

Some recipes aren’t just meals — they’re family traditions, often passed down through generations. Among them, few are as warm, filling, and nostalgic as grandma’s country-style chicken stew.

Thick, flavorful, and full of love, this dish was a Sunday favorite, especially during cold evenings when the whole family gathered at the table.

In this complete guide, you’ll learn how to prepare this rustic chicken stew just like grandma made it — with rich broth, tender meat, hearty vegetables, and the kind of flavor that comes from slow, thoughtful cooking.

What Makes Grandma’s Chicken Stew So Special?

It wasn’t about fancy techniques or exotic spices. Grandma’s stew was special because:

  • She used simple ingredients from the garden or pantry.
  • She let it simmer for hours, building deep flavor.
  • She always made enough to feed everyone (and send leftovers home).
  • She cooked with feeling, not just instructions.

And somehow, no matter how many times you tried to replicate it, hers always tasted better.

Ingredients for a Traditional Country Chicken Stew

This recipe is designed to serve 6–8 people — or to provide delicious leftovers.

Base Ingredients:

  • 1 whole chicken, cut into pieces (or 1.5 kg of bone-in chicken thighs and drumsticks)
  • 2 tablespoons olive oil or butter
  • 1 large onion, chopped
  • 3 garlic cloves, minced
  • 3 large carrots, sliced
  • 3 potatoes, peeled and diced
  • 2 celery stalks, chopped
  • 2 bay leaves
  • 1 teaspoon dried thyme or fresh thyme sprigs
  • Salt and black pepper to taste
  • 1 tablespoon tomato paste (optional for color and depth)
  • 6 cups chicken broth (homemade if possible)
  • 1 tablespoon all-purpose flour or cornstarch (for thickening)
  • ½ cup green peas or corn (optional, added near the end)

Optional:

  • A splash of white wine (for deglazing)
  • Fresh parsley for garnish

Step-by-Step Instructions

1. Brown the Chicken

In a large, heavy pot or Dutch oven, heat the olive oil over medium heat. Add the chicken pieces skin-side down and sear until golden brown on both sides (about 5–7 minutes per side). Work in batches if needed.

Remove and set aside.

2. Sauté the Aromatics

In the same pot, add the chopped onion and cook until softened. Add the garlic and tomato paste and stir for about 1–2 minutes to build flavor.

Grandma’s Tip: Scrape the brown bits from the bottom — they add rich flavor to the stew.

3. Add the Vegetables

Stir in the carrots, potatoes, and celery. Season with salt, pepper, thyme, and bay leaves. Cook for about 5 minutes, stirring occasionally.

4. Simmer Everything Together

Return the chicken to the pot. Pour in the chicken broth (and wine, if using). Bring to a boil, then reduce to a gentle simmer. Cover and cook for about 45–60 minutes, or until the chicken is tender and fully cooked.

Stir occasionally and adjust seasoning if needed.

5. Thicken the Stew (Optional)

For a thicker stew, mix 1 tablespoon of flour or cornstarch with a few tablespoons of the hot broth. Stir into the pot and simmer uncovered for an additional 10 minutes until it thickens slightly.

6. Add Finishing Touches

Stir in the peas or corn and simmer for another 5 minutes. Remove bay leaves and thyme sprigs. Taste and adjust seasoning again if needed.

Sprinkle with chopped fresh parsley before serving.

Why Bone-In Chicken Works Best

Grandma always preferred using a whole chicken or bone-in cuts for a reason:

  • More flavor: Bones enrich the broth naturally.
  • Tender meat: Slow simmering keeps it juicy and tender.
  • Tradition: It’s how she was taught, and it just works better.

If you prefer boneless meat, go ahead — but know that the real depth comes from the bones.

Serving Suggestions

This chicken stew is hearty enough to stand alone, but grandma always made it feel like a complete meal. Try serving it with:

  • Steamed white rice or wild rice
  • Buttered noodles
  • Homemade cornbread or biscuits
  • Crusty rustic bread for soaking up the broth
  • A side salad with vinegar dressing for balance

How to Store and Reheat

Storage:

  • Refrigerate in an airtight container for up to 4 days.
  • Freeze for up to 3 months. Store in single portions for easy reheating.

Reheating:

  • Reheat gently on the stove over medium-low heat.
  • Add a splash of water or broth to loosen if it thickened too much in the fridge.

Tips for the Best Old-Fashioned Chicken Stew

  • Don’t rush the simmering — slow cooking is what gives the stew its deep, layered taste.
  • Season gradually. Salt early, taste often.
  • Use homemade stock if possible — or simmer the chicken bones in water with herbs for a few hours.
  • Let it rest before serving — the flavors intensify after cooling slightly.

Variations You Can Try

Make this stew your own by trying:

  • Adding barley or small pasta for a more filling version
  • Using turnips, parsnips, or sweet potatoes for a rustic twist
  • Finishing with a dash of cream or butter for richness
  • Adding hot sauce or chili flakes if your grandma liked a little heat

The Power of a Family Recipe

This stew isn’t just food. It’s:

  • The smell that filled the house on Sunday.
  • The sound of the ladle hitting the pot.
  • The taste of home after a long day.
  • A reminder of grandma’s warm kitchen, where life slowed down and everyone was welcome.

These are the recipes that stick with us. They become part of who we are.

Final Thoughts: A Bowl Full of Love

In today’s fast-paced world, taking the time to make something like grandma’s chicken stew is an act of care. It fills your kitchen with warmth, your heart with memories, and your stomach with satisfaction.

Whether you’re cooking for your family, yourself, or just to reconnect with the past, this stew will never let you down. Just like grandma.