Grandma’s Chocolate Cake: Rich, Moist, and Made with Love

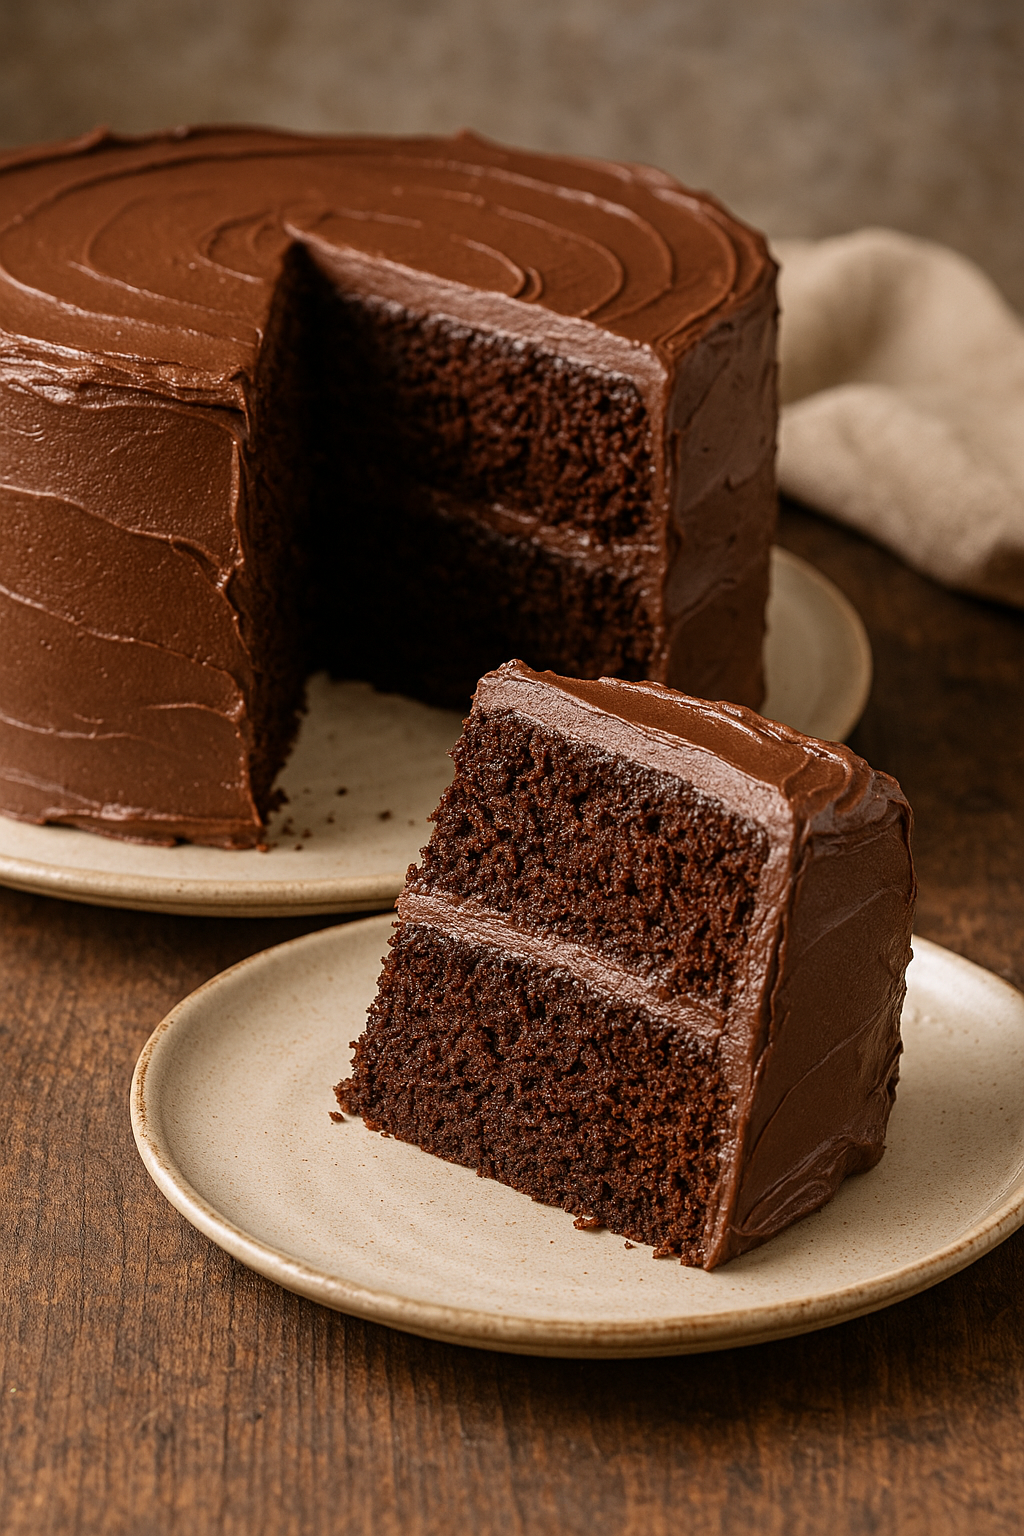
There’s something magical about a homemade chocolate cake — especially one made from grandma’s recipe box. With a tender crumb, deep cocoa flavor, and creamy frosting, it was a showstopper at birthdays, celebrations, or even just quiet Sunday afternoons.

In this article, you’ll learn how to make a classic chocolate cake from scratch — moist, flavorful, and irresistible.


Why You’ll Love This Chocolate Cake

  • Made with real cocoa and simple pantry ingredients
  • Incredibly moist and rich in flavor
  • Topped with a smooth and creamy frosting
  • Perfect for birthdays, holidays, or any day
  • Easy to make as a layer cake, sheet cake, or cupcakes

Ingredients for Grandma’s Chocolate Cake

Makes one 9×13-inch cake or two 9-inch layers.

For the Cake:

  • 1 ¾ cups all-purpose flour
  • ¾ cup unsweetened cocoa powder
  • 2 cups granulated sugar
  • 1 ½ teaspoons baking powder
  • 1 ½ teaspoons baking soda
  • 1 teaspoon salt
  • 2 large eggs
  • 1 cup buttermilk (or milk + 1 tbsp vinegar)
  • ½ cup vegetable oil
  • 2 teaspoons vanilla extract
  • 1 cup hot water or hot coffee (enhances the chocolate flavor)

For the Frosting:

  • ½ cup unsalted butter, softened
  • ⅓ cup unsweetened cocoa powder
  • 3 cups powdered sugar
  • ⅓ cup milk (more if needed)
  • 1 teaspoon vanilla extract
  • Pinch of salt

Step-by-Step Instructions

1. Prepare the Oven and Pans

Preheat oven to 175°C (350°F).

Grease and flour two 9-inch cake pans or a 9×13-inch baking dish. Line with parchment if desired.


2. Mix the Dry Ingredients

In a large mixing bowl, whisk together flour, cocoa, sugar, baking powder, baking soda, and salt.


3. Add Wet Ingredients

Add eggs, buttermilk, oil, and vanilla. Mix until combined and smooth.


4. Add Hot Water

Slowly pour in the hot water or coffee while mixing. The batter will be thin — that’s normal.


5. Bake

Pour the batter into prepared pans.

Bake for 30–35 minutes (round pans) or 35–40 minutes (sheet cake), until a toothpick inserted in the center comes out clean.

Let cakes cool in pans for 10 minutes, then remove and cool completely on wire racks before frosting.


6. Make the Frosting

In a large bowl, beat the softened butter and cocoa powder.

Gradually add powdered sugar and milk, mixing until smooth and fluffy.

Add vanilla and a pinch of salt. Adjust milk for desired consistency.


7. Frost the Cake

Once the cake is completely cool, frost the top and sides (or just the top for a sheet cake).

Decorate with chocolate shavings, sprinkles, or fruit if desired.


Serving Ideas

  • With vanilla or chocolate ice cream
  • Topped with fresh berries and whipped cream
  • Paired with coffee or milk
  • Layered with raspberry or caramel filling
  • Served warm with a scoop of ice cream on top

Grandma’s tip: Let the cake sit overnight — it gets even better the next day.


How to Store and Freeze

Store:

  • Cover and store at room temperature for up to 3 days
  • Refrigerate for up to 5 days

Freeze:

  • Freeze unfrosted cake layers wrapped in plastic for up to 3 months
  • Frost after thawing, or freeze fully frosted and thaw overnight in the fridge

Variations to Try

  • Chocolate Fudge Cake: Use melted chocolate in the batter
  • Mocha Cake: Add espresso powder to the batter and frosting
  • Mint Chocolate Cake: Add peppermint extract to the frosting
  • Gluten-Free: Use a gluten-free flour blend
  • Cupcakes: Bake for 18–22 minutes in cupcake liners

Troubleshooting Tips

  • Dry cake? Check baking time and use buttermilk or oil
  • Sinking in the center? Oven too hot or underbaked
  • Cracked top? Oven temp too high — try reducing by 10°C
  • Dense texture? Don’t overmix the batter

Final Thoughts: A Slice of Chocolate Heaven

Grandma’s chocolate cake wasn’t just dessert — it was a memory, a celebration, and an act of love. Whether it’s your first time baking from scratch or your hundredth, this classic recipe is one that brings joy with every bite.

So dust off that cake pan, preheat the oven, and bake something that makes everyone smile — just like grandma used to do.

Grandma’s Apple Pie: Buttery Crust, Sweet Filling, and All-American Flavor

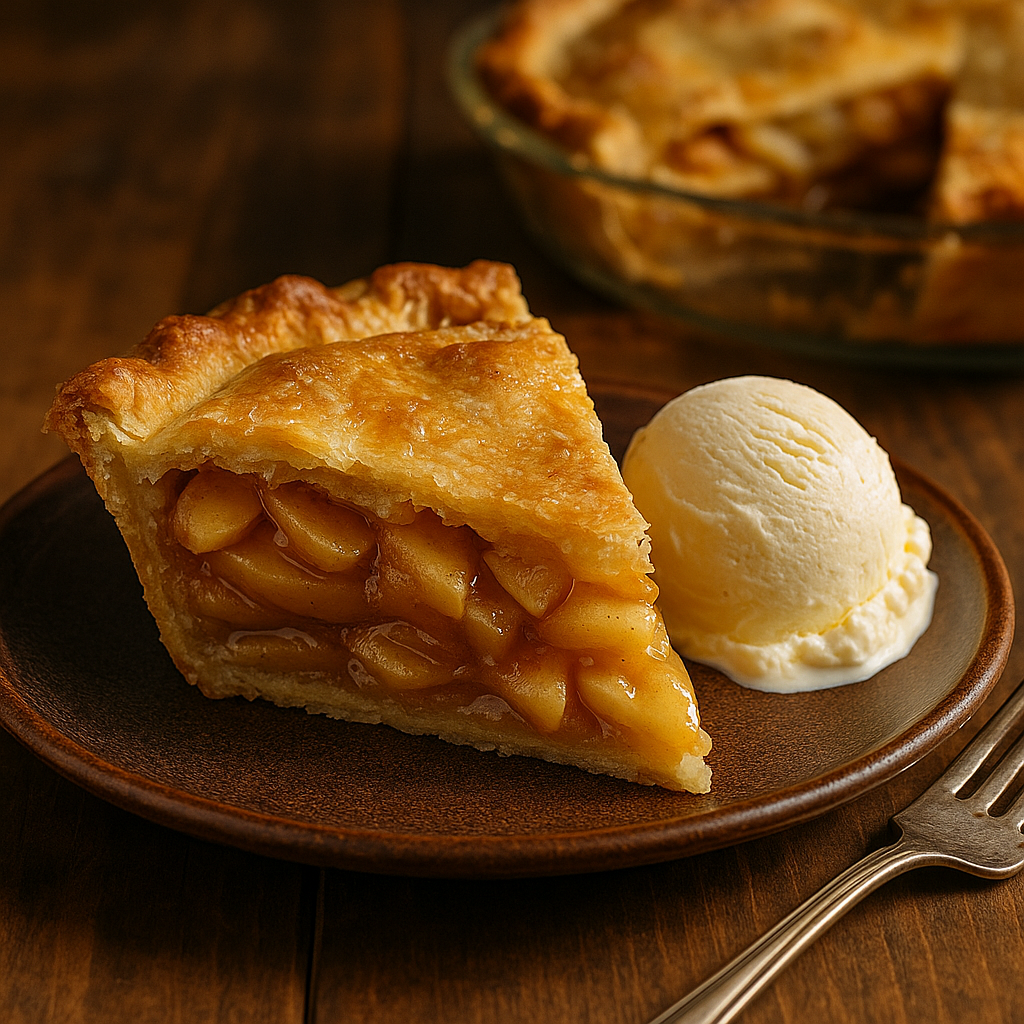
No dessert is more iconic — or comforting — than a slice of homemade apple pie. With its flaky, golden crust and tender cinnamon-spiced apple filling, grandma’s apple pie was the heart of every holiday meal, weekend gathering, and family celebration.

In this guide, you’ll learn how to make classic apple pie from scratch, just like grandma did. This recipe is easy to follow, full of flavor, and guaranteed to become a staple in your home.


Why Apple Pie Is a Timeless Dessert

  • Combines flaky pastry with warm, spiced fruit
  • A go-to for holidays, potlucks, or cozy weekends
  • Simple ingredients, big nostalgic flavor
  • Can be served warm, cold, or à la mode
  • Delicious the next day — or the day after that

Ingredients for a Classic Apple Pie

Makes 1 9-inch pie, about 8 servings.

For the Crust (double crust):

  • 2 ½ cups all-purpose flour
  • 1 teaspoon salt
  • 1 tablespoon sugar
  • 1 cup unsalted butter, very cold and cubed
  • 6–8 tablespoons ice water

Or use store-bought pie dough if preferred.

For the Apple Filling:

  • 6–7 medium apples (Granny Smith, Honeycrisp, or a mix)
  • ¾ cup granulated sugar
  • ¼ cup brown sugar
  • 2 tablespoons all-purpose flour
  • 1 teaspoon ground cinnamon
  • ¼ teaspoon ground nutmeg
  • 1 tablespoon lemon juice
  • 1 teaspoon vanilla extract
  • 1 tablespoon butter (for dotting)
  • 1 egg + 1 tablespoon water (for egg wash)
  • Optional: coarse sugar for sprinkling

Step-by-Step Instructions

1. Make the Pie Dough

In a large bowl, whisk together flour, salt, and sugar.

Add cold butter and use a pastry cutter or fingers to cut it into pea-sized pieces.

Drizzle in ice water, 1 tablespoon at a time, until dough holds together.

Divide into two discs, wrap in plastic, and refrigerate for at least 1 hour.


2. Prepare the Apples

Peel, core, and thinly slice the apples.

In a large bowl, toss apples with sugars, flour, cinnamon, nutmeg, lemon juice, and vanilla.

Let sit for 15–20 minutes to release juices.


3. Roll the Dough

Preheat oven to 200°C (400°F).

Roll out one dough disc on a floured surface and place it in a 9-inch pie dish.

Spoon in the apple filling and dot with pieces of butter.

Roll out second dough disc and lay it on top. Crimp edges and cut slits to vent steam.

Brush with egg wash and sprinkle with coarse sugar if desired.


4. Bake the Pie

Place the pie on a baking sheet to catch drips.

Bake at 200°C (400°F) for 20 minutes, then reduce heat to 175°C (350°F) and bake for 35–40 minutes more, until the crust is golden and filling is bubbling.

If edges brown too quickly, cover them with foil.


5. Cool Before Serving

Let the pie cool for at least 2 hours before slicing to allow the filling to set.

Serve warm, room temp, or cold — plain or with ice cream.


Best Apples for Pie

  • Granny Smith: tart and holds shape
  • Honeycrisp: sweet and crisp
  • Braeburn: spicy and firm
  • Jonagold: balanced and aromatic
  • Use a mix for best depth of flavor

Serving Suggestions

  • With a scoop of vanilla ice cream or whipped cream
  • Drizzled with salted caramel sauce
  • Warmed up for breakfast with coffee
  • Topped with a slice of sharp cheddar (a New England tradition)
  • Served with chai or spiced tea

Make-Ahead and Storage

Make-Ahead:

  • Dough can be made and chilled for up to 3 days
  • Pie can be assembled, wrapped tightly, and frozen unbaked

Store:

  • Cover leftover pie and keep at room temp for 2 days, or in the fridge for up to 5 days

Reheat:

  • Oven: Warm at 160°C (325°F) for 10–15 minutes
  • Microwave: Reheat slices on medium power for 30–45 seconds

Variations to Try

  • Dutch Apple Pie: Use a crumb topping instead of top crust
  • Salted Caramel Apple Pie: Drizzle caramel over filling before adding crust
  • Rustic Galette: Roll dough flat, pile filling in center, and fold edges
  • Mini Hand Pies: Cut dough into circles and fill for individual treats
  • Gluten-Free: Use GF flour blend in crust

Grandma’s Tips for Perfect Apple Pie

  • Use cold butter and chill the dough
  • Slice apples evenly so they cook uniformly
  • Always vent the top crust
  • Let pie cool completely for best texture
  • Add a baking sheet under the pie to catch drips

Final Thoughts: A Slice of Tradition

Apple pie is more than dessert — it’s a slice of love, of family history, of Sunday afternoons at grandma’s house. Whether you serve it for holidays or on a quiet evening at home, it carries that special kind of warmth only home baking can offer.

So tie your apron, roll that dough, and keep the tradition alive — one delicious slice at a time.