Grandma’s Classic Beef Stew: Hearty, Slow-Cooked, and Full of Flavor

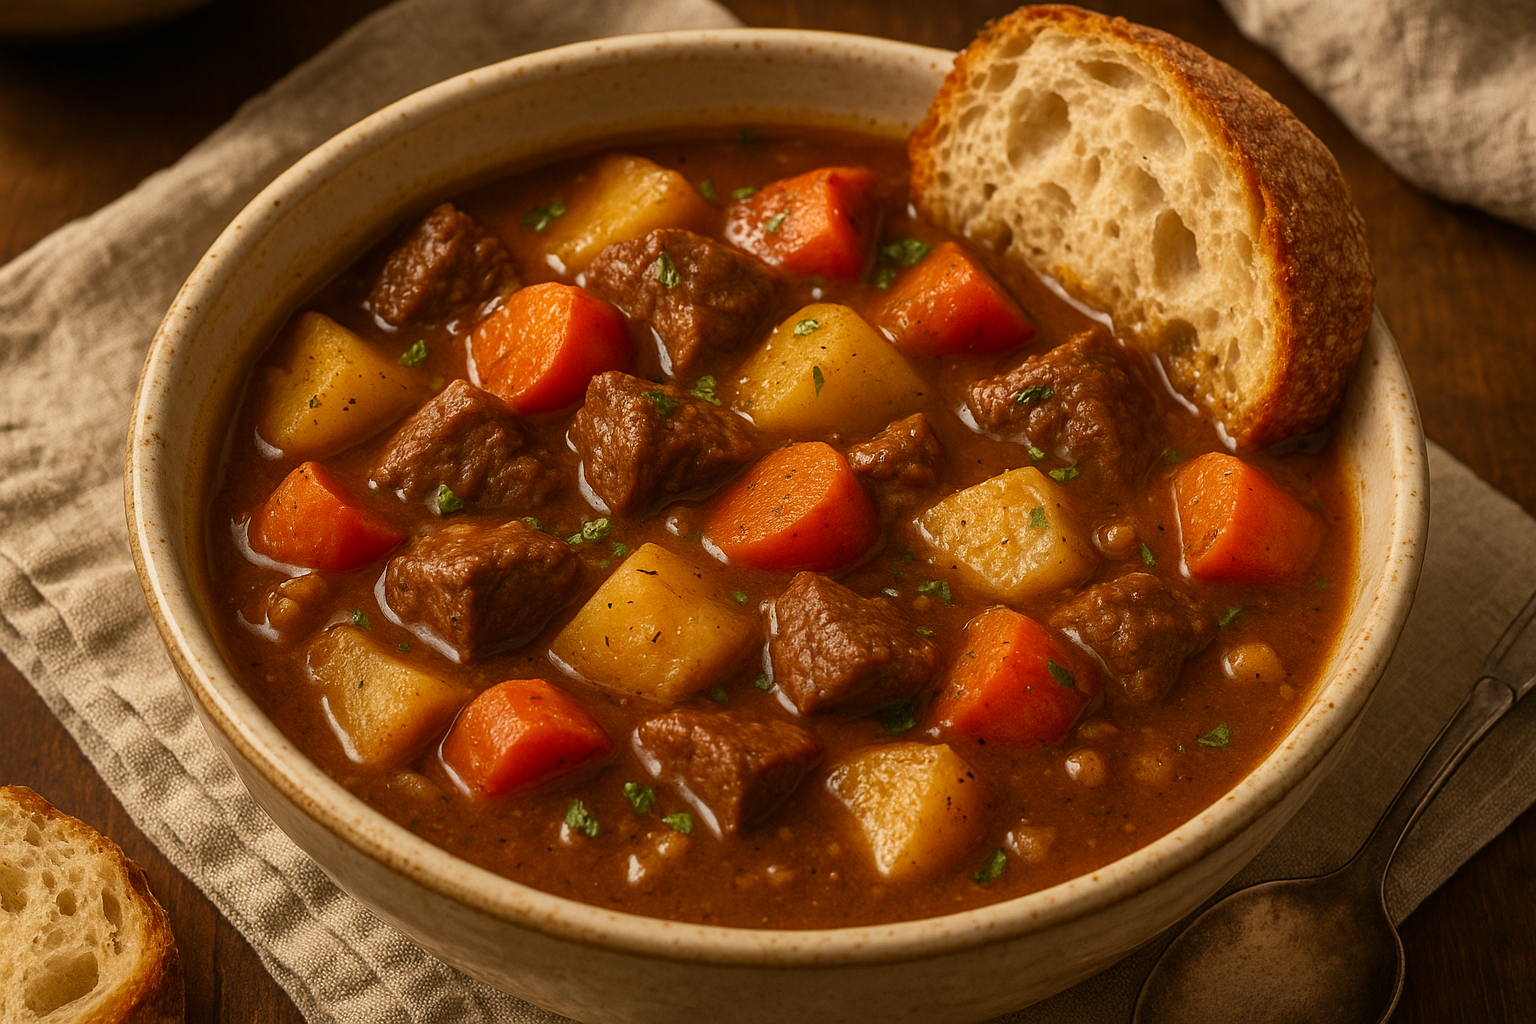
When the air turned crisp and the days got shorter, grandma’s house would fill with the rich aroma of beef stew simmering on the stove. Made with love, patience, and simple ingredients, her beef stew was the definition of comfort — tender beef, soft vegetables, and a savory broth that warmed you to the core.

This guide will show you how to make a traditional, slow-cooked beef stew, just like grandma did: hearty, satisfying, and perfect for sharing.

Why Beef Stew Was a Grandma Favorite

  • One-pot meal: Everything simmers together for easy cooking and cleanup
  • Made with simple, affordable ingredients
  • Slow-cooked for hours to develop rich, deep flavor
  • Leftovers taste even better the next day
  • The kind of dish that brings everyone to the table

Ingredients for Grandma’s Beef Stew

This recipe serves 6 people and can be cooked on the stovetop or in a slow cooker.

For the Stew:

  • 2 tablespoons olive oil
  • 2–2½ pounds (900–1100g) beef chuck, cut into 1½-inch cubes
  • Salt and pepper to taste
  • 2 tablespoons all-purpose flour
  • 1 large onion, chopped
  • 3 garlic cloves, minced
  • 3 carrots, sliced
  • 3 celery stalks, sliced
  • 3–4 medium potatoes, peeled and chopped
  • 2 tablespoons tomato paste
  • 4 cups beef broth (low-sodium)
  • 1 cup red wine (or more broth)
  • 2 teaspoons Worcestershire sauce
  • 1 teaspoon dried thyme
  • 1 bay leaf

Optional Additions:

  • 1 cup frozen peas (added at the end)
  • ½ teaspoon paprika or rosemary for extra flavor
  • 1 tablespoon balsamic vinegar for richness

Step-by-Step Instructions

1. Brown the Beef

Pat beef cubes dry with paper towels. Season with salt and pepper, then toss lightly in flour.

In a large pot or Dutch oven, heat the oil over medium-high heat. Brown the beef in batches, turning to sear all sides. Remove and set aside.

Grandma’s Tip: Don’t overcrowd the pan — it’s better to brown in two batches for better flavor.

2. Sauté Aromatics

In the same pot, add onions, carrots, and celery. Cook for 5–6 minutes until softened.

Stir in garlic and tomato paste; cook for another 1–2 minutes.

3. Deglaze and Simmer

Pour in red wine (or broth) and scrape up any brown bits from the bottom — this is pure flavor!

Return the beef to the pot. Add potatoes, broth, Worcestershire, thyme, and bay leaf. Stir to combine.

4. Simmer Low and Slow

Bring the stew to a gentle simmer, cover, and reduce heat to low. Let it cook for 2–2½ hours, stirring occasionally, until the beef is fork-tender.

Remove the lid during the last 30 minutes if you’d like the broth to reduce and thicken slightly.

Or use a slow cooker: After browning the meat, add everything to a slow cooker and cook on LOW for 7–8 hours.

5. Finish and Serve

If using peas, add them in the last 10 minutes of cooking.

Taste and adjust salt, pepper, or acidity (add a splash of vinegar if needed).

Remove bay leaf. Serve hot, with crusty bread or over mashed potatoes if desired.

Serving Suggestions

  • With freshly baked bread or dinner rolls
  • Over a bed of creamy mashed potatoes
  • Alongside a crisp green salad
  • With a glass of red wine or hot tea
  • Grandma’s favorite: with a pat of butter swirled into the bowl

Tips for the Best Beef Stew

  • Use chuck roast, not lean beef — it gets tender and flavorful with long cooking
  • Brown the meat well for maximum flavor
  • Cut veggies evenly so they cook at the same rate
  • Simmer low and slow — this breaks down collagen and deepens taste
  • Add a splash of vinegar or lemon at the end for balance

Storage and Reheating

Store:

  • Refrigerate in airtight containers for up to 4 days

Reheat:

  • On the stove over low heat until warmed through
  • In the microwave in 1-minute intervals, stirring in between

Freeze:

  • Cool completely, then store in freezer-safe containers for up to 3 months
  • Thaw overnight in the fridge before reheating

Final Thoughts: A Bowl of Pure Comfort

Grandma’s beef stew wasn’t just a recipe — it was a ritual. The slow cooking, the fragrant kitchen, the way everyone asked for seconds — it all told a story of home, patience, and warmth.

Now, with this recipe, you can bring that same tradition into your own home — and maybe create new memories around the table.

Grandma’s Chicken and Dumplings: A Hearty, Homemade Classic from the Heart

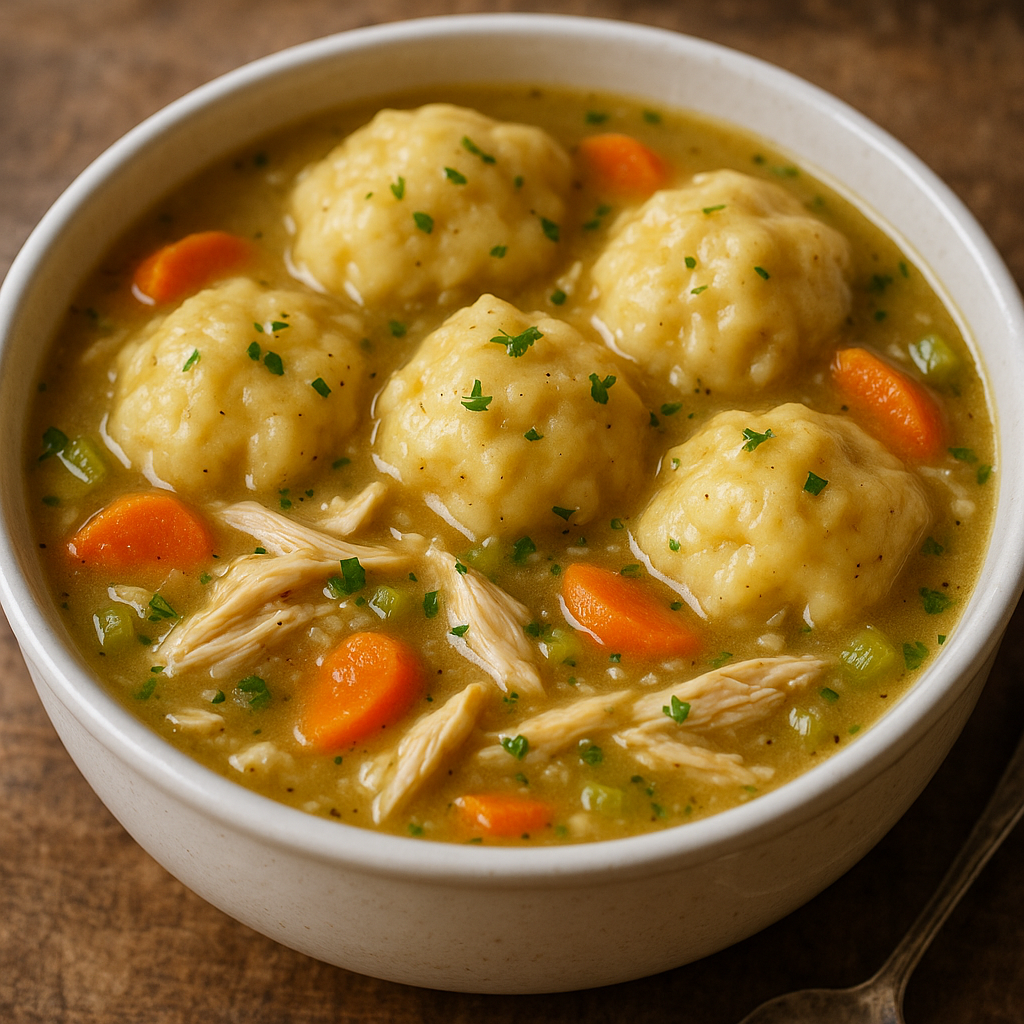
There are few dishes as comforting, nostalgic, and satisfying as chicken and dumplings. In grandma’s kitchen, this wasn’t just a recipe — it was medicine for the soul. Whether someone was sick, sad, or just hungry, a warm bowl of her chicken and dumplings had the power to make everything feel better.

In this guide, you’ll learn to make this classic one-pot comfort dish, just like grandma did: from scratch, slow-simmered, and full of love.

What Is Chicken and Dumplings?

It’s a traditional dish consisting of tender shredded chicken, flavorful broth, and soft, pillowy dumplings that cook right in the pot.

It’s like a cross between a soup and a stew, with the dumplings soaking up the flavor while keeping the dish thick and satisfying.

Ingredients for Grandma’s Chicken and Dumplings

For the Soup Base:

  • 1 tablespoon olive oil or butter
  • 1 medium onion, diced
  • 2 carrots, diced
  • 2 celery stalks, diced
  • 3 cloves garlic, minced
  • 6 cups chicken broth (preferably homemade or low-sodium)
  • 2–3 cups cooked, shredded chicken (from a whole chicken or rotisserie)
  • 1 teaspoon salt (adjust to taste)
  • ½ teaspoon black pepper
  • ½ teaspoon dried thyme
  • Optional: ½ teaspoon turmeric (for color and warmth)

For the Dumplings:

  • 2 cups all-purpose flour
  • 1 tablespoon baking powder
  • ½ teaspoon salt
  • 1 cup milk
  • 4 tablespoons unsalted butter, melted
  • Optional: chopped parsley or chives in the dough

Step-by-Step Instructions

1. Sauté the Vegetables

Heat oil or butter in a large pot over medium heat. Add the onion, carrots, and celery, and cook until softened (about 5–7 minutes). Stir in the garlic and cook another 1–2 minutes.

2. Add Broth and Seasonings

Pour in the chicken broth. Add salt, pepper, thyme, and turmeric if using. Bring to a gentle boil, then reduce to a simmer.

3. Add the Chicken

Stir in the cooked shredded chicken and let the mixture simmer gently while you prepare the dumplings.

Grandma’s Tip: Use a mix of white and dark meat for richer flavor.

4. Make the Dumplings

In a bowl, whisk together flour, baking powder, and salt. In a separate bowl, mix milk and melted butter. Add wet to dry ingredients and stir until just combined — don’t overmix.

The dough should be thick and sticky. Let it sit for a few minutes.

5. Drop the Dumplings

Bring the soup to a gentle simmer (not a rolling boil). Drop tablespoon-sized scoops of the dough into the simmering broth using a spoon or small scoop.

Cover the pot with a lid and cook on low heat for 15–18 minutes, without lifting the lid during the first 10 minutes. The dumplings will puff up and steam through.

Resist peeking! Keeping the lid closed ensures the dumplings cook evenly.

6. Check for Doneness

Insert a toothpick into one of the dumplings — it should come out clean. If still doughy, cook uncovered for a few more minutes.

Taste the broth and adjust seasoning if needed.

7. Serve Hot

Ladle into bowls with dumplings and lots of broth. Sprinkle with fresh herbs if desired and serve immediately.

Tips for the Best Chicken and Dumplings

  • Don’t overmix the dough — this makes the dumplings tough
  • Keep the lid closed during cooking
  • Use good broth — it’s the flavor base of the dish
  • Add cream or a splash of milk to the broth for a richer stew-style version
  • Use leftover roast chicken or simmer a whole chicken from scratch for depth

Optional Additions Grandma Sometimes Used

  • A splash of heavy cream or evaporated milk for creamy broth
  • A handful of frozen peas or corn added in the last 5 minutes
  • Fresh or dried herbs like dill, rosemary, or parsley
  • A pinch of nutmeg or a spoonful of grainy mustard for depth

Storage and Reheating

Store:

  • Refrigerate in airtight containers for up to 4 days
  • Dumplings will soak up broth — add extra broth or water before reheating

Reheat:

  • Gently reheat on the stove over low heat with added liquid
  • Microwave individual portions on medium power to avoid drying out dumplings

Freeze:

  • Best to freeze the broth and chicken separately and make fresh dumplings when serving
  • Dumplings tend to become mushy when frozen and thawed

Why This Dish Endures

This dish isn’t flashy or trendy. It doesn’t rely on exotic spices or complicated techniques. What makes it special is its honest simplicity and warmth — a true reflection of grandma’s cooking philosophy.

Chicken and dumplings remind us of being cared for. It’s comfort in a bowl, best served when someone needs a little extra love.

Final Thoughts: More Than Just a Meal

Grandma’s chicken and dumplings isn’t just food. It’s family tradition, quiet healing, and full bellies gathered around the table. Whether you’re new to cooking or recreating a beloved memory, this dish is one to keep close.

Grandma’s Apple Pie Recipe: A Classic Dessert with a Golden, Flaky Crust

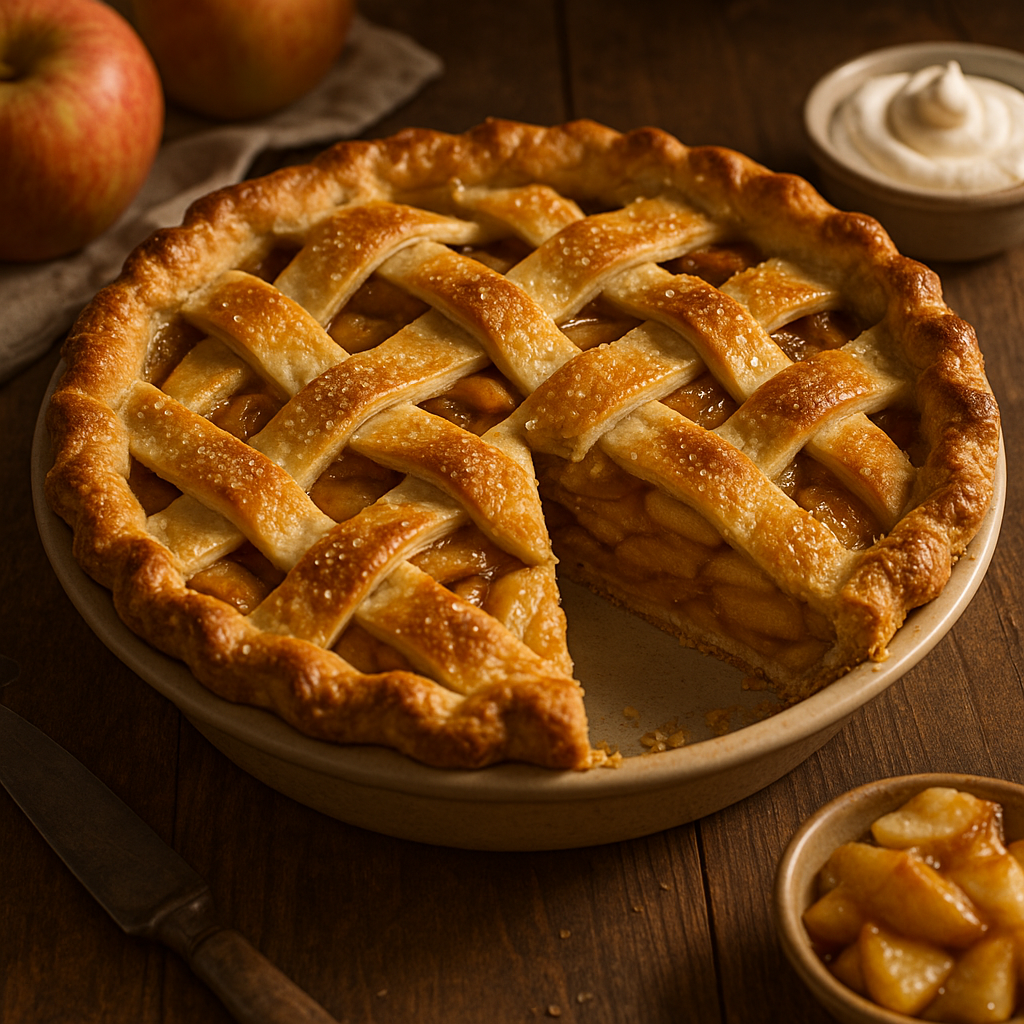
When the smell of cinnamon, baked apples, and buttery crust filled the house, you knew one thing for sure — grandma was making apple pie. A symbol of tradition, love, and Sunday dinners, her apple pie wasn’t just dessert. It was home in every bite.

In this guide, we’ll walk you through how to make grandma’s classic apple pie from scratch — including a flaky homemade crust, a rich spiced filling, and all the little secrets that make it unforgettable.

Why Apple Pie Is the Ultimate Classic

Few desserts stand the test of time like apple pie. It’s:

  • Made with simple, seasonal ingredients
  • Bursting with warm spices and soft apples
  • Perfect for holidays, celebrations, or anytime baking
  • A crowd-pleaser that feels both rustic and elegant
  • Comforting in every single forkful

Let’s get started with the ingredients.

Ingredients for Grandma’s Apple Pie

For the Crust (Double Crust):

  • 2 ½ cups all-purpose flour
  • 1 teaspoon salt
  • 1 tablespoon sugar (optional)
  • 1 cup cold unsalted butter (cut into cubes)
  • 6–8 tablespoons ice water

For the Apple Filling:

  • 6–7 medium apples (Granny Smith, Honeycrisp, or a mix), peeled and sliced
  • ¾ cup granulated sugar
  • ¼ cup brown sugar
  • 2 tablespoons all-purpose flour (for thickening)
  • 1 teaspoon ground cinnamon
  • ¼ teaspoon ground nutmeg
  • 1 tablespoon lemon juice
  • 1 teaspoon vanilla extract
  • Optional: pinch of ground cloves or ginger

For the Top:

  • 1 egg + 1 tablespoon milk (for egg wash)
  • Coarse sugar for sprinkling (optional)

Step-by-Step Instructions

1. Make the Pie Dough

In a large bowl, whisk together flour, salt, and sugar.

Cut in the cold butter using a pastry cutter or your fingers until the mixture resembles coarse crumbs.

Add ice water one tablespoon at a time, mixing gently until dough holds together when pinched. Don’t overwork it.

Divide into two discs, wrap in plastic, and refrigerate for at least 1 hour.

Grandma’s Tip: Cold dough = flaky crust.

2. Prepare the Apple Filling

While the dough chills, combine sliced apples, sugars, flour, cinnamon, nutmeg, lemon juice, and vanilla in a large bowl.

Toss to coat and let sit for 20 minutes — this helps release juices and deepen the flavor.

3. Roll Out the Crust

Preheat oven to 200°C (400°F).

Roll out one dough disc on a floured surface into a 12-inch circle. Fit into a 9-inch pie pan. Trim excess dough but leave a bit hanging over the edge.

Roll out the second disc for the top crust (or cut into strips for a lattice).

4. Assemble the Pie

Pour the apple filling into the pie crust, including the juices. Dot the top with small cubes of butter (optional).

Top with second crust or lattice. Seal the edges and crimp. Cut small slits in the top if using a full crust.

Brush with egg wash and sprinkle with coarse sugar if desired.

5. Bake the Pie

Place pie on a baking sheet to catch drips.

Bake at 200°C (400°F) for 20 minutes, then reduce heat to 175°C (350°F) and bake for 35–40 more minutes, or until crust is golden and filling is bubbling.

If the edges brown too quickly, cover with foil or a pie shield.

6. Cool Before Slicing

Let the pie cool for at least 2 hours to allow the filling to set. Serve warm or at room temperature.

Serving Suggestions

Grandma’s apple pie pairs beautifully with:

  • A scoop of vanilla ice cream
  • A dollop of fresh whipped cream
  • A drizzle of caramel sauce
  • A slice of sharp cheddar cheese (a regional favorite!)

Storage Tips

  • Store leftover pie covered at room temperature for 1 day, or in the fridge for up to 4 days
  • Reheat slices in the oven at 150°C (300°F) for 10–15 minutes for best texture
  • Freeze unbaked pie for up to 3 months — bake straight from frozen, adding 20–30 extra minutes

Grandma’s Tips for the Best Apple Pie

  • Mix apple varieties for flavor and texture
  • Use a glass or ceramic pie dish for even baking
  • Let the filling sit before baking to release juices
  • Add lemon juice for brightness and to prevent browning
  • Chill your dough before rolling and again before baking

Final Thoughts: A Slice of Pure Nostalgia

Grandma’s apple pie wasn’t just dessert — it was the dessert. Served on holidays, after big family dinners, or sometimes “just because,” it had a way of making everything feel right.

With its buttery crust, tender spiced apples, and timeless simplicity, this recipe captures what made her pies so special: honest ingredients, careful hands, and love in every layer.