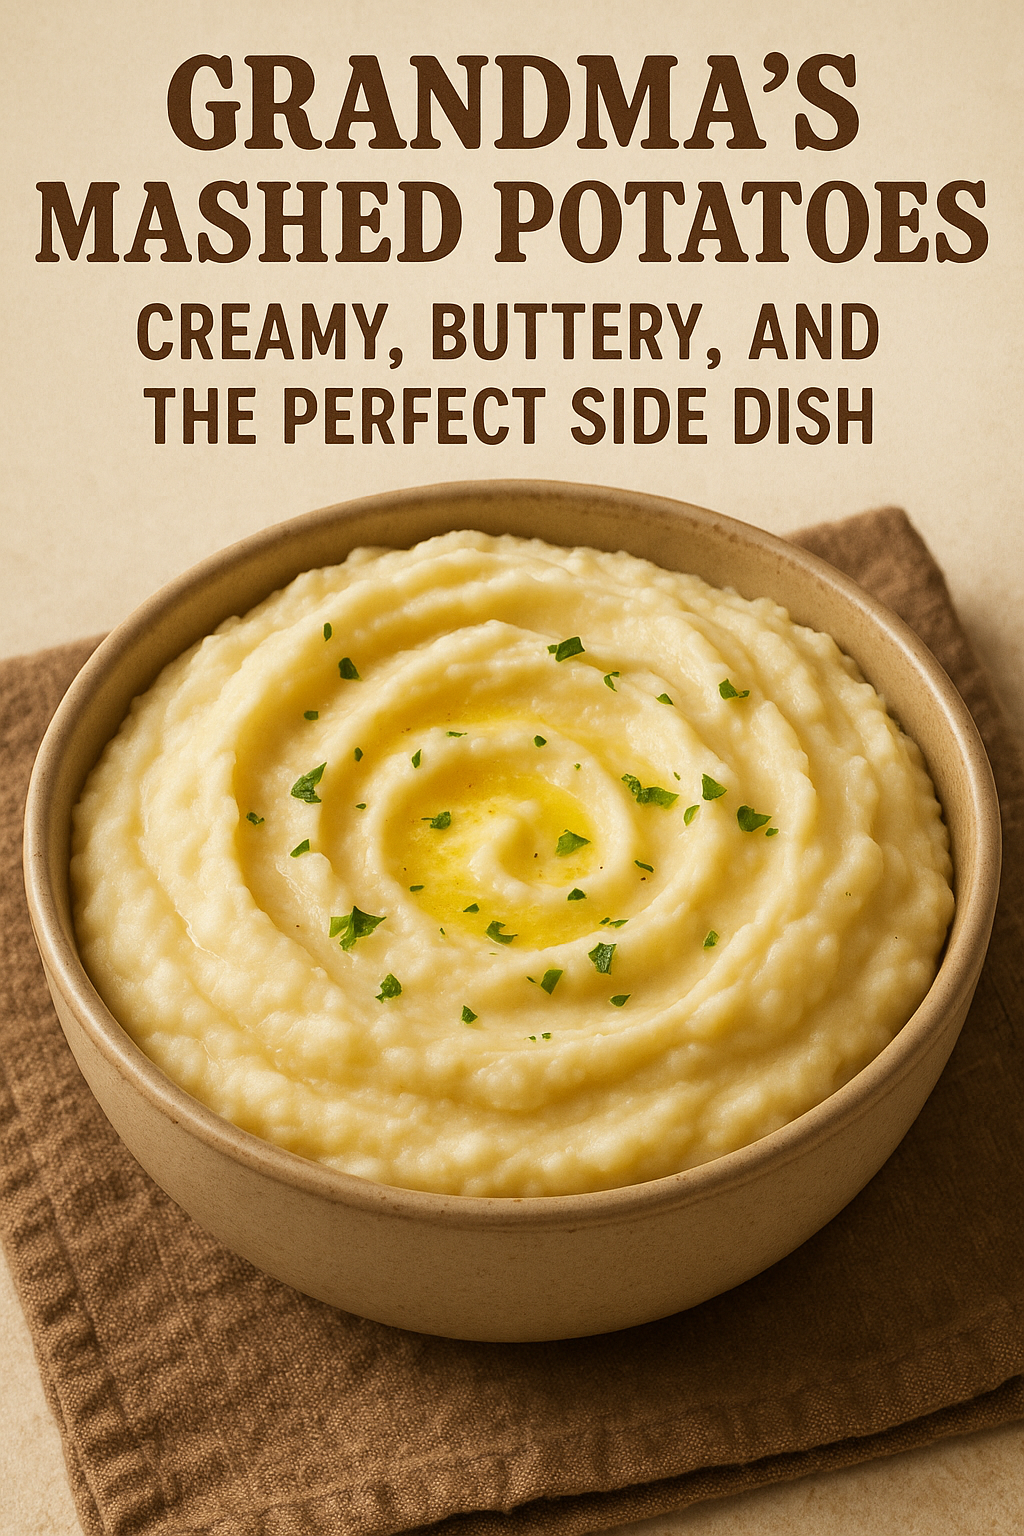
Grandma’s Mashed Potatoes: Potatoes, Buttery, and the Perfect Side Dish

When it came to comfort food, grandma’s mashed potatoes were unbeatable. Creamy, fluffy, rich, and smooth — they were the heart of every holiday table and the ultimate companion to roasts, stews, and gravy.

In this article, you’ll learn how to make perfect mashed potatoes from scratch, just like grandma used to, using simple ingredients and a few key tips to get them light and luscious every time.

Why These Mashed Potatoes Are the Best

  • Incredibly creamy and buttery
  • Made with real potatoes, milk, and butter
  • Perfect for everyday meals or special occasions
  • Easy to customize with herbs, garlic, or cheese
  • Can be made ahead and reheated without drying out

Ingredients for Homemade Mashed Potatoes

Serves 6–8 people.

  • 3 lbs (about 1.4 kg) Yukon Gold or Russet potatoes, peeled and cut into chunks
  • ½ cup (1 stick) unsalted butter
  • 1 cup whole milk (or heavy cream for extra richness)
  • Salt, to taste
  • Freshly ground black pepper, to taste
  • Optional: 2 cloves garlic, smashed (for garlic mashed potatoes)

Step-by-Step Instructions

1. Peel and Chop the Potatoes

Peel the potatoes and cut them into even chunks — about 2-inch pieces.

Place them in a large pot and cover with cold water. Add 1 tablespoon of salt to the water.

Grandma’s tip: Always start with cold water to ensure even cooking.

2. Boil the Potatoes

Bring the pot to a boil over medium-high heat.

Cook until the potatoes are fork-tender, about 15–20 minutes.

Drain the potatoes well and return them to the pot.

3. Heat the Milk and Butter

In a small saucepan (or microwave-safe bowl), warm the milk and butter until melted and hot. Do not boil.

This helps absorb better into the potatoes.

4. Mash the Potatoes

Use a potato masher, ricer, or hand mixer to mash the hot potatoes.

Slowly pour in the warm milk-butter mixture while mashing until smooth and fluffy.

Season with salt and pepper to taste.

Serving Suggestions

  • Topped with gravy or melted butter
  • Paired with roast chicken, turkey, beef, or pork
  • With meatloaf and green beans
  • Served under beef stew or chicken pot pie filling
  • As a base for shepherd’s pie

Optional Add-Ins and Flavor Variations

  • Garlic Mashed Potatoes: Boil smashed garlic cloves with the potatoes
  • Cheddar Mashed Potatoes: Add shredded sharp cheddar after mashing
  • Herbed Potatoes: Stir in chopped chives, parsley, or thyme
  • Cream Cheese Potatoes: Add 2–4 tbsp cream cheese for extra tang
  • Loaded Mashed Potatoes: Add bacon, sour cream, green onion, and cheese

How to Store and Reheat

Store:

  • Refrigerate in an airtight container for up to 4 days

Reheat:

  • Stovetop: Add a splash of milk and stir over low heat
  • Microwave: Reheat in intervals, stirring and adding milk as needed
  • Oven: Cover with foil and bake at 160°C (325°F) for 20 minutes

Freeze:

  • Freeze in a freezer-safe bag or container for up to 1 month
  • Thaw in the fridge overnight and reheat with milk and butter

Tips for the Best Texture

  • Use starchy potatoes (Russet or Yukon Gold) for fluffier mash
  • Don’t overwork the potatoes — mashing too much makes them gluey
  • Always add warm liquids, not cold
  • Taste and adjust seasoning at the end
  • Use a ricer for extra-smooth mashed potatoes

Common Mistakes to Avoid

  • Lumpy mash? Potatoes weren’t fully cooked or mashed evenly
  • Gummy texture? Potatoes were overmixed or under-drained
  • Bland flavor? Not enough salt or butter
  • Watery mash? Overcooked or too much milk added at once

Grandma’s Final Touch

Before serving, grandma always added a pat of butter on top, a sprinkle of fresh chives, or a little paprika for color. It wasn’t just food — it was her way of saying “I love you.”

Final Thoughts: The Creamy Side of Home

Mashed potatoes may seem simple, but when made with care — like grandma did — they become something extraordinary. Creamy, rich, and always comforting, this recipe brings old-fashioned flavor and love to every plate.

Try it today, and pass the tradition on.

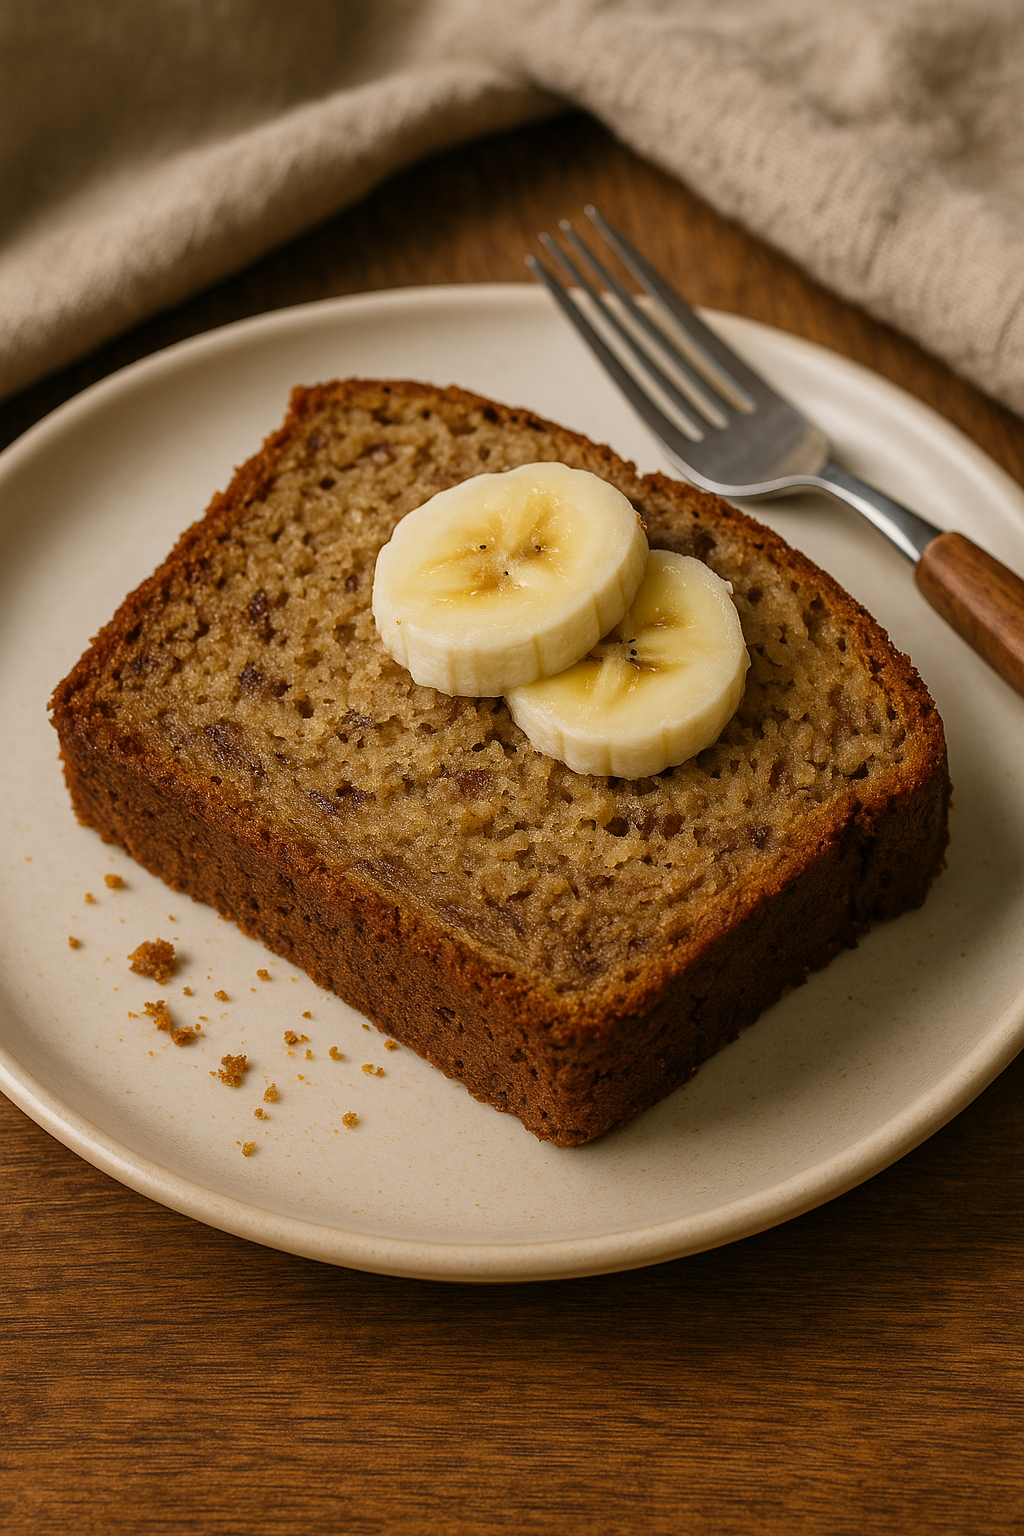
Grandma’s Banana Bread: A Moist and Classic Homemade Delight

There’s something comforting about the smell of fresh banana bread baking in the oven. It’s warm, familiar, and nostalgic — the kind of recipe that brings families together around the kitchen table. And when it comes to banana bread, no version is more beloved than the one passed down from grandma.

Grandma’s banana bread wasn’t fancy or complicated. It didn’t rely on special ingredients or modern kitchen gadgets. What made it special was the simplicity, the flavor, and the feeling that each slice was made with care. In this article, we’ll explore a complete guide to making moist, sweet, and classic banana bread — the kind that tastes like home.

Why Banana Bread Remains a Favorite

Banana bread has remained a kitchen staple for generations, and for good reason. It’s easy to make, uses ingredients most people already have, and offers flexibility to suit different tastes. Whether served for breakfast, as an afternoon snack, or a simple dessert, banana bread fits just about any occasion.

Here’s why so many people love it:

  • Great way to use ripe bananas
  • No mixer needed
  • Simple ingredients
  • Adaptable with nuts, chocolate chips, or spices
  • Freezes and stores well

Banana bread is also one of those recipes where imperfections are welcome. In fact, the riper the bananas, the better the flavor.

The Ingredients You’ll Need

This recipe makes one loaf and serves about 8–10 slices.

Core Ingredients:

  • 3 medium ripe bananas – mashed
  • ½ cup (1 stick) unsalted butter – melted
  • ¾ cup granulated sugar – or brown sugar for a deeper flavor
  • 2 large eggs
  • 1 teaspoon vanilla extract
  • 1 ½ cups all-purpose flour
  • 1 teaspoon baking soda
  • ½ teaspoon salt

Optional Additions:

  • ½ teaspoon ground cinnamon
  • ½ cup chopped walnuts or pecans
  • ½ cup chocolate chips

These optional ingredients allow you to customize the recipe while keeping the base moist and flavorful.

Step-by-Step Instructions

Making banana bread is simple. It doesn’t take long, and the preparation is straightforward. Here’s how to do it:

Step 1: Preheat the Oven

Set your oven to 175°C (350°F). Lightly grease a 9×5-inch loaf pan or line it with parchment paper to make removal easy.

Step 2: Mash the Bananas

In a large bowl, mash the bananas with a fork or potato masher until mostly smooth. A few small lumps are fine and add texture.

Step 3: Add Wet Ingredients

To the mashed bananas, add the melted butter, sugar, eggs, and vanilla extract. Mix until everything is well combined.

Step 4: Combine Dry Ingredients

In a separate bowl, whisk together the flour, baking soda, salt, and cinnamon if using.

Step 5: Mix Everything Together

Gently fold the dry ingredients into the banana mixture. Stir only until the flour disappears. Overmixing can lead to a denser loaf, so keep it light.

If you’re adding nuts or chocolate chips, fold them in at this stage.

Step 6: Bake

Pour the batter into the prepared loaf pan and smooth the top.

Place in the oven and bake for 50 to 60 minutes. Check for doneness by inserting a toothpick into the center. If it comes out clean or with a few moist crumbs, the bread is ready.

Step 7: Cool and Slice

Let the loaf cool in the pan for about 10 minutes, then transfer it to a wire rack to cool completely.

Once cool, slice and serve. Enjoy with coffee, tea, or simply on its own.

Storage and Freezing Tips

Banana bread stores well, making it perfect for meal prep or baking ahead.

  • Room Temperature: Wrap in foil or store in an airtight container for up to 3–4 days.
  • Refrigerator: Keeps for up to 1 week, but texture may change slightly.
  • Freezer: Wrap tightly in plastic wrap and freeze for up to 2 months. Thaw overnight before serving.

You can also freeze individual slices for quick, single-serving snacks.

How to Ripen Bananas Quickly

Don’t have ripe bananas? You can speed up the process in a few ways:

  • Paper Bag Method: Place bananas in a brown paper bag with an apple. In 1–2 days, they’ll soften and darken.
  • Oven Method: Place unpeeled bananas on a baking sheet and bake at 150°C (300°F) for 15–20 minutes until black. Let cool before using.

Simple Variations to Try

This banana bread is great as-is, but you can personalize it easily. Here are a few popular options:

1. Nut Banana Bread

Add chopped walnuts or pecans to the batter for crunch and flavor.

2. Chocolate Chip Banana Bread

Fold in ½ cup of chocolate chips before baking. A great option for kids.

3. Spiced Banana Bread

Add ½ teaspoon each of cinnamon and nutmeg to give it a warm, autumn flavor.

4. Banana Muffins

Scoop the batter into a muffin tin and bake at 175°C (350°F) for 18–22 minutes.

These variations allow you to use the same base recipe in many different ways.

Helpful Tips for Success

Even a simple recipe can go wrong without a few helpful reminders. Here are some tips to make sure your banana bread turns out perfect every time:

  • Use overripe bananas: The darker and softer, the better the flavor and moisture.
  • Don’t overmix: Stir the batter just until combined to keep it tender.
  • Test for doneness: Every oven is different. Always check with a toothpick.
  • Cool before slicing: Cutting too early can make the bread crumbly.

When to Serve Banana Bread

Banana bread is incredibly versatile. It’s not only for breakfast, though it pairs perfectly with coffee or tea. It also makes a great snack or light dessert.

Here are a few ways to serve it:

  • Toasted with butter
  • With a spoonful of peanut butter or cream cheese
  • As French toast slices
  • Alongside yogurt and fruit for breakfast

It’s also a thoughtful gift. Wrap it in parchment, tie with a ribbon, and bring it to a neighbor or friend.

Final Thoughts

Grandma’s banana bread reminds us that good food doesn’t have to be complicated. With a few ripe bananas and pantry basics, you can make something that feels like home.

This moist and sweet banana bread recipe is easy to follow, adaptable, and loved by all ages. Whether you’re baking for yourself or sharing with others, it’s a recipe worth keeping.

So next time you see bananas going soft on your counter, don’t toss them. Use them to make something simple, delicious, and timeless.

There’s something timeless about a loaf of banana bread — especially one baked in grandma’s kitchen. Moist, flavorful, and full of ripe banana goodness, it was her go-to recipe for using up overripe fruit and creating something delicious from simple pantry staples.

In this article, you’ll learn how to make classic banana bread from scratch, with options for add-ins and tips to ensure it turns out perfect every time.

Why You’ll Love Grandma’s Banana Bread

  • Made with real mashed bananas
  • Moist and tender — never dry
  • Easy, one-bowl recipe
  • Perfect for breakfast, snacks, or dessert
  • Freezes beautifully

Ingredients for Homemade Banana Bread

Makes one 9×5-inch loaf, about 10 slices.

  • 3 ripe bananas (the spottier, the better)
  • ½ cup unsalted butter, melted
  • ¾ cup brown sugar (or white sugar)
  • 2 large eggs
  • 1 teaspoon vanilla extract
  • 1 ½ cups all-purpose flour
  • 1 teaspoon baking soda
  • ½ teaspoon salt
  • Optional: ½ teaspoon cinnamon, ½ cup chopped nuts or chocolate chips

Step-by-Step Instructions

1. Preheat the Oven

Preheat to 175°C (350°F).

Grease and flour a 9×5-inch loaf pan or line with parchment paper.

2. Mash the Bananas

In a large bowl, mash the bananas with a fork or potato masher until mostly smooth.

3. Add the Wet Ingredients

Stir in the melted butter, sugar, eggs, and vanilla extract until well combined.

4. Add the Dry Ingredients

Sprinkle flour, baking soda, salt (and cinnamon if using) over the wet mixture.

Stir gently until just combined — do not overmix.

Fold in any add-ins like nuts or chocolate chips.

5. Pour and Bake

Pour the batter into the prepared loaf pan and smooth the top.

Bake for 50–60 minutes, or until a toothpick inserted into the center comes out clean.

Let cool in the pan for 10 minutes, then remove and cool completely on a wire rack.

Serving Suggestions

  • Plain or with a spread of butter or peanut butter
  • Toasted with a drizzle of honey or maple syrup
  • As French toast slices for breakfast
  • With coffee or hot tea
  • Topped with Greek yogurt and berries

Grandma’s tip: Make an extra loaf and freeze it for future cravings.

Storage and Freezing

Store:

  • Keep wrapped at room temperature for up to 4 days
  • Refrigerate for up to a week

Freeze:

  • Wrap slices or whole loaf tightly and freeze for up to 2 months
  • Thaw overnight or microwave slices for a quick treat

Variations to Try

  • Nutty Banana Bread: Add chopped walnuts or pecans
  • Chocolate Banana Bread: Stir in chocolate chips or cocoa powder
  • Coconut Banana Bread: Add shredded coconut and a touch of rum extract
  • Zucchini Banana Bread: Add ½ cup grated zucchini for extra moisture
  • Healthier Version: Use whole wheat flour and swap sugar for honey or maple syrup

Tips for Perfect Banana Bread

  • Use very ripe bananas — almost black is best
  • Don’t overmix the batter
  • Test doneness with a toothpick
  • Let it cool completely before slicing for best texture
  • Wrap tightly to retain moisture

Common Mistakes to Avoid

  • Dry bread? Overbaked or not enough banana
  • Gummy center? Undercooked — check doneness in the middle
  • Dense loaf? Overmixed batter or old baking soda
  • Cracked top? Normal and often expected in banana bread!

Final Thoughts: A Slice of Home

Banana bread is one of those recipes that turns simple ingredients into pure comfort. Grandma’s version was no-fuss, always moist, and always made with love.

So the next time you have a few spotty bananas on the counter, skip the trash — and bake a loaf that brings warmth, nostalgia, and that unmistakable aroma of home.

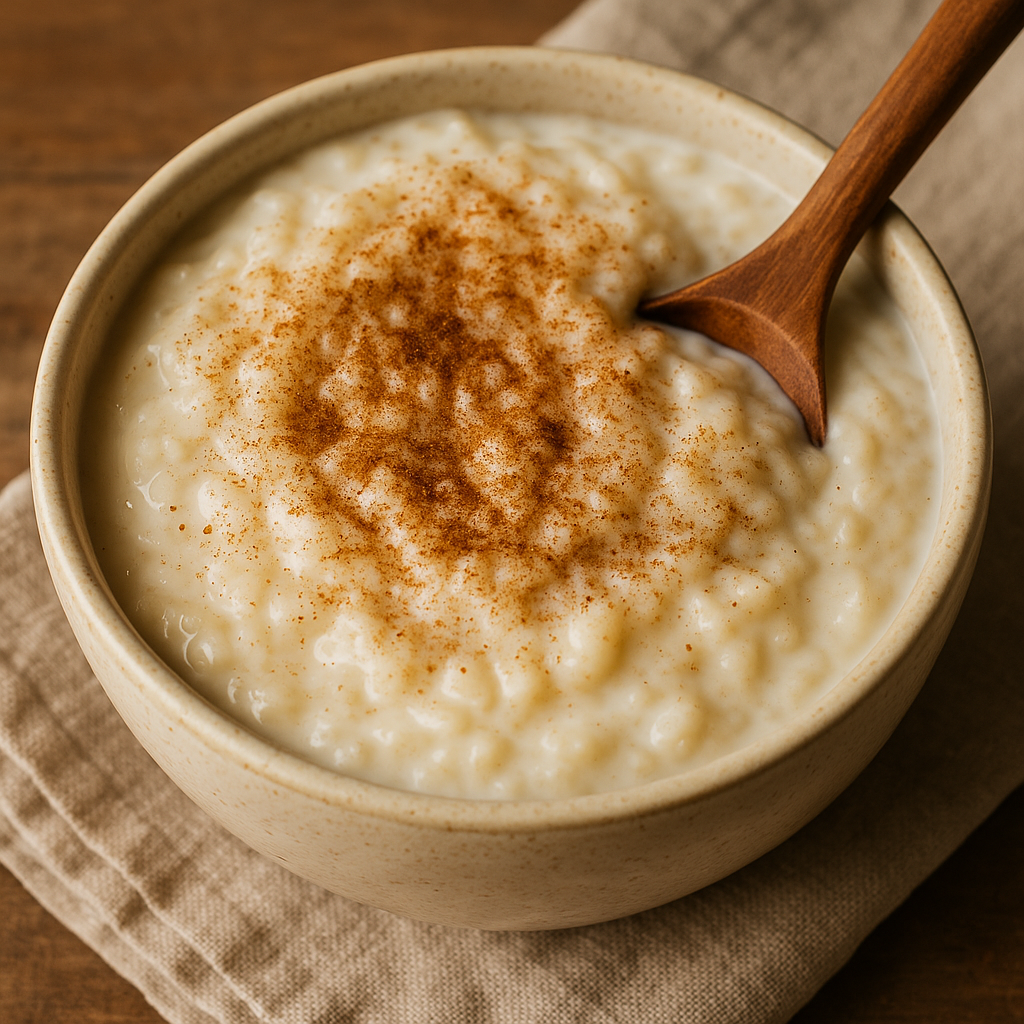
Grandma’s Rice Pudding Creamy, Sweet, and Full of Nostalgia

Rice pudding was one of grandma’s most comforting desserts — a warm, creamy bowl of lightly sweetened rice with hints of cinnamon, vanilla, and love. Whether served warm or chilled, it was simple, satisfying, and always made with care.

In this article, you’ll learn how to make classic stovetop rice pudding from scratch, just like grandma used to — no shortcuts, just real ingredients and timeless flavor.

Why You’ll Love This Rice Pudding

  • Creamy and smooth texture
  • Lightly sweet with hints of cinnamon and vanilla
  • Easy to make with basic pantry staples
  • Can be served warm or cold
  • Perfect for breakfast, dessert, or late-night comfort

Ingredients for Grandma’s Rice Pudding

Makes 4–6 servings.

  • 1 cup uncooked white rice (short or medium grain preferred)
  • 2 cups water
  • 4 cups whole milk
  • ½ cup granulated sugar
  • ¼ teaspoon salt
  • 1 teaspoon vanilla extract
  • ½ teaspoon ground cinnamon (optional)
  • ¼ teaspoon ground nutmeg (optional)
  • 1 tablespoon butter (optional, for richness)
  • Optional: raisins, golden raisins, or chopped nuts for garnish

Step-by-Step Instructions

1. Cook the Rice

In a medium saucepan, bring 2 cups of water to a boil.

Add the rice and a pinch of salt. Reduce heat to low, cover, and simmer until rice is tender and water is absorbed (about 15–18 minutes).

2. Add the Milk and Sugar

Add the milk, sugar, cinnamon, and nutmeg (if using) to the cooked rice.

Increase heat to medium and stir until the sugar dissolves.

3. Simmer the Pudding

Cook uncovered, stirring often, until the mixture thickens and becomes creamy — about 25–30 minutes.

Stir frequently to prevent scorching on the bottom.

Grandma’s tip: Be patient — the longer it simmers, the creamier it becomes.

4. Finish and Flavor

Remove from heat and stir in vanilla extract and butter (if using).

Let sit for 5–10 minutes to thicken slightly more.

5. Serve

Spoon into bowls and enjoy warm, or chill in the refrigerator for a few hours if you prefer it cold.

Top with extra cinnamon, raisins, or a splash of cream.

Serving Suggestions

  • With a sprinkle of cinnamon or nutmeg
  • Drizzled with honey or maple syrup
  • Topped with toasted nuts or coconut
  • With fruit compote or jam
  • Served in a mug with warm milk at bedtime

Storage and Reheating

Store:

  • Refrigerate in an airtight container for up to 4 days

Reheat:

  • Microwave or gently warm on the stovetop
  • Add a splash of milk to loosen if it’s too thick

Freeze:

  • Not recommended — texture becomes grainy after thawing

Variations to Try

  • Raisin Rice Pudding: Stir in ½ cup raisins during the last 10 minutes
  • Coconut Rice Pudding: Replace 1 cup of milk with coconut milk
  • Lemon Rice Pudding: Add lemon zest for brightness
  • Chocolate Rice Pudding: Stir in cocoa powder or melted chocolate
  • Spiced Rice Pudding: Add cardamom, cloves, or star anise for an exotic touch

Common Mistakes to Avoid

  • Too thin? Keep simmering — it thickens as it cools
  • Too thick? Stir in extra warm milk
  • Burning at the bottom? Stir frequently and use medium-low heat
  • Grainy texture? Use whole milk and avoid boiling too rapidly

Grandma’s Tips for Creamy Perfection

  • Use whole milk for richness
  • Stir regularly, especially as it thickens
  • Let it sit for a few minutes off the heat before serving
  • A pat of butter at the end adds silkiness and depth
  • Taste and adjust sweetness as needed — grandma always did

Final Thoughts: A Sweet, Simple Hug in a Bowl

Rice pudding is one of those classic recipes that never go out of style. It’s soothing, nostalgic, and made with the kind of gentle care that only grandma could give.

Whether you serve it warm on a rainy evening or chilled as a summer treat, it’s sure to bring comfort and smiles every time.

Grandma’s Homemade Vanilla Pudding: A Silky, Creamy Dessert Straight from the Heart

Before instant pudding mix was a kitchen staple, grandma was already whipping up batches of smooth, homemade vanilla pudding using just a handful of real ingredients. With its silky texture and rich, comforting flavor, it was one of those desserts that felt like a warm hug in a bowl.

In this guide, you’ll learn how to make vanilla pudding from scratch, using the same simple techniques and ingredients grandma used — no packets, no preservatives, just creamy goodness.

Why Homemade Pudding Is Worth It

Store-bought puddings might be fast, but nothing compares to the flavor and texture of the real thing. Here’s why:

  • Uses real milk, eggs, and vanilla
  • Richer, creamier texture than instant mixes
  • Perfect base for other flavors (chocolate, banana, coconut)
  • Great for layering into trifles or topping with fruit
  • Brings back that nostalgic, old-fashioned dessert vibe

Let’s start with the ingredients.

Ingredients for Homemade Vanilla Pudding

This recipe makes about 4–6 servings.

  • 2 ½ cups whole milk
  • ½ cup granulated sugar
  • ¼ cup cornstarch
  • ¼ teaspoon salt
  • 3 large egg yolks
  • 2 tablespoons unsalted butter
  • 1 ½ teaspoons pure vanilla extract

Optional: Add a splash of cream for a richer finish or a pinch of nutmeg for warmth.

Step-by-Step Instructions

1. Mix the Dry Ingredients

In a medium saucepan (off the heat), whisk together the sugar, cornstarch, and salt.

This prevents clumping when you add the milk.

2. Add the Milk and Yolks

Gradually whisk in the milk, then the egg yolks. Make sure everything is fully combined and smooth.

Grandma’s Tip: Strain the egg yolks if you want extra silky pudding.

3. Heat Gently and Stir Constantly

Place the saucepan over medium heat. Cook the mixture, stirring constantly, until it thickens and starts to bubble — about 8–10 minutes.

Once bubbles appear, cook for 1 more minute while continuing to stir. The pudding should coat the back of a spoon.

4. Remove from Heat and Add Butter & Vanilla

Turn off the heat. Stir in the butter and vanilla extract until smooth and fully melted.

Butter gives the pudding that classic creamy sheen and richness.

5. Strain (Optional) and Cool

For extra smoothness, pour the pudding through a fine-mesh sieve into a bowl.

Cover with plastic wrap pressed directly onto the surface to prevent a skin from forming.

Chill for at least 2 hours before serving — or enjoy it warm if you’re like grandma.

How to Serve Vanilla Pudding

Homemade vanilla pudding is incredibly versatile. Try it:

  • As is, with a sprinkle of cinnamon or nutmeg
  • Topped with berries or banana slices
  • Layered with crushed cookies or cake in a trifle
  • With whipped cream and chocolate shavings
  • As a filling for pies, donuts, or tarts

Grandma sometimes served it in vintage teacups with a biscuit on the side.

Make-Ahead and Storage Tips

  • Store pudding in an airtight container in the fridge for up to 4 days
  • Press plastic wrap directly on the surface to prevent skin
  • Stir before serving to smooth it out
  • Do not freeze — texture will suffer after thawing

Flavor Variations

Once you master the vanilla base, the possibilities are endless:

  • Chocolate Pudding: Add ½ cup cocoa powder or 100g melted dark chocolate
  • Banana Pudding: Layer with fresh banana slices and vanilla wafers
  • Coconut Pudding: Replace 1 cup of milk with coconut milk and add shredded coconut
  • Coffee Pudding: Stir in 1 tsp instant espresso powder with the milk
  • Lemon Pudding: Replace vanilla with lemon zest and a few tablespoons of lemon juice

Tips for Perfect Pudding Every Time

  • Use whole milk for best creaminess
  • Don’t stop stirring once it starts to heat up — this avoids lumps
  • Add eggs gradually to avoid scrambling
  • Cool slowly to avoid watery pudding
  • Strain after cooking for a gourmet finish

Final Thoughts: A Bowl Full of Comfort

Grandma’s vanilla pudding wasn’t just dessert. It was a sweet reward after a long day, a soothing treat for upset stomachs, and a creamy reminder that the best things in life are often the simplest.

With just a few ingredients and a little patience, you can recreate that same sense of home, warmth, and nostalgia in every spoonful.

Grandma’s Classic Banana Bread: Moist, Sweet, and Made with Ripe Bananas

There’s something timeless and healing about a big pot of hot, homemade vegetable soup. No matter the season or occasion, grandma’s classic vegetable soup was always there to comfort — whether you were sick, sad, cold, or just hungry. Full of color, flavor, and simple ingredients, it was her way of saying, “Everything will be alright.”

In this article, you’ll learn how to recreate that old-fashioned vegetable soup that simmered gently on grandma’s stove — loaded with fresh vegetables, tender potatoes, and just the right seasoning.

Why This Soup Is So Special

Unlike fancy modern recipes or pre-packaged mixes, grandma’s vegetable soup was:

  • Flexible — she used whatever was in the fridge or garden
  • Nourishing — packed with real ingredients, vitamins, and fiber
  • Fragrant and slow-cooked — building layers of flavor over time
  • Easy to make in big batches for family dinners or freezing later

Best of all, it made the whole house smell like home.

Ingredients You’ll Need

This recipe serves 6–8 hearty portions.

Base Vegetables:

  • 2 tablespoons olive oil or butter
  • 1 medium onion, chopped
  • 2 garlic cloves, minced
  • 2 celery stalks, diced
  • 3 large carrots, peeled and sliced
  • 2 medium potatoes, cubed
  • 1 zucchini, diced
  • 1 cup green beans, chopped
  • 1 cup corn kernels (fresh or frozen)
  • 1 cup green peas (fresh or frozen)
  • 1 can diced tomatoes (400g / 14oz)

Broth and Seasonings:

  • 6 cups vegetable broth or water
  • 1 bay leaf
  • 1 teaspoon dried thyme
  • Salt and pepper to taste
  • Optional: 1 teaspoon smoked paprika or a pinch of chili flakes for warmth

Add-ins and Variations:

  • 1 cup shredded cabbage or kale
  • 1 can of beans (kidney, white, or chickpeas), drained
  • Small pasta (like elbow or ditalini), cooked separately
  • Fresh parsley or basil for garnish
  • Parmesan rind during cooking for extra flavor (optional)

Step-by-Step Instructions

1. Sauté the Base

Heat the oil or butter in a large pot over medium heat. Add the onions and cook until translucent. Stir in the garlic, celery, and carrots. Sauté for about 5–7 minutes until slightly softened.

2. Add the Broth and Hearty Veggies

Add the potatoes, tomatoes (with juice), bay leaf, thyme, and broth. Bring everything to a gentle boil.

Reduce heat and simmer for 20–25 minutes, or until the potatoes and carrots are nearly tender.

Grandma’s Tip: Keep the lid partially on for a richer broth.

3. Add the Remaining Vegetables

Add the green beans, zucchini, corn, and peas. Simmer for another 10–15 minutes, until all the vegetables are soft but not mushy.

If adding beans, leafy greens, or cooked pasta, stir them in now and cook for just a few minutes more.

4. Taste and Adjust

Season with salt and pepper to taste. Add any optional flavor boosts like paprika or chili flakes. Remove bay leaf before serving.

5. Let It Rest

Remove the soup from heat and let it sit for 5–10 minutes before serving. This allows the flavors to meld and deepen — grandma always insisted on this step.

What Makes This Recipe So Flexible?

One of the best things about grandma’s vegetable soup is how adaptable it is:

  • Out of peas? Add broccoli florets.
  • No potatoes? Try sweet potatoes, turnips, or pasta.
  • No broth? Use water and season generously.
  • No fresh veggies? Frozen works too.

This was a “use what you have” recipe — and it always worked.

How to Serve

Grandma’s vegetable soup was often the main course — simple, hearty, and served with:

  • Crusty bread or toast with butter
  • Homemade cornbread or cheese biscuits
  • White rice or noodles on the side
  • A sprinkle of grated Parmesan or cheddar on top

It’s also great as a starter for larger meals or packed in a thermos for school and work lunches.

How to Store and Reheat

Storage:

  • Let the soup cool completely.
  • Store in an airtight container in the fridge for up to 5 days.
  • Or freeze for up to 3 months — perfect for busy weeks!

Reheating:

  • Reheat gently on the stovetop over medium-low heat.
  • Add a splash of water or broth if it thickens too much in the fridge.
  • Stir often and taste before serving.

Grandma’s Tips for the Best Soup Every Time

  • Layer the flavors by adding vegetables in stages.
  • Don’t skip the garlic and onion — they are the aromatic base.
  • Use fresh herbs at the end for brightness.
  • Taste as you go — add salt gradually and adjust at the end.
  • Let it simmer slowly — never rush a good pot of soup.

The Power of a Pot of Soup

This isn’t just soup. It’s:

  • What you ate after playing outside in the cold
  • What grandma made when someone was sick
  • What filled the house with warmth on Sunday evenings
  • What taught you that simple food can be the most satisfying

A pot of vegetable soup is a pot of care, tradition, and nourishment.

Final Thoughts: A Bowl Full of Memories

Recreating grandma’s vegetable soup isn’t about perfection — it’s about comfort. It’s about taking what you have, adding love, and letting it simmer into something beautiful.

This recipe brings warmth to your kitchen and your heart, one bowl at a time.