
Before store-bought jars filled grocery store shelves, jam was something you made at home — slowly, lovingly, and with seasonal fruit picked at just the right moment. Grandma’s homemade jam wasn’t just sweet — it was a labor of love, sealed into a jar and saved for months of joy.
In this complete guide, you’ll learn the traditional way grandma made her delicious jams — no preservatives, no fancy equipment, just fruit, sugar, time, and love.
Why Homemade Jam Is So Special
Homemade jam is more than just a spread. It’s:
- A way to preserve summer’s fruit through the seasons
- Richer and more flavorful than store-bought
- Healthier — no additives, colorants, or artificial thickeners
- A wonderful gift or memory-maker
- Surprisingly easy to make with the right steps
The Basics: What You Need to Make Jam
The beauty of jam-making is in its simplicity. Here’s what grandma used:
Ingredients (for about 3 small jars):
- 4 cups chopped fresh fruit (berries, plums, peaches, or apples)
- 2 cups granulated sugar (adjust based on fruit sweetness)
- 2 tablespoons lemon juice (for pectin and balance)
- Optional: 1 teaspoon vanilla, cinnamon, or herbs for flavor variation
Tools:
- Large saucepan or jam pot
- Wooden spoon
- Ladle
- Clean glass jars with lids (sterilized)
- Funnel (optional but helpful)
- Thermometer (optional for precision)
No pectin needed — grandma’s jam thickened naturally through slow cooking and the natural pectin found in fruit and lemon juice.
Choosing the Right Fruit
You can use nearly any fresh, ripe fruit. Some favorites include:
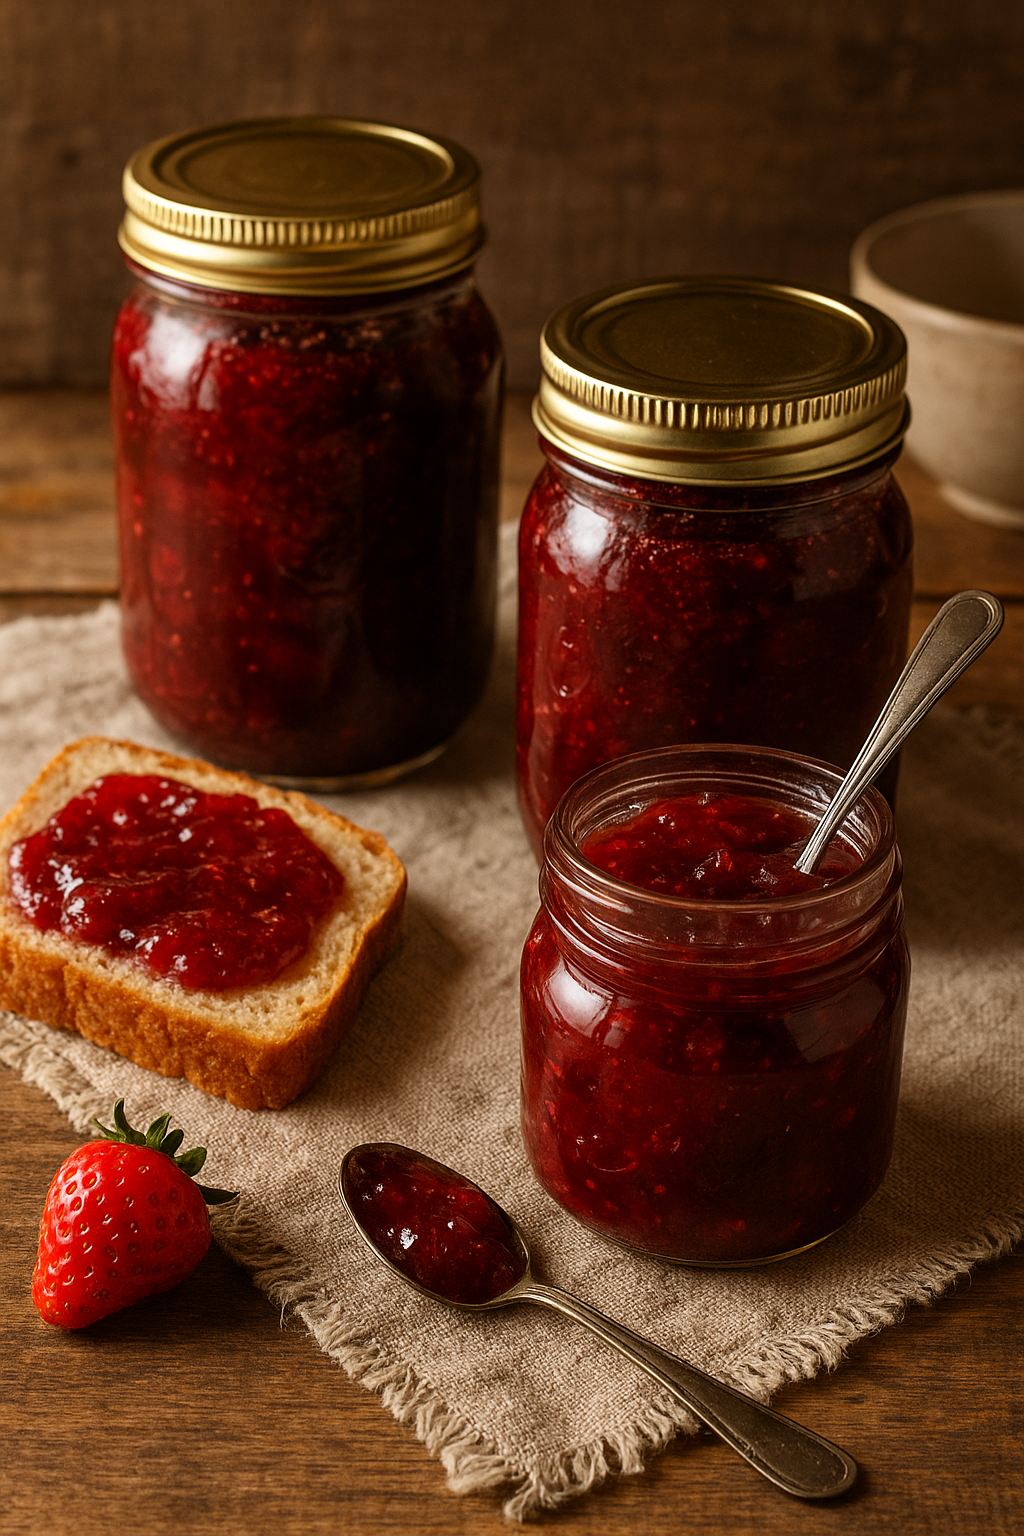
- Strawberries: Sweet, bright, and quick-cooking
- Blueberries: Easy to clean and naturally high in pectin
- Peaches and apricots: Soft, fragrant, and ideal for smooth jam
- Apples and pears: Best for firmer, more textured spreads
- Cherries or plums: Deep flavor and natural tartness
Use very ripe fruit — overripe is fine for jam, as long as it’s not spoiled.
Step-by-Step Instructions: Grandma’s Jam Method
1. Wash, Chop, and Measure
Thoroughly wash your fruit, remove stems/pits/peels as needed, and chop into small pieces. Measure out 4 cups of prepared fruit.
2. Combine Fruit and Sugar
In a large saucepan, add the fruit and sugar together. Stir gently and let it sit for 15–30 minutes. This maceration step draws out the fruit juices.
Add the lemon juice and any optional spices or flavorings.
3. Bring to a Boil
Place the pot over medium-high heat. Stir often as the sugar dissolves and the mixture begins to boil. Once it starts bubbling, lower the heat slightly to maintain a gentle rolling boil.
Skim off any foam that rises to the top with a spoon — this keeps the jam clear.
4. Simmer and Stir
Let the jam simmer uncovered for 30–45 minutes, stirring often. As it cooks down, it will become thicker and more concentrated. The fruit should break down and the liquid should begin to coat the back of a spoon.
5. Check for Doneness
There are a few ways grandma checked if jam was ready:
- Freezer plate test: Place a small spoonful of jam on a chilled plate. Let it sit for a minute, then push it with your finger — if it wrinkles, it’s done.
- Thermometer test: Jam sets around 105°C (220°F) at sea level.
- Wooden spoon test: Lift a spoonful and let it fall — if it drips slowly in a sheet instead of running off, it’s ready.
6. Jar It Up
Carefully ladle the hot jam into sterilized jars, leaving about ¼ inch of headspace. Wipe rims clean, seal with lids, and either:
- Refrigerate and consume within 1–2 months, or
- Water-bath can for long-term storage (boil sealed jars for 10 minutes in a large pot of water to preserve shelf life)
Let the jars cool completely before storing.
Grandma’s Favorite Jam Flavors (You Can Try Too!)
- Strawberry-Vanilla: Add a teaspoon of real vanilla to strawberry jam
- Peach-Ginger: Fresh grated ginger brings brightness
- Apple-Cinnamon: Cozy, spiced, and perfect for fall
- Blueberry-Lemon: A citrus twist makes it pop
- Cherry-Almond: A splash of almond extract adds depth
How to Store Homemade Jam
- Keep sealed jars in a cool, dark place — pantry, cupboard, or cellar
- Once opened, store in the refrigerator and use within 1 month
- If the jam has any signs of spoilage (mold, strange smell, bubbling), discard it
Tip: Label each jar with the date and fruit used. It keeps your pantry organized and helps you track freshness.
Ways to Enjoy Grandma’s Jam
Jam isn’t just for toast! Try it:
- On fresh butter biscuits or scones
- Swirled into yogurt or oatmeal
- As a filling for cakes or thumbprint cookies
- Mixed into salad dressings or glazes for meat
- Layered into parfaits or cheesecake bars
Common Mistakes to Avoid
- Using low-quality fruit: The better the fruit, the better the jam
- Undercooking or overcooking: Follow visual cues and do the freezer test
- Skipping lemon juice: It helps the jam set and adds balance
- Skipping sterilization: Always clean jars thoroughly to prevent spoilage
- Rushing the process: Jam takes time — don’t boil too fast or you’ll burn the sugar
Final Thoughts: Sweet Tradition in a Jar
Grandma’s jam wasn’t just a recipe — it was an act of preservation, of both fruit and memory. It turned summer’s bounty into something to be enjoyed during the coldest days. It filled sandwiches, cakes, cookies, and hearts.
When you make your own jam, you’re continuing that legacy — connecting to a tradition of slowness, care, and home.
So grab that pot, pick your fruit, and let’s capture sunshine in a jar — just like grandma used to.