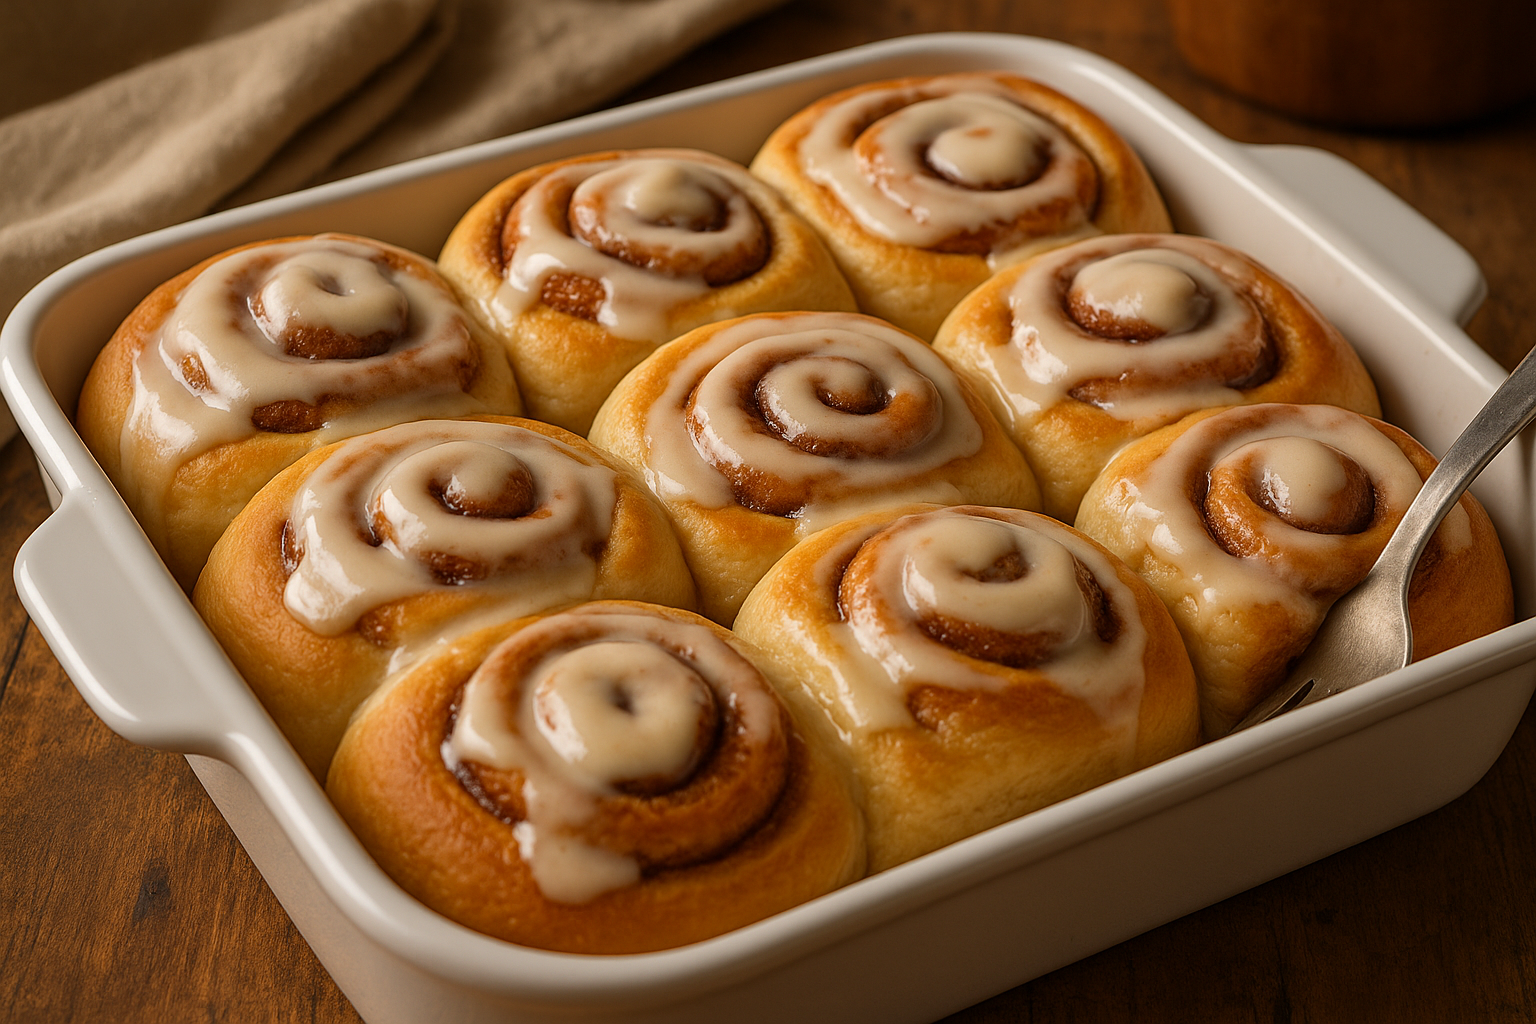
Grandma’s Cinnamon Rolls: Soft, Gooey, and Baked with Love

Few smells are as comforting as the warm, sweet scent of cinnamon rolls baking in the oven. Fluffy, buttery, and dripping with icing, grandma’s cinnamon rolls were the kind of treat that made everyone stop what they were doing and come to the kitchen.

In this article, you’ll learn how to make soft, homemade cinnamon rolls from scratch — the kind that rise high, melt in your mouth, and make any morning feel special.


Why These Cinnamon Rolls Are So Special

  • Buttery, soft dough that rises perfectly
  • Sweet cinnamon-sugar filling that caramelizes as it bakes
  • Creamy vanilla or cream cheese icing
  • Can be made ahead and baked fresh in the morning
  • A beloved treat for breakfast, brunch, or holidays

Ingredients for Grandma’s Cinnamon Rolls

Makes 12 large rolls.

For the Dough:

  • 4 cups all-purpose flour (plus more as needed)
  • 2 ¼ teaspoons (1 packet) instant yeast
  • 1 cup warm milk (about 110°F / 43°C)
  • ⅓ cup granulated sugar
  • ⅓ cup unsalted butter, melted
  • 1 teaspoon salt
  • 2 large eggs

For the Filling:

  • ¾ cup brown sugar, packed
  • 2 tablespoons ground cinnamon
  • ⅓ cup unsalted butter, softened

For the Icing:

  • 1 cup powdered sugar
  • 1–2 tablespoons milk
  • ½ teaspoon vanilla extract
  • Optional: 2 tablespoons cream cheese, softened

Step-by-Step Instructions

1. Make the Dough

In a large bowl, combine warm milk, sugar, and yeast. Let sit for 5 minutes until frothy.

Add melted butter, eggs, and salt. Gradually stir in the flour until a soft dough forms.

Knead by hand or with a mixer for 6–8 minutes, until the dough is smooth and elastic.


2. Let It Rise

Place the dough in a greased bowl, cover, and let rise in a warm place for 1–1.5 hours, or until doubled in size.


3. Prepare the Filling

Mix the brown sugar and cinnamon in a small bowl.


4. Roll and Fill

Punch down the dough and roll it into a large rectangle (about 16×12 inches).

Spread softened butter over the surface, then sprinkle with the cinnamon-sugar mixture.


5. Shape the Rolls

Starting from the long side, roll the dough into a tight log.

Cut into 12 equal pieces and place them in a greased 9×13-inch baking dish.


6. Second Rise

Cover and let the rolls rise for 30–45 minutes, until puffy and touching.

Meanwhile, preheat the oven to 175°C (350°F).


7. Bake

Bake for 20–25 minutes, or until golden brown and cooked through.

Let cool for 10 minutes before icing.


8. Make the Icing

Mix powdered sugar, vanilla, and milk (and cream cheese, if using) until smooth.

Drizzle over warm rolls.


Storage and Reheating

  • Store at room temp for 2 days, or refrigerate for up to 5 days
  • Reheat in the microwave or oven until warm
  • Freeze un-iced rolls for up to 2 months — thaw and ice after baking

Make-Ahead Option

  • Prepare rolls, cover tightly, and refrigerate overnight before the second rise
  • Let come to room temp and rise in the morning, then bake as directed

Variations to Try

  • Raisin Cinnamon Rolls: Add ½ cup raisins to the filling
  • Pecan Sticky Buns: Add chopped pecans and caramel glaze
  • Pumpkin Spice Rolls: Add pumpkin purée to the dough and pumpkin spice to the filling
  • Chocolate Rolls: Add mini chocolate chips to the filling
  • Lemon Icing: Use lemon juice instead of milk in the icing

Grandma’s Tips for the Best Cinnamon Rolls

  • Use warm milk, not hot, so you don’t kill the yeast
  • Let the dough rise in a draft-free, warm area
  • Roll the dough tightly to avoid gaps in the spirals
  • Don’t overbake — rolls should be soft, not dry
  • Add the icing while warm so it melts just enough

Final Thoughts: A Swirl of Sweet Memories

Grandma’s cinnamon rolls were more than just a breakfast treat — they were a celebration of togetherness, patience, and sweetness. Whether for holidays, birthdays, or slow Sunday mornings, this recipe brings the same magic to your own home.

Warm, gooey, and unforgettable — that’s how cinnamon rolls should be.

Grandma’s Homemade Cornbread: Moist, Buttery, and Baked to Perfection

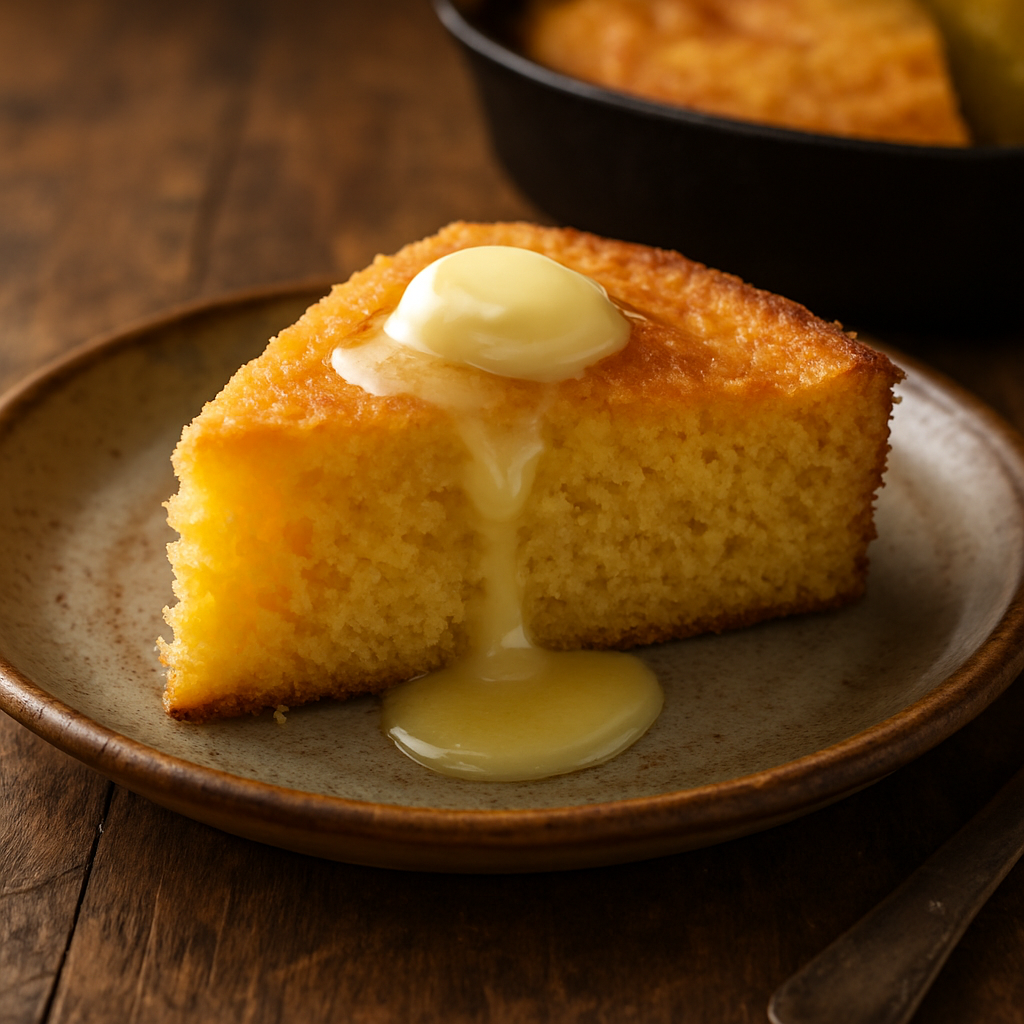
In grandma’s kitchen, cornbread was more than a side dish — it was a staple. Served with stews, chili, greens, or just a smear of butter and a drizzle of honey, it was always baked in a hot cast-iron skillet and came out golden, moist, and full of flavor.

This recipe brings back that homemade magic. We’ll show you how to make traditional Southern-style cornbread, just like grandma did — with crispy edges, tender crumb, and simple ingredients from the pantry.

Why Grandma’s Cornbread Is So Loved

There’s something special about homemade cornbread — especially when it’s done the old-fashioned way:

  • No added sugar (or just a touch — grandma-style!)
  • Moist on the inside, golden and crisp on the outside
  • Baked in a cast-iron skillet for perfect texture
  • Versatile enough for both sweet and savory dishes
  • Always made with real cornmeal, butter, and love

Let’s get started!

Ingredients for Grandma’s Cornbread

This recipe serves 6–8 people and bakes in a 9-inch skillet or square pan.

  • 1 cup cornmeal (medium or fine ground)
  • 1 cup all-purpose flour
  • 1 tablespoon baking powder
  • ½ teaspoon baking soda
  • ½ teaspoon salt
  • 1 cup buttermilk (or substitute below)
  • 2 large eggs
  • ½ cup unsalted butter, melted
  • Optional: 1–2 tablespoons sugar (for slightly sweet cornbread)
  • Optional: ½ cup corn kernels, shredded cheese, or chopped jalapeños

Buttermilk Substitute:

  • 1 cup milk + 1 tablespoon vinegar or lemon juice
  • Let sit 5–10 minutes before using

Step-by-Step Instructions

1. Preheat the Oven (and the Skillet)

Preheat oven to 220°C (425°F).

If using a cast-iron skillet, place it in the oven while it preheats. A hot skillet = crispy edges!

2. Mix Dry Ingredients

In a large bowl, whisk together the cornmeal, flour, baking powder, baking soda, salt, and sugar if using.

3. Mix Wet Ingredients

In another bowl, beat the eggs. Add the buttermilk and melted butter. Stir until well combined.

4. Combine Wet and Dry

Add the wet mixture to the dry ingredients. Stir just until combined. Do not overmix — a few lumps are fine.

If adding extras (corn, cheese, herbs), fold them in now.

Grandma’s Tip: A slightly thick batter makes a heartier cornbread.

5. Pour into the Hot Pan

Carefully remove the hot skillet from the oven and grease it with a small amount of butter or oil.

Pour the batter into the skillet — it should sizzle slightly. Spread evenly.

6. Bake

Bake for 20–25 minutes, or until the top is golden brown and a toothpick comes out clean from the center.

Let it cool in the pan for a few minutes before slicing and serving.

How to Serve Cornbread (Grandma-Style)

Cornbread is incredibly versatile. Serve it:

  • With chili or bean stew
  • Alongside fried chicken or BBQ ribs
  • Crumbled into collard greens or soups
  • Toasted with butter and jam
  • As a savory stuffing for poultry
  • With honey or molasses drizzled on top

Variations and Add-Ins

Want to customize your cornbread? Try these ideas:

  • Cheddar Jalapeño Cornbread: Add ½ cup shredded cheese + 1 chopped jalapeño
  • Sweet Cornbread: Increase sugar to ¼ cup
  • Bacon Cornbread: Fold in cooked, crumbled bacon
  • Herbed Cornbread: Add chopped chives, thyme, or rosemary
  • Corn Pudding Cornbread: Mix in creamed corn for extra moisture

How to Store and Reheat

Store:

  • Wrap leftovers in foil or airtight container
  • Keep at room temperature for up to 2 days, or refrigerate for up to 5 days

Freeze:

  • Wrap tightly in plastic and foil, then freeze for up to 2 months
  • Thaw at room temperature or in the oven

Reheat:

  • Oven: Wrap in foil and warm at 160°C (325°F) for 10–15 minutes
  • Microwave: Wrap in a damp paper towel and heat in short bursts

Grandma’s Secrets for the Best Cornbread

  • Preheat your skillet — this gives you that signature crispy crust
  • Use real buttermilk for tang and tenderness
  • Don’t overmix — treat the batter gently
  • Serve warm, straight from the skillet
  • Make extra — it disappears fast!

Final Thoughts: Cornbread with a Legacy

Grandma’s cornbread wasn’t just a side dish — it was part of the story. A warm slice passed around the table, a complement to hearty meals, or a snack all on its own, it brought comfort and connection to every occasion.

Now, with this recipe, you can bake that same golden comfort in your own kitchen — and carry on a timeless tradition.

How to Make Grandma’s Classic Banana Bread: Moist, Sweet, and Full of Flavor

When your bananas start turning brown, it’s not a mistake — it’s an opportunity. And no one understood that better than grandma. Instead of wasting them, she transformed overripe bananas into the most delicious, moist, and fragrant banana bread you could imagine.

In this guide, you’ll learn how to make banana bread the old-fashioned way, just like grandma used to — simple ingredients, no fancy gadgets, and a loaf so rich and comforting it barely lasted a day on the counter.

Why Banana Bread Is a Timeless Favorite

Banana bread is one of the ultimate comfort bakes. Here’s why:

  • Uses up ripe bananas instead of throwing them out
  • Comes together with basic pantry ingredients
  • Moist, tender, and full of sweet banana flavor
  • Delicious warm, cold, toasted — with or without toppings
  • Perfect for breakfast, snacks, or even dessert

Let’s dig into grandma’s secrets for the best banana bread you’ll ever taste.

Ingredients for Grandma’s Banana Bread

This recipe makes one 9×5 inch loaf — about 8–10 slices.

  • 3 very ripe bananas, mashed
  • 2 large eggs
  • ½ cup unsalted butter, melted and cooled
  • ¾ cup granulated sugar (adjust to taste)
  • 1 ½ cups all-purpose flour
  • 1 teaspoon baking soda
  • ½ teaspoon salt
  • 1 teaspoon vanilla extract
  • ½ teaspoon ground cinnamon (optional)
  • ½ cup chopped walnuts or pecans (optional)
  • ¼ cup milk or sour cream (optional, for extra moisture)

Step-by-Step Instructions

1. Preheat the Oven and Prep the Pan

Preheat your oven to 175°C (350°F).

Grease and flour a 9×5-inch loaf pan, or line it with parchment paper for easy removal.

2. Mash the Bananas

In a large bowl, mash the bananas until mostly smooth (a few chunks are okay — they add texture).

Add the melted butter and stir to combine.

3. Add Wet Ingredients

Mix in the sugar, eggs, vanilla, and milk or sour cream if using. Stir until smooth and well incorporated.

4. Mix the Dry Ingredients

In a separate bowl, whisk together flour, baking soda, salt, and cinnamon.

Gradually add the dry ingredients to the banana mixture, stirring gently just until no flour remains.

Grandma’s Tip: Don’t overmix — overworking the batter can lead to dense bread.

5. Fold in Nuts (Optional)

If using chopped nuts, gently fold them into the batter at the end.

6. Pour and Bake

Pour the batter into your prepared loaf pan and smooth the top with a spatula.

Bake for 50–60 minutes, or until a toothpick inserted into the center comes out clean.

7. Cool and Slice

Let the banana bread cool in the pan for 10–15 minutes, then transfer to a wire rack to cool completely.

Slice and serve warm, room temperature, or toasted with butter.

Banana Bread Variations Grandma Loved

Want to mix it up? Here are some fun and delicious twists:

  • Chocolate Chip Banana Bread: Add ½ cup chocolate chips
  • Peanut Butter Swirl: Swirl 2 tbsp peanut butter into the top before baking
  • Coconut Banana Bread: Add ¼ cup shredded coconut to the batter
  • Maple-Walnut: Replace sugar with maple syrup and fold in walnuts
  • Tropical: Add pineapple chunks and coconut for a fruity twist

Serving Suggestions

Banana bread is perfect on its own, but it also pairs wonderfully with:

  • Coffee or hot tea
  • A drizzle of honey or maple syrup
  • A spread of butter, cream cheese, or nut butter
  • Yogurt and fruit for a hearty breakfast

Warm it slightly before serving for that fresh-out-of-the-oven flavor.

How to Store and Reheat

Storing:

  • Wrap in foil or plastic wrap and keep at room temperature for up to 3 days.
  • Refrigerate for up to 1 week (though it may dry slightly).

Freezing:

  • Wrap tightly in plastic, then foil, and freeze for up to 3 months.
  • Slice before freezing for easy grab-and-go pieces.

Reheating:

  • Toast slices in a toaster or warm briefly in the microwave.
  • For oven reheating, wrap in foil and bake at 150°C (300°F) for 10–15 minutes.

Grandma’s Banana Bread Tips

  • Use overripe bananas with lots of brown spots — they’re sweeter and softer
  • Let melted butter cool slightly so it doesn’t cook the eggs
  • Don’t skip the salt — it enhances the banana flavor
  • Add a banana on top (sliced in half) for a beautiful presentation
  • Test with a toothpick — underbaking is better than overbaking

Final Thoughts: A Slice of Sweet Nostalgia

Grandma’s banana bread wasn’t just dessert — it was a memory, a comfort, and a family tradition. It filled the house with warmth, made everyone gather in the kitchen, and somehow tasted even better the next day (if there was any left).

Whether you’re baking it for your kids, your neighbors, or just for yourself, this classic recipe brings the sweetness of the past into the present.

Now let’s bring this beloved treat to life with a warm, ultra-realistic image of a golden, moist banana bread loaf — freshly sliced and ready to enjoy.

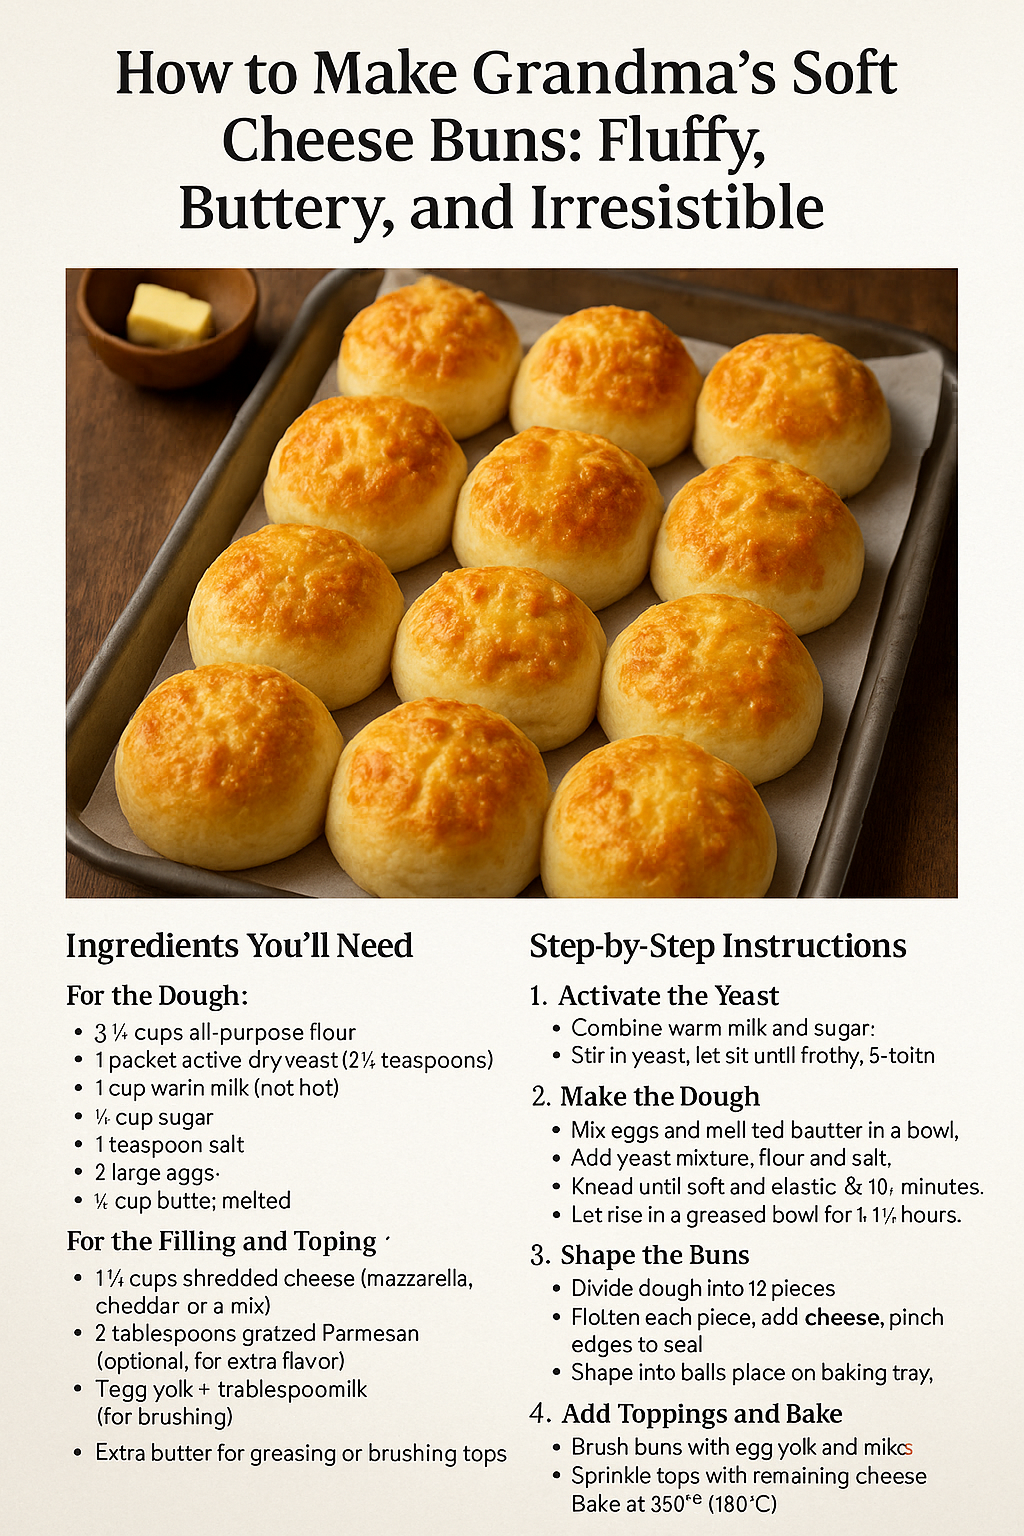
How to Make Grandma’s Soft Cheese Buns: Fluffy, Buttery, and Irresistible

There’s nothing like the smell of fresh bread wafting through the kitchen — especially when it’s filled with melty, savory cheese. One of grandma’s most beloved recipes was her soft cheese buns: golden on the outside, tender on the inside, and bursting with warm cheesy goodness.

These buns weren’t just snacks — they were little bites of comfort, made to share, to impress guests, or simply to enjoy with coffee on a quiet afternoon. In this detailed guide, you’ll learn how to bake these traditional cheese buns just like grandma did — simple, fluffy, and incredibly satisfying.

What Are Cheese Buns?

Cheese buns (also known in some cultures as cheese rolls or cheese bread) are soft rolls made with a yeasted dough, filled or topped with cheese, and baked until golden brown. Grandma’s version had cheese in the center and on top, creating the perfect balance of gooey inside and crispy edges.

They’re great for breakfast, as a snack, with soup, or served on a brunch table. Plus, they smell absolutely amazing while baking!

Ingredients You’ll Need

This recipe makes about 12 buns.

For the Dough:

  • 3 ½ cups all-purpose flour
  • 1 packet active dry yeast (2 ¼ teaspoons)
  • 1 cup warm milk (not hot)
  • ¼ cup sugar
  • 1 teaspoon salt
  • 2 large eggs
  • ¼ cup butter, melted

For the Filling and Topping:

  • 1 ½ cups shredded cheese (mozzarella, cheddar, or a mix)
  • 2 tablespoons grated Parmesan (optional, for extra flavor)
  • 1 egg yolk + 1 tablespoon milk (for brushing)
  • Extra butter for greasing or brushing tops

Step-by-Step Instructions

1. Activate the Yeast

In a small bowl, combine the warm milk and sugar. Sprinkle in the yeast, stir gently, and let sit for 5–10 minutes until frothy.

Grandma’s Tip: If the yeast doesn’t bubble, it’s not active — start again with a fresh packet.

2. Make the Dough

In a large mixing bowl, beat the eggs and add the melted butter. Pour in the yeast mixture and mix to combine.

Add the flour and salt gradually, stirring with a wooden spoon or using a stand mixer with a dough hook. Knead for 8–10 minutes, until the dough is soft, smooth, and elastic.

Add a bit more flour if the dough is too sticky, but don’t overdo it — a slightly tacky dough yields softer buns.

3. Let the Dough Rise

Form the dough into a ball, place it in a greased bowl, and cover with a clean towel or plastic wrap. Let it rise in a warm place for 1 to 1½ hours, or until doubled in size.

4. Shape the Buns

Punch down the dough and divide it into 12 equal pieces. Flatten each piece into a small circle. Add a tablespoon of shredded cheese in the center and pinch the dough closed like a pouch.

Shape into balls and place seam-side down on a greased baking tray or parchment paper-lined sheet.

5. Second Rise

Cover the shaped buns loosely and let them rise again for 30–40 minutes, until puffy.

6. Add Toppings and Bake

Preheat the oven to 180°C (350°F).

Brush the tops of the buns with the egg yolk + milk mixture. Sprinkle the remaining cheese (and Parmesan, if using) over the tops.

Bake for 20–25 minutes, or until golden brown and the cheese is bubbling.

7. Cool Slightly and Serve

Let the buns cool for 5–10 minutes before serving. Enjoy them warm for the best cheesy experience!

Why Grandma’s Cheese Buns Were Always Perfect

Her secret wasn’t just in the ingredients — it was in the way she made them:

  • She never rushed the dough. Letting it rise fully made them light and fluffy.
  • She always used real butter and fresh cheese.
  • She often added a sprinkle of love — the kind that made every bite special.

Variations You Can Try

Want to make this recipe your own? Try these ideas:

  • Spicy cheese buns: Add a pinch of chili flakes or jalapeños to the filling.
  • Herb cheese buns: Mix rosemary, thyme, or parsley into the dough or topping.
  • Garlic cheese buns: Add roasted garlic to the filling or brush garlic butter on top after baking.
  • Mini cheese rolls: Make smaller versions for party snacks or lunchboxes.

How to Store and Reheat

  • Room temp: Store in an airtight container for up to 2 days.
  • Fridge: Up to 5 days, though they’re best fresh.
  • Freeze: Freeze baked buns (cooled) for up to 1 month. Thaw and reheat in the oven for best texture.

Reheating:

  • Microwave for 20–30 seconds for a quick warm-up.
  • For crispy tops, reheat in a toaster oven or regular oven at 160°C (325°F) for 5–8 minutes.

Serving Suggestions

Grandma served her cheese buns in many ways:

  • With coffee or tea in the morning
  • Alongside soups or stews
  • As a savory snack with jam or tomato relish
  • On the dinner table as a cheesy bread option

They’re versatile, easy to serve, and always appreciated.

Final Thoughts: Little Pillows of Joy

Baking these buns is more than just making bread — it’s recreating a memory, a moment, and a taste of comfort that’s impossible to forget.

Whether you’re baking for your family, impressing guests, or simply treating yourself, these fluffy, cheesy buns will transport you right back to grandma’s kitchen — where everything was made with care, and every bite was a reminder that food can be love.