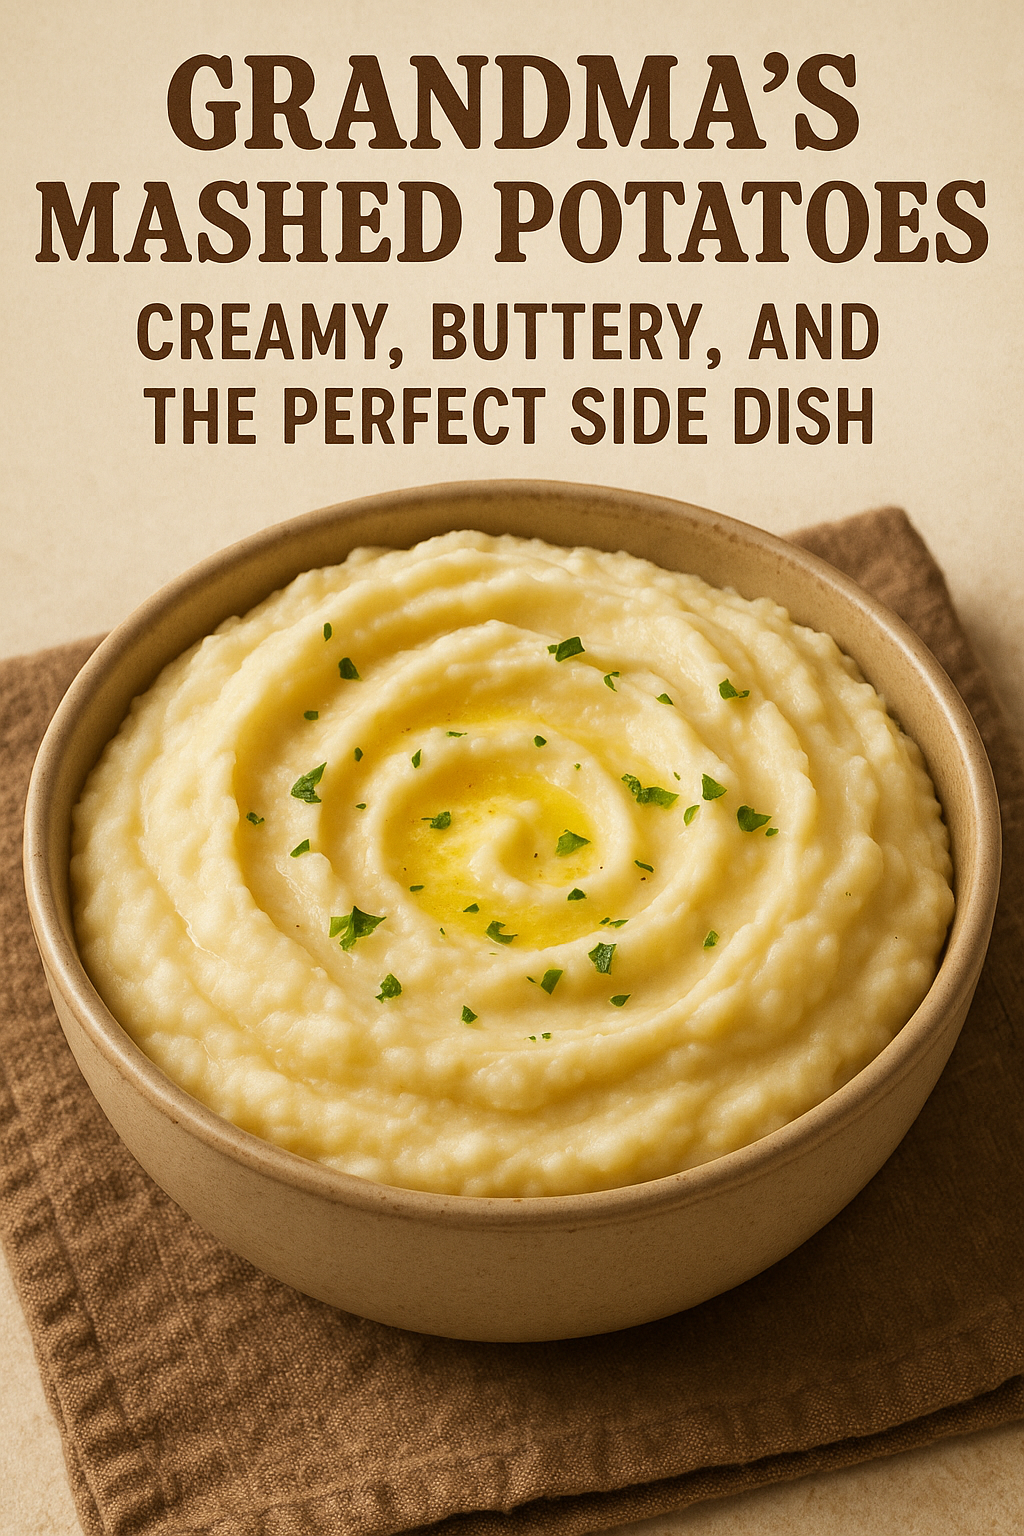
Grandma’s Mashed Potatoes: Potatoes, Buttery, and the Perfect Side Dish

When it came to comfort food, grandma’s mashed potatoes were unbeatable. Creamy, fluffy, rich, and smooth — they were the heart of every holiday table and the ultimate companion to roasts, stews, and gravy.

In this article, you’ll learn how to make perfect mashed potatoes from scratch, just like grandma used to, using simple ingredients and a few key tips to get them light and luscious every time.

Why These Mashed Potatoes Are the Best

  • Incredibly creamy and buttery
  • Made with real potatoes, milk, and butter
  • Perfect for everyday meals or special occasions
  • Easy to customize with herbs, garlic, or cheese
  • Can be made ahead and reheated without drying out

Ingredients for Homemade Mashed Potatoes

Serves 6–8 people.

  • 3 lbs (about 1.4 kg) Yukon Gold or Russet potatoes, peeled and cut into chunks
  • ½ cup (1 stick) unsalted butter
  • 1 cup whole milk (or heavy cream for extra richness)
  • Salt, to taste
  • Freshly ground black pepper, to taste
  • Optional: 2 cloves garlic, smashed (for garlic mashed potatoes)

Step-by-Step Instructions

1. Peel and Chop the Potatoes

Peel the potatoes and cut them into even chunks — about 2-inch pieces.

Place them in a large pot and cover with cold water. Add 1 tablespoon of salt to the water.

Grandma’s tip: Always start with cold water to ensure even cooking.

2. Boil the Potatoes

Bring the pot to a boil over medium-high heat.

Cook until the potatoes are fork-tender, about 15–20 minutes.

Drain the potatoes well and return them to the pot.

3. Heat the Milk and Butter

In a small saucepan (or microwave-safe bowl), warm the milk and butter until melted and hot. Do not boil.

This helps absorb better into the potatoes.

4. Mash the Potatoes

Use a potato masher, ricer, or hand mixer to mash the hot potatoes.

Slowly pour in the warm milk-butter mixture while mashing until smooth and fluffy.

Season with salt and pepper to taste.

Serving Suggestions

  • Topped with gravy or melted butter
  • Paired with roast chicken, turkey, beef, or pork
  • With meatloaf and green beans
  • Served under beef stew or chicken pot pie filling
  • As a base for shepherd’s pie

Optional Add-Ins and Flavor Variations

  • Garlic Mashed Potatoes: Boil smashed garlic cloves with the potatoes
  • Cheddar Mashed Potatoes: Add shredded sharp cheddar after mashing
  • Herbed Potatoes: Stir in chopped chives, parsley, or thyme
  • Cream Cheese Potatoes: Add 2–4 tbsp cream cheese for extra tang
  • Loaded Mashed Potatoes: Add bacon, sour cream, green onion, and cheese

How to Store and Reheat

Store:

  • Refrigerate in an airtight container for up to 4 days

Reheat:

  • Stovetop: Add a splash of milk and stir over low heat
  • Microwave: Reheat in intervals, stirring and adding milk as needed
  • Oven: Cover with foil and bake at 160°C (325°F) for 20 minutes

Freeze:

  • Freeze in a freezer-safe bag or container for up to 1 month
  • Thaw in the fridge overnight and reheat with milk and butter

Tips for the Best Texture

  • Use starchy potatoes (Russet or Yukon Gold) for fluffier mash
  • Don’t overwork the potatoes — mashing too much makes them gluey
  • Always add warm liquids, not cold
  • Taste and adjust seasoning at the end
  • Use a ricer for extra-smooth mashed potatoes

Common Mistakes to Avoid

  • Lumpy mash? Potatoes weren’t fully cooked or mashed evenly
  • Gummy texture? Potatoes were overmixed or under-drained
  • Bland flavor? Not enough salt or butter
  • Watery mash? Overcooked or too much milk added at once

Grandma’s Final Touch

Before serving, grandma always added a pat of butter on top, a sprinkle of fresh chives, or a little paprika for color. It wasn’t just food — it was her way of saying “I love you.”

Final Thoughts: The Creamy Side of Home

Mashed potatoes may seem simple, but when made with care — like grandma did — they become something extraordinary. Creamy, rich, and always comforting, this recipe brings old-fashioned flavor and love to every plate.

Try it today, and pass the tradition on.

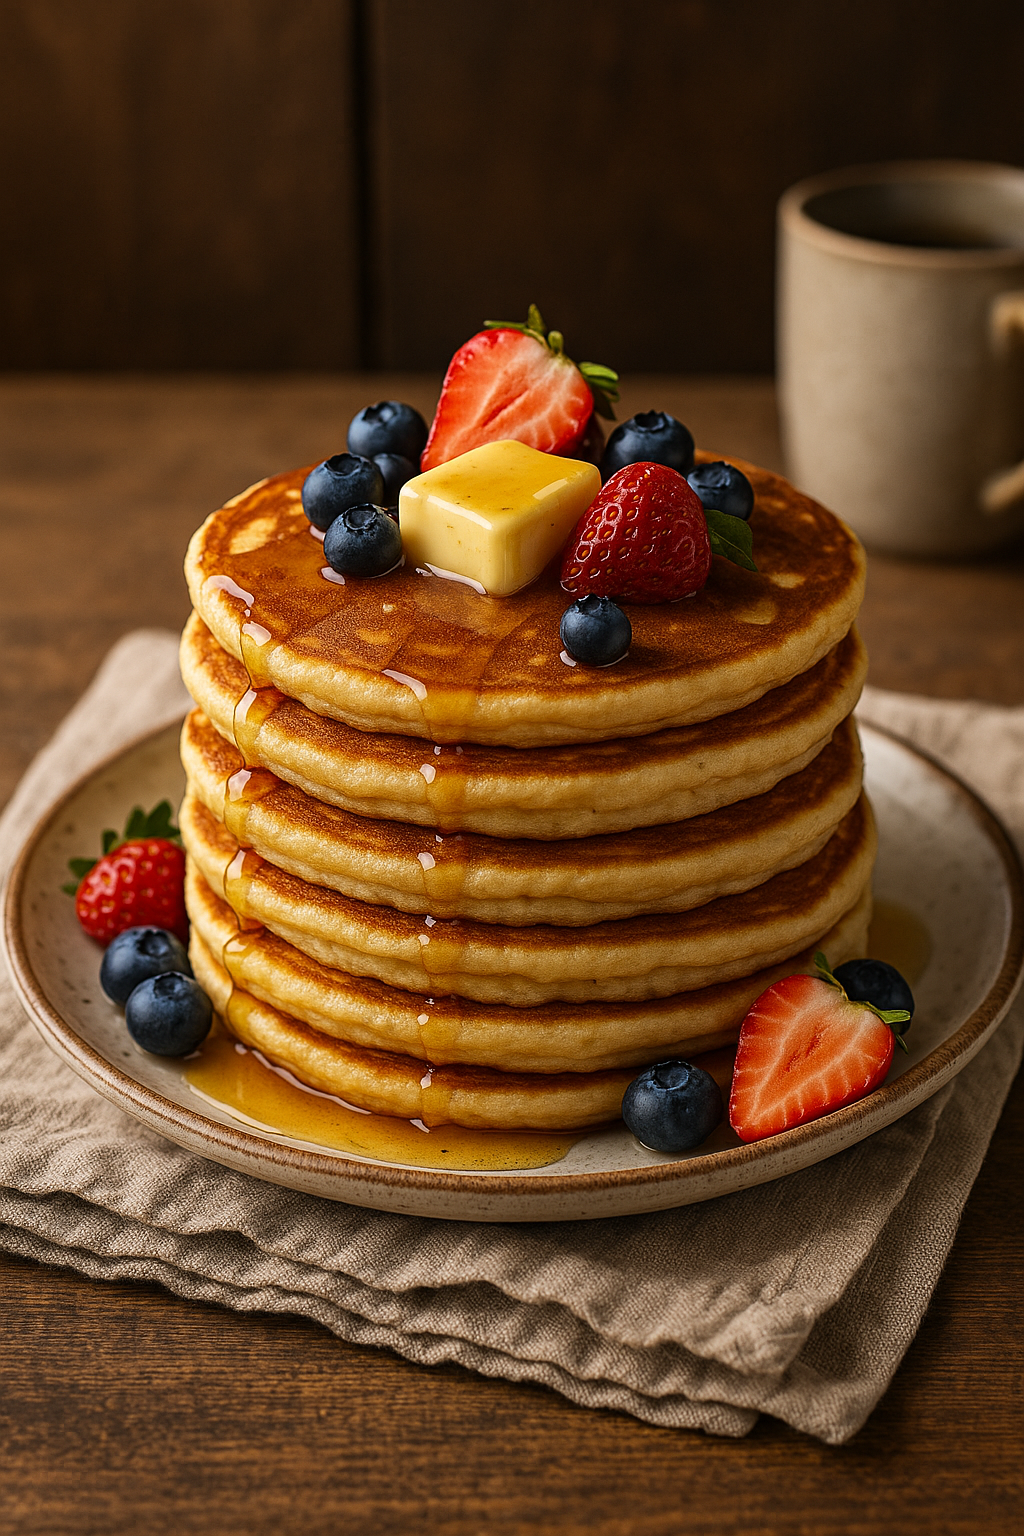
Grandma’s Homemade Pancakes: Fluffy, Golden, and Irresistibly Delicious

Weekends at grandma’s house always started with the smell of pancakes sizzling on the griddle. Light, fluffy, and perfectly golden, her homemade pancakes were simple but magical — served hot with butter, syrup, and a side of love.

In this article, you’ll learn how to make fluffy pancakes from scratch, using grandma’s timeless technique and pantry staples you already have at home.


Why These Pancakes Are So Special

  • Light, airy, and soft — the perfect fluffy texture
  • No boxed mix — everything from scratch
  • Fast and easy: Ready in under 30 minutes
  • Adaptable with your favorite add-ins (chocolate chips, fruit, etc.)
  • Ideal for breakfast, brunch, or breakfast-for-dinner

Ingredients for Homemade Pancakes

Makes about 10 medium pancakes.

  • 1 ½ cups all-purpose flour
  • 2 tablespoons granulated sugar
  • 1 tablespoon baking powder
  • ½ teaspoon baking soda
  • ½ teaspoon salt
  • 1 ¼ cups milk (whole or 2%)
  • 1 large egg
  • 2 tablespoons unsalted butter, melted
  • 1 teaspoon vanilla extract
  • Optional: butter or oil for greasing skillet

Step-by-Step Instructions

1. Mix the Dry Ingredients

In a large bowl, whisk together flour, sugar, baking powder, baking soda, and salt.


2. Mix the Wet Ingredients

In another bowl or measuring cup, whisk the milk, egg, melted butter, and vanilla until well combined.


3. Combine the Batter

Pour the wet ingredients into the dry ingredients.

Stir gently with a spatula until just combined. Do not overmix — lumps are okay!

Let the batter rest for 5 minutes while you heat your skillet.


4. Heat the Skillet or Griddle

Preheat a nonstick skillet or griddle over medium heat.

Lightly grease with butter or oil if needed.


5. Cook the Pancakes

Pour ¼ cup of batter per pancake onto the hot skillet.

Cook until bubbles form on top and edges look set — about 2 minutes.

Flip and cook another 1–2 minutes until golden brown and cooked through.

Transfer to a plate and keep warm while you cook the rest.


Serving Suggestions

  • With butter and maple syrup (the classic)
  • Topped with fresh berries and whipped cream
  • Spread with peanut butter, jam, or Nutella
  • Stacked with bananas and a drizzle of honey
  • Turned into a breakfast sandwich with egg and bacon

Grandma’s tip: Warm your syrup before serving — it makes everything better.


Add-In Ideas

  • Chocolate chips
  • Blueberries or raspberries
  • Sliced bananas or apples
  • Cinnamon and chopped nuts
  • Lemon zest and poppy seeds

Stir into the batter just before cooking or sprinkle onto each pancake after pouring the batter.


How to Store and Reheat

Store:

  • Refrigerate in an airtight container for up to 3 days

Reheat:

  • Microwave for 20–30 seconds
  • Or reheat in the oven at 160°C (325°F) for 10 minutes

Freeze:

  • Stack cooled pancakes with parchment between each
  • Freeze in a bag or container for up to 2 months
  • Toast or microwave straight from frozen

Tips for the Best Pancakes

  • Don’t overmix the batter — mix just until the flour is incorporated
  • Let the batter rest — this makes pancakes fluffier
  • Make sure your baking powder is fresh
  • Use a medium-low heat so pancakes cook through without burning
  • For extra fluffy pancakes, separate the egg and beat the white until soft peaks form — fold in at the end

Common Mistakes to Avoid

  • Flat pancakes? Batter might be overmixed or leavening too old
  • Burnt outsides, raw insides? Heat is too high
  • Dry pancakes? Try using buttermilk or adding a tablespoon of yogurt

Final Thoughts: A Stack Full of Memories

Grandma’s pancakes weren’t just breakfast — they were the start of a good day, a warm memory, and a tradition worth keeping alive. With this simple, reliable recipe, you can bring the same joy and flavor into your own kitchen.

So grab your whisk, fire up the skillet, and get ready for a stack of happiness.