
Before instant pudding mix was a kitchen staple, grandma was already whipping up batches of smooth, homemade vanilla pudding using just a handful of real ingredients. With its silky texture and rich, comforting flavor, it was one of those desserts that felt like a warm hug in a bowl.
In this guide, you’ll learn how to make vanilla pudding from scratch, using the same simple techniques and ingredients grandma used — no packets, no preservatives, just creamy goodness.
Why Homemade Pudding Is Worth It
Store-bought puddings might be fast, but nothing compares to the flavor and texture of the real thing. Here’s why:
- Uses real milk, eggs, and vanilla
- Richer, creamier texture than instant mixes
- Perfect base for other flavors (chocolate, banana, coconut)
- Great for layering into trifles or topping with fruit
- Brings back that nostalgic, old-fashioned dessert vibe
Let’s start with the ingredients.
Ingredients for Homemade Vanilla Pudding
This recipe makes about 4–6 servings.
- 2 ½ cups whole milk
- ½ cup granulated sugar
- ¼ cup cornstarch
- ¼ teaspoon salt
- 3 large egg yolks
- 2 tablespoons unsalted butter
- 1 ½ teaspoons pure vanilla extract
Optional: Add a splash of cream for a richer finish or a pinch of nutmeg for warmth.
Step-by-Step Instructions
1. Mix the Dry Ingredients
In a medium saucepan (off the heat), whisk together the sugar, cornstarch, and salt.
This prevents clumping when you add the milk.
2. Add the Milk and Yolks
Gradually whisk in the milk, then the egg yolks. Make sure everything is fully combined and smooth.
Grandma’s Tip: Strain the egg yolks if you want extra silky pudding.
3. Heat Gently and Stir Constantly
Place the saucepan over medium heat. Cook the mixture, stirring constantly, until it thickens and starts to bubble — about 8–10 minutes.
Once bubbles appear, cook for 1 more minute while continuing to stir. The pudding should coat the back of a spoon.
4. Remove from Heat and Add Butter & Vanilla
Turn off the heat. Stir in the butter and vanilla extract until smooth and fully melted.
Butter gives the pudding that classic creamy sheen and richness.
5. Strain (Optional) and Cool
For extra smoothness, pour the pudding through a fine-mesh sieve into a bowl.
Cover with plastic wrap pressed directly onto the surface to prevent a skin from forming.
Chill for at least 2 hours before serving — or enjoy it warm if you’re like grandma.
How to Serve Vanilla Pudding
Homemade vanilla pudding is incredibly versatile. Try it:
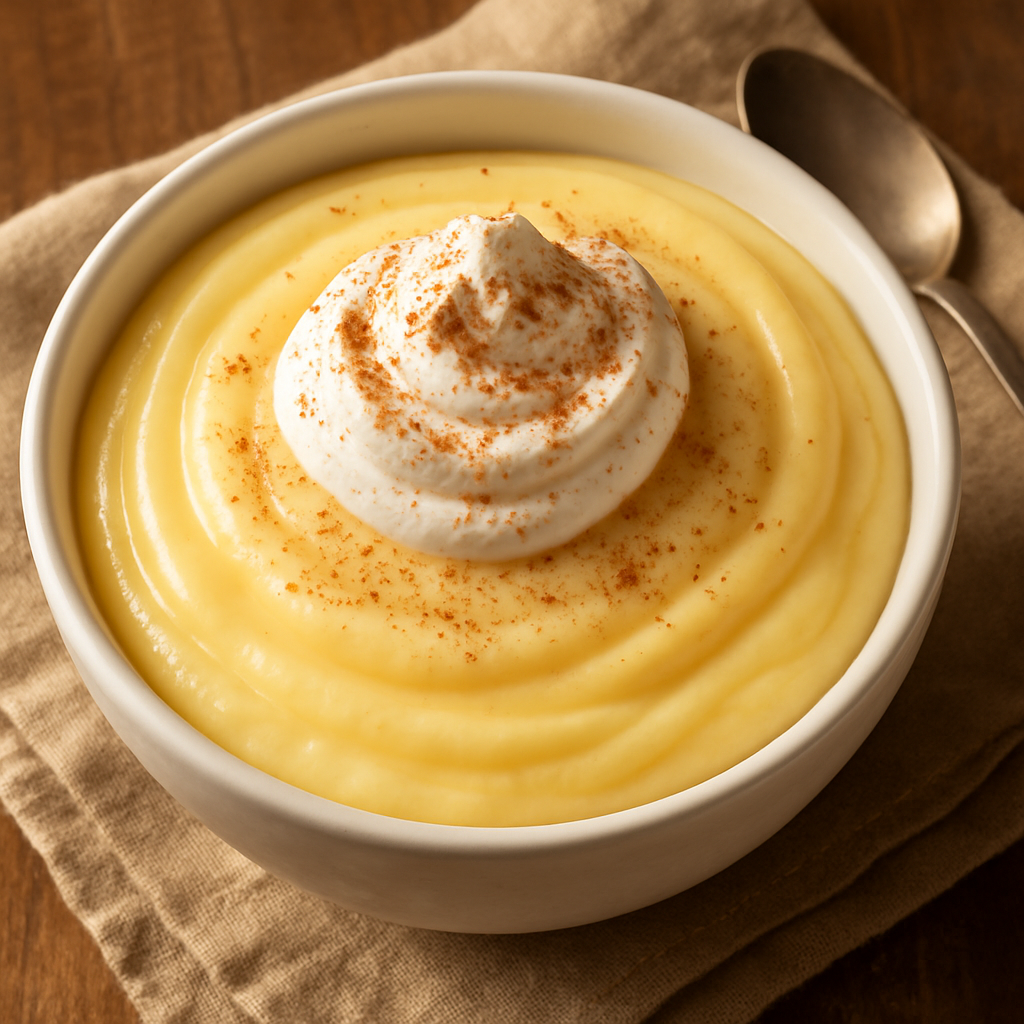
- As is, with a sprinkle of cinnamon or nutmeg
- Topped with berries or banana slices
- Layered with crushed cookies or cake in a trifle
- With whipped cream and chocolate shavings
- As a filling for pies, donuts, or tarts
Grandma sometimes served it in vintage teacups with a biscuit on the side.
Make-Ahead and Storage Tips
- Store pudding in an airtight container in the fridge for up to 4 days
- Press plastic wrap directly on the surface to prevent skin
- Stir before serving to smooth it out
- Do not freeze — texture will suffer after thawing
Flavor Variations
Once you master the vanilla base, the possibilities are endless:
- Chocolate Pudding: Add ½ cup cocoa powder or 100g melted dark chocolate
- Banana Pudding: Layer with fresh banana slices and vanilla wafers
- Coconut Pudding: Replace 1 cup of milk with coconut milk and add shredded coconut
- Coffee Pudding: Stir in 1 tsp instant espresso powder with the milk
- Lemon Pudding: Replace vanilla with lemon zest and a few tablespoons of lemon juice
Tips for Perfect Pudding Every Time
- Use whole milk for best creaminess
- Don’t stop stirring once it starts to heat up — this avoids lumps
- Add eggs gradually to avoid scrambling
- Cool slowly to avoid watery pudding
- Strain after cooking for a gourmet finish
Final Thoughts: A Bowl Full of Comfort
Grandma’s vanilla pudding wasn’t just dessert. It was a sweet reward after a long day, a soothing treat for upset stomachs, and a creamy reminder that the best things in life are often the simplest.
With just a few ingredients and a little patience, you can recreate that same sense of home, warmth, and nostalgia in every spoonful.