
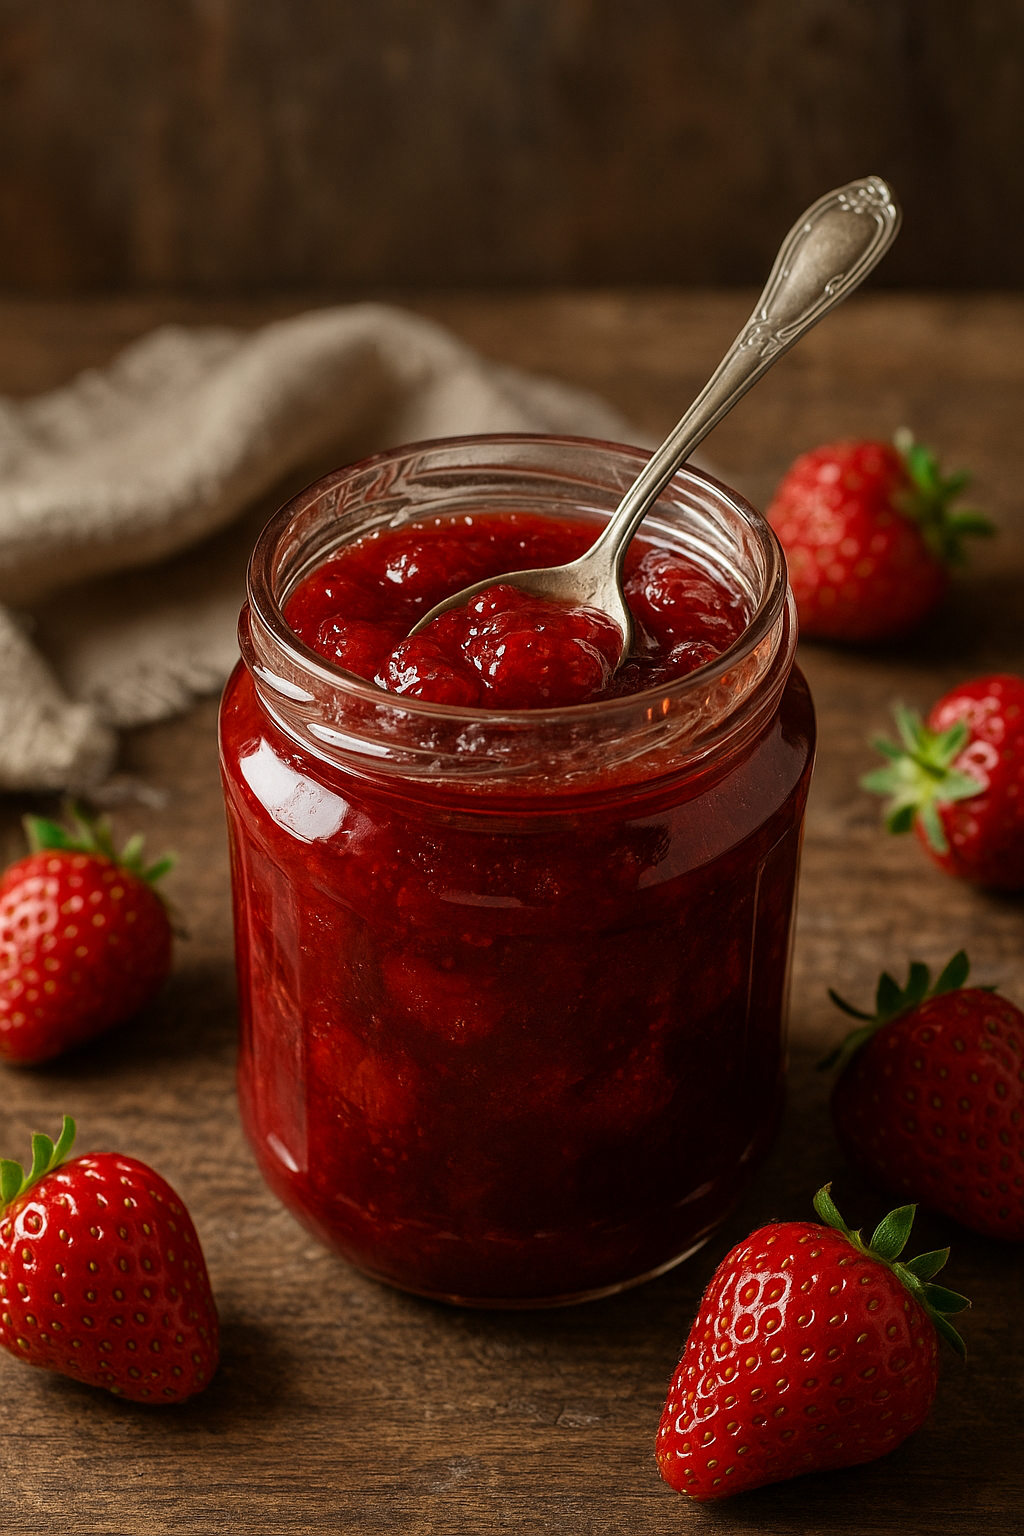
There’s nothing quite like opening a jar of homemade strawberry jam — especially when it’s made with grandma’s recipe. Bright, fruity, and naturally sweet, her jam was more than a spread — it was a memory, sealed in a jar.
In this guide, you’ll learn how to make classic strawberry jam from scratch, using just a few simple ingredients. No preservatives, no shortcuts — just real fruit, sugar, and love.
Why Make Strawberry Jam at Home?
- Uses only 3–4 real ingredients
- Tastes fresher and fruitier than store-bought versions
- Contains no artificial preservatives or colorings
- Great for gifting, storing, and enjoying year-round
- Perfect for toast, pancakes, yogurt, desserts, and more
Ingredients for Homemade Strawberry Jam
This recipe makes about 3 to 4 small jars (roughly 700–800g total).
- 2 pounds (900g) fresh strawberries, hulled and chopped
- 2 ½ cups (500g) granulated sugar
- Juice of 1 lemon
- Optional: 1 small apple, grated with peel (natural source of pectin)
The apple helps the jam thicken naturally. It’s optional but highly recommended.
How to Make Strawberry Jam: Step-by-Step
1. Prep the Strawberries
Wash the strawberries well, remove the stems, and chop them into small pieces.
Place them in a large pot.
Grandma’s Tip: If you prefer chunky jam, leave the pieces larger. For a smoother texture, mash the fruit before cooking.
2. Combine with Sugar and Lemon
Add the sugar and lemon juice to the pot. If using grated apple, add that as well.
Mix everything together and let it sit for 30 to 60 minutes. This helps the fruit release its juices.
3. Cook the Jam
Place the pot over medium-low heat, stirring occasionally until the sugar is fully dissolved.
Increase the heat to medium and bring the mixture to a gentle boil. Stir frequently to prevent sticking.
Simmer for 25–40 minutes, or until thickened. Skim off any foam that forms.
4. Test the Jam
To test if the jam is ready:
- Drop a spoonful onto a chilled plate.
- Wait a few seconds and run your finger through it.
- If the line stays clear and the jam wrinkles slightly, it’s done.
5. Fill and Seal Jars
Sterilize your jars and lids in boiling water.
Ladle the hot jam into the jars, leaving a small space at the top. Wipe the rims, seal tightly, and turn the jars upside down for 5 minutes.
Let cool completely before storing.
Serving Ideas for Strawberry Jam
- Spread on warm toast, scones, or biscuits
- Over pancakes, waffles, or crepes
- Mixed into Greek yogurt or oatmeal
- As a filling for cakes, thumbprint cookies, or tarts
- On a cheese board with brie or cream cheese
- Or the grandma-approved method: straight from the spoon!
Storage Tips
- Refrigerator: Keeps for up to 3 weeks after opening
- Unopened jars: Store in the fridge for up to 3 months
- Freezer: Freeze cooled jam in containers for up to 6 months
Flavor Variations
Want to customize your jam? Try one of these ideas:
- Mint Strawberry Jam: Add a few fresh mint leaves while cooking
- Vanilla Strawberry Jam: Stir in ½ teaspoon of vanilla at the end
- Strawberry Red Wine Jam: Replace part of the strawberries with red wine for a richer flavor
- Spicy Strawberry Jam: Add a pinch of chili flakes or chopped fresh chili for heat
Grandma’s Tips for Perfect Jam
- Use fully ripe strawberries for the best flavor
- Always add fresh lemon juice — it enhances taste and helps with preservation
- Don’t rush the simmering — give it time to thicken properly
- Never double the batch — smaller batches cook more evenly
- Stir constantly once it starts bubbling to avoid burning
Final Thoughts: A Jar Full of Memories
Grandma’s strawberry jam wasn’t just about fruit and sugar — it was about tradition, family, and the joy of homemade things. With this easy, delicious recipe, you can continue that tradition, one jar at a time.
Whether it’s for breakfast, dessert, or a little moment of sweetness during the day, this jam is the taste of home.